Inventory Item Creation
Navigation
Inventory items can be created in two ways. https://in.mybizzerp.com/ (opens in a new tab)
Flow-1:
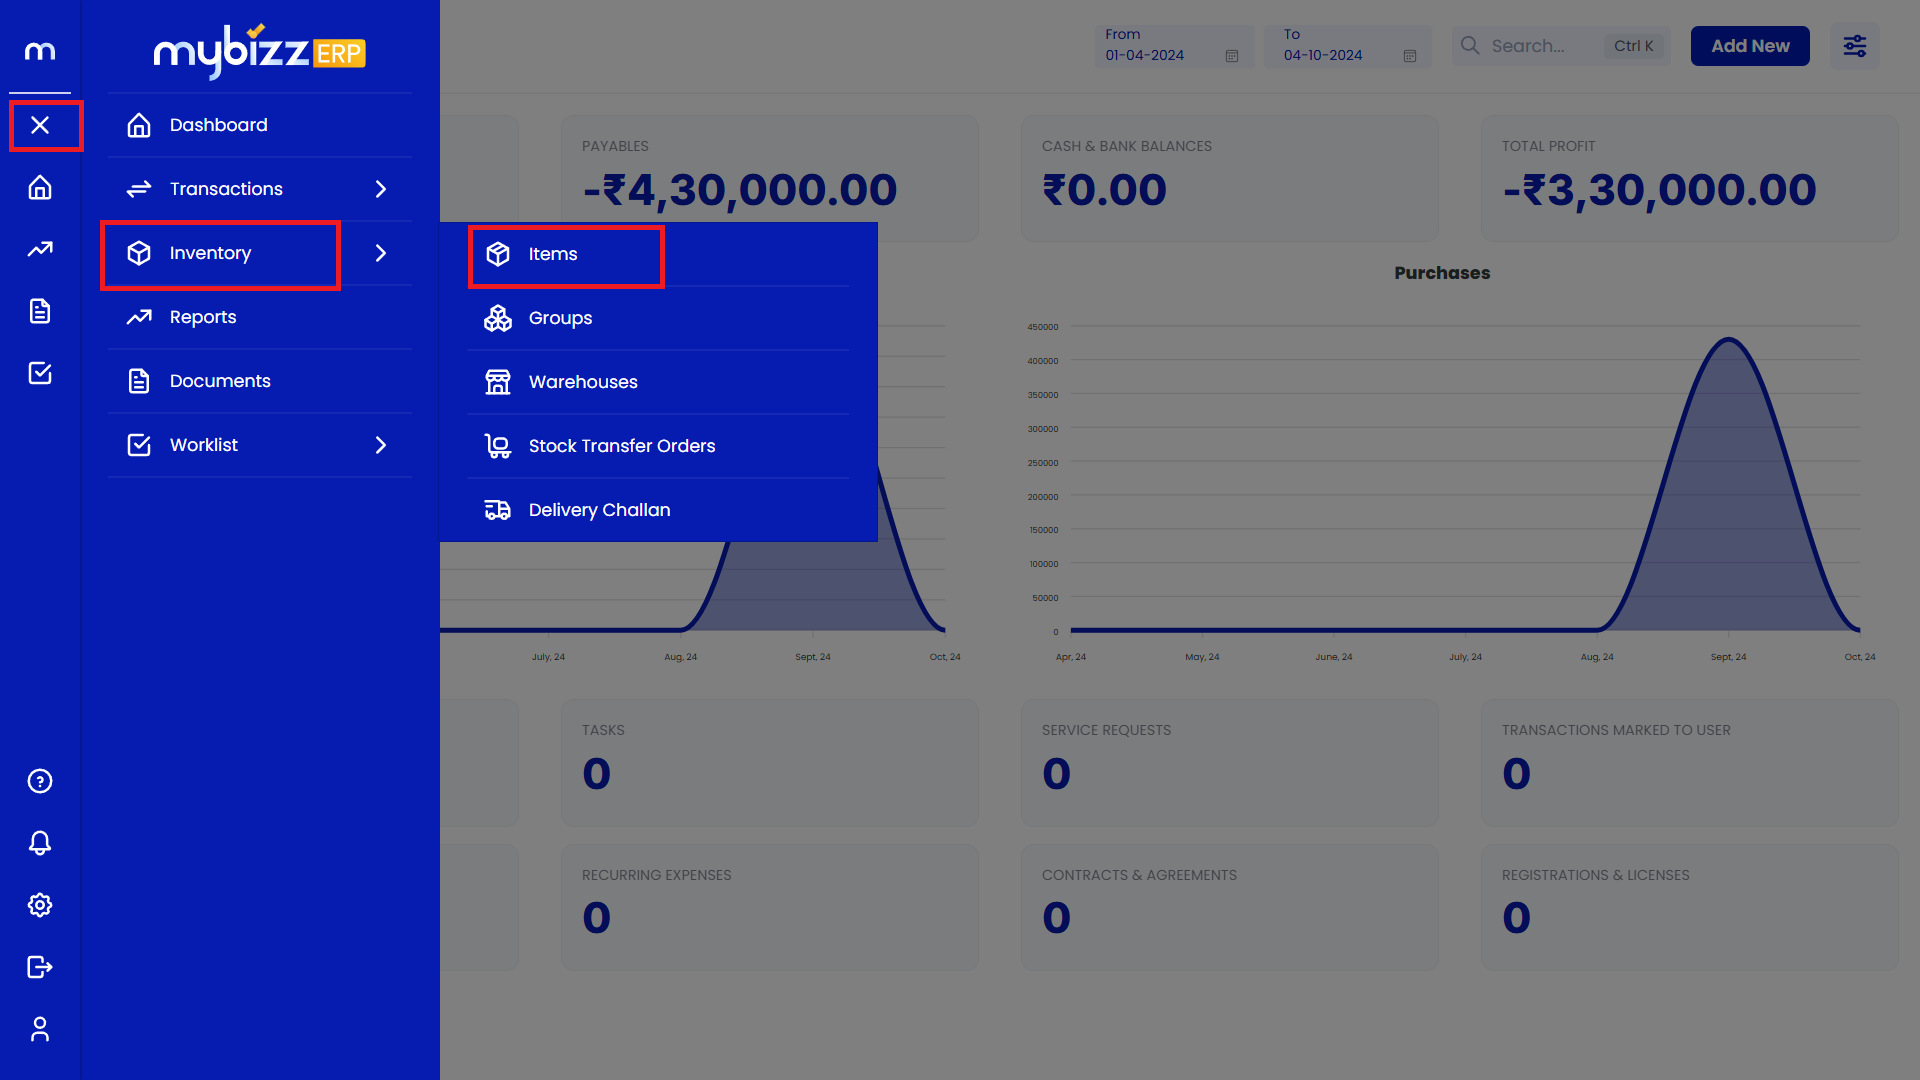
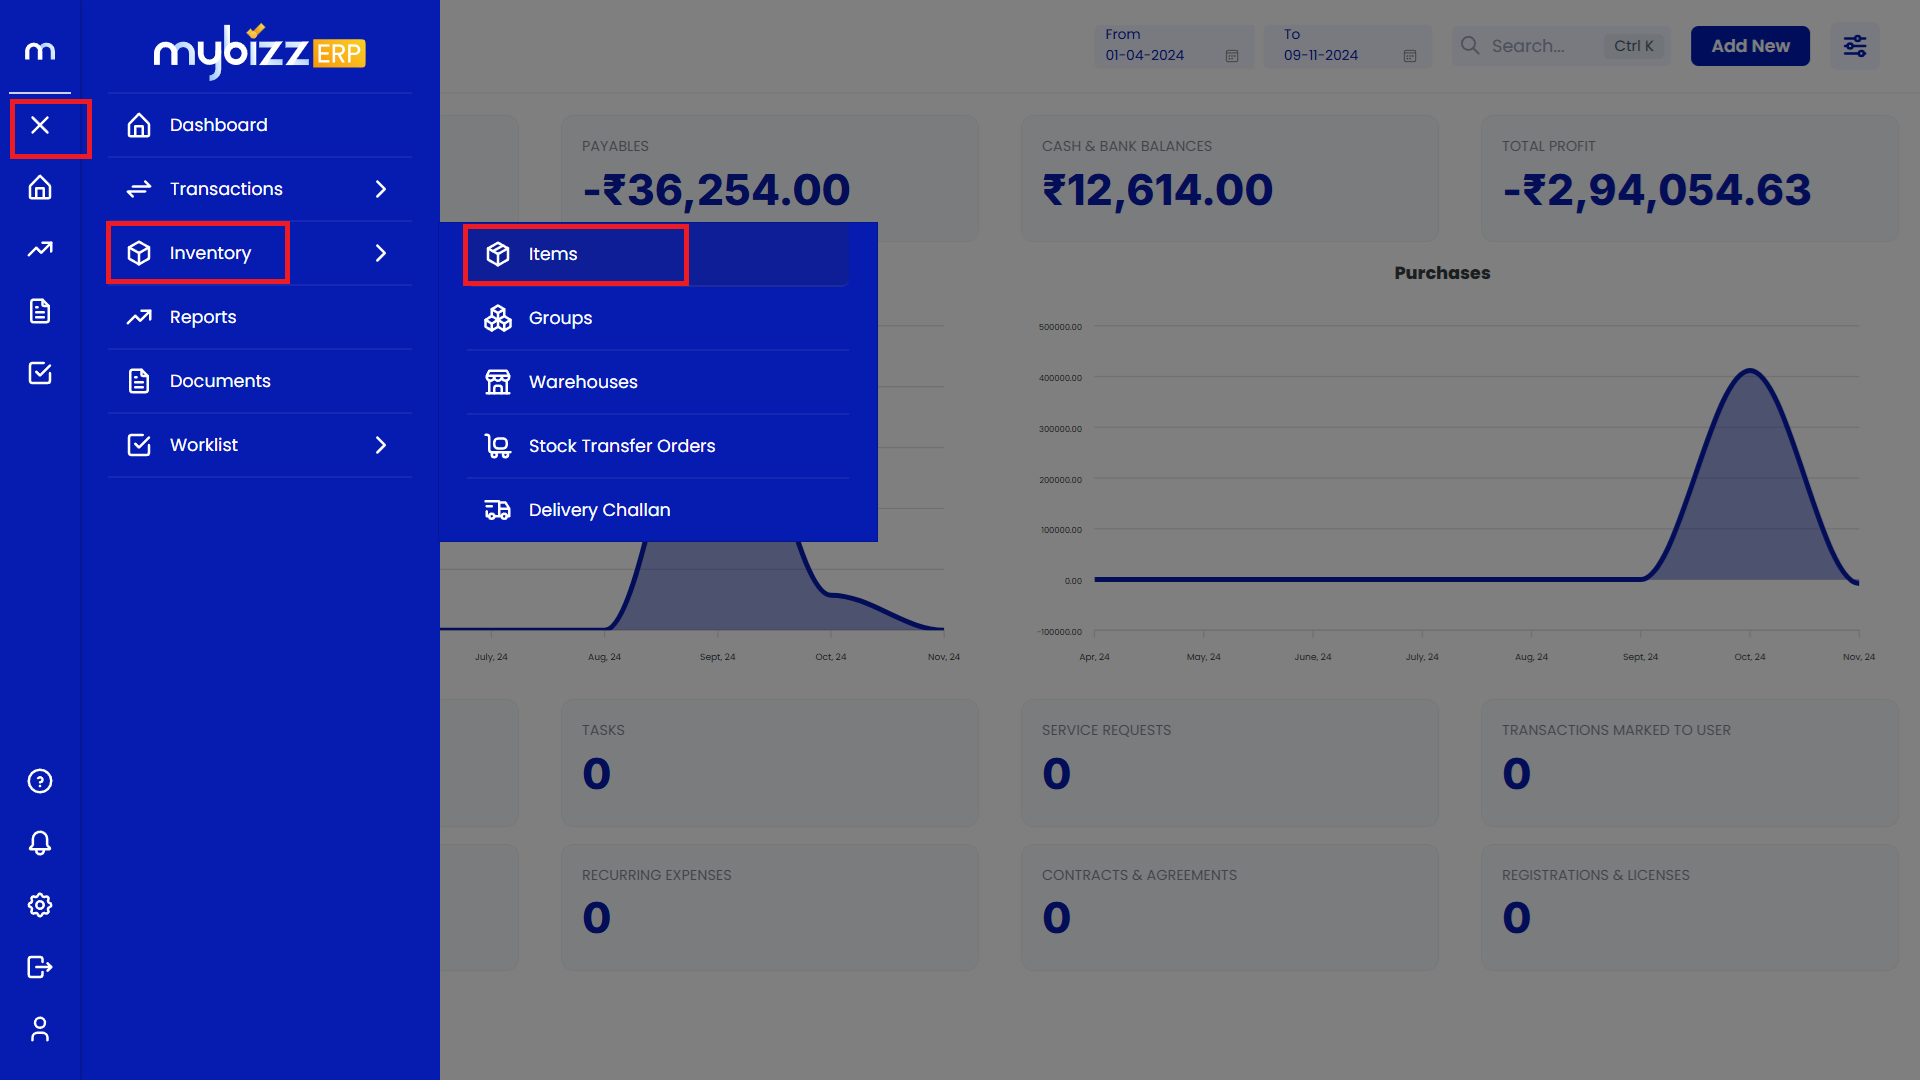
Go to Dashboard > Menu > Inventory > Items.
Note: Dashboard/Home/Main Menu will have the same meaning.
Flow-2:
Go to Dashboard > Add New > Items.
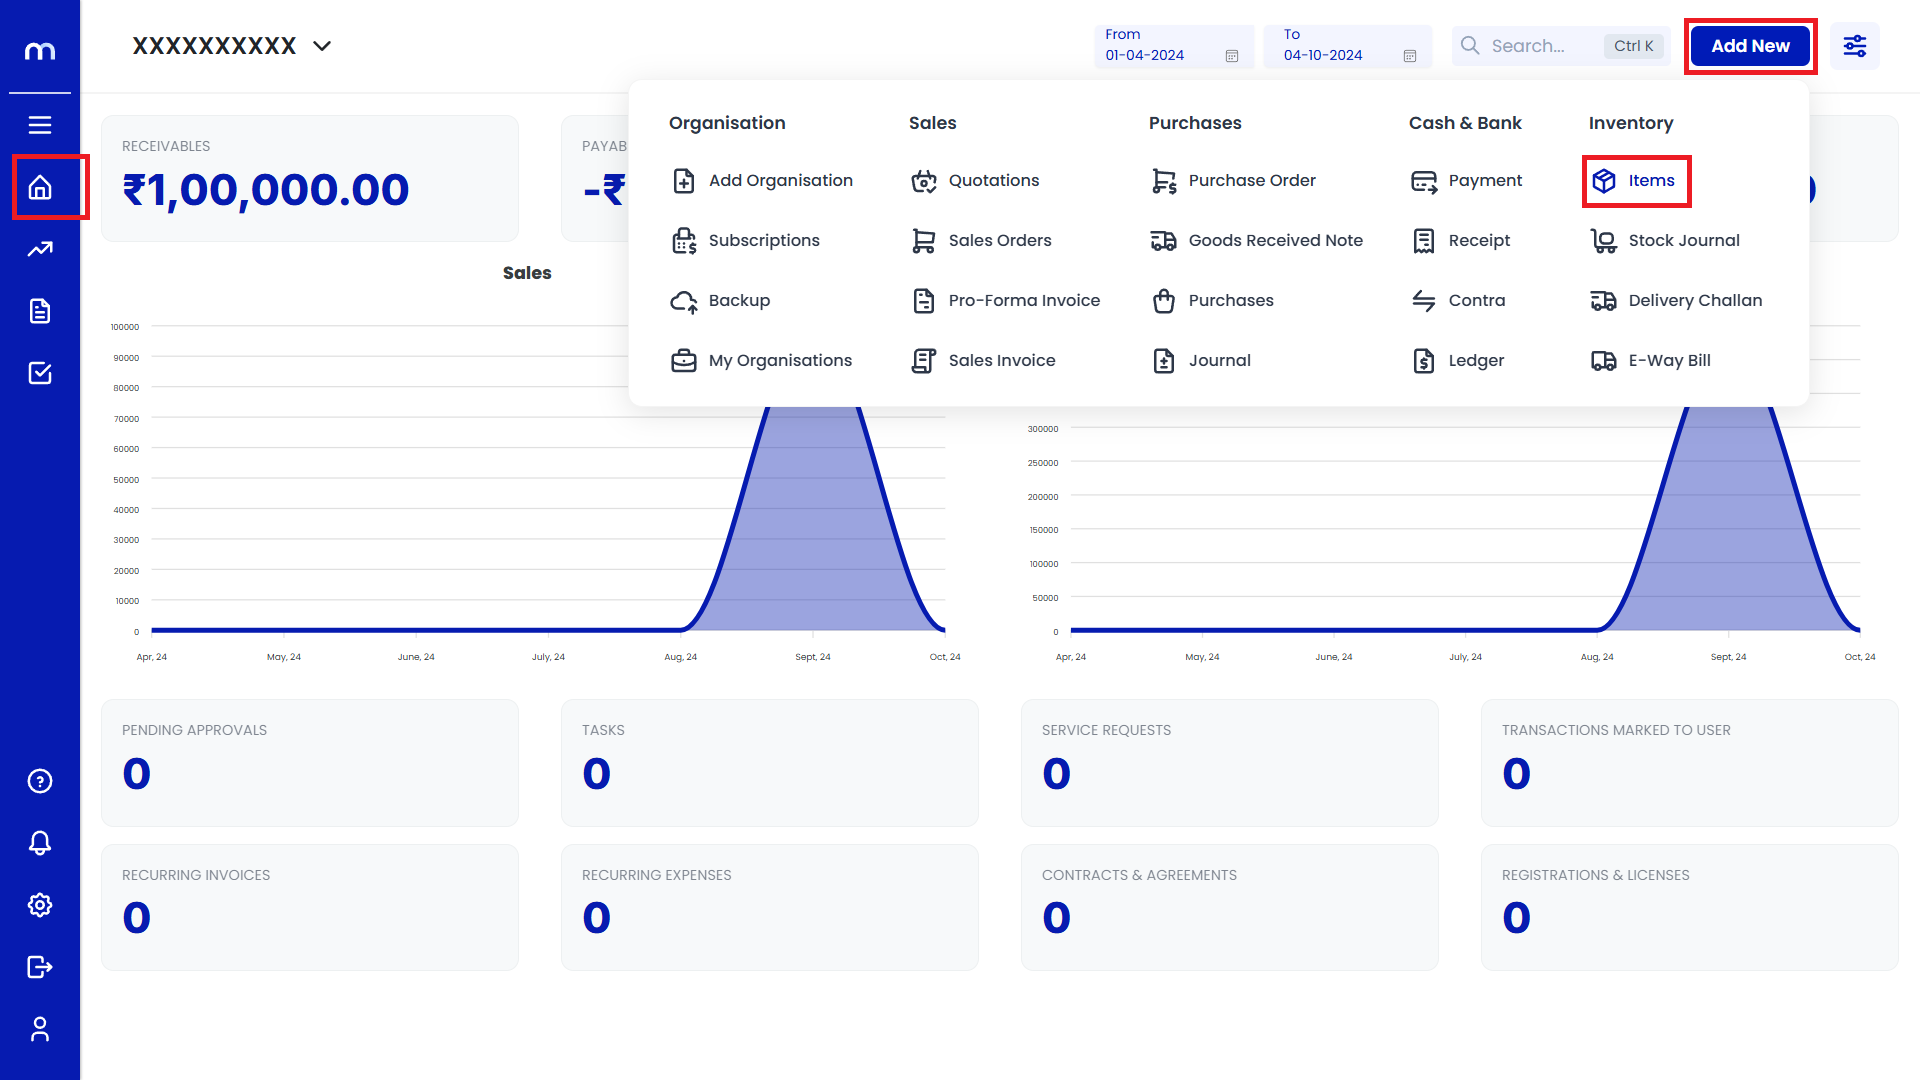
Click on Add New.
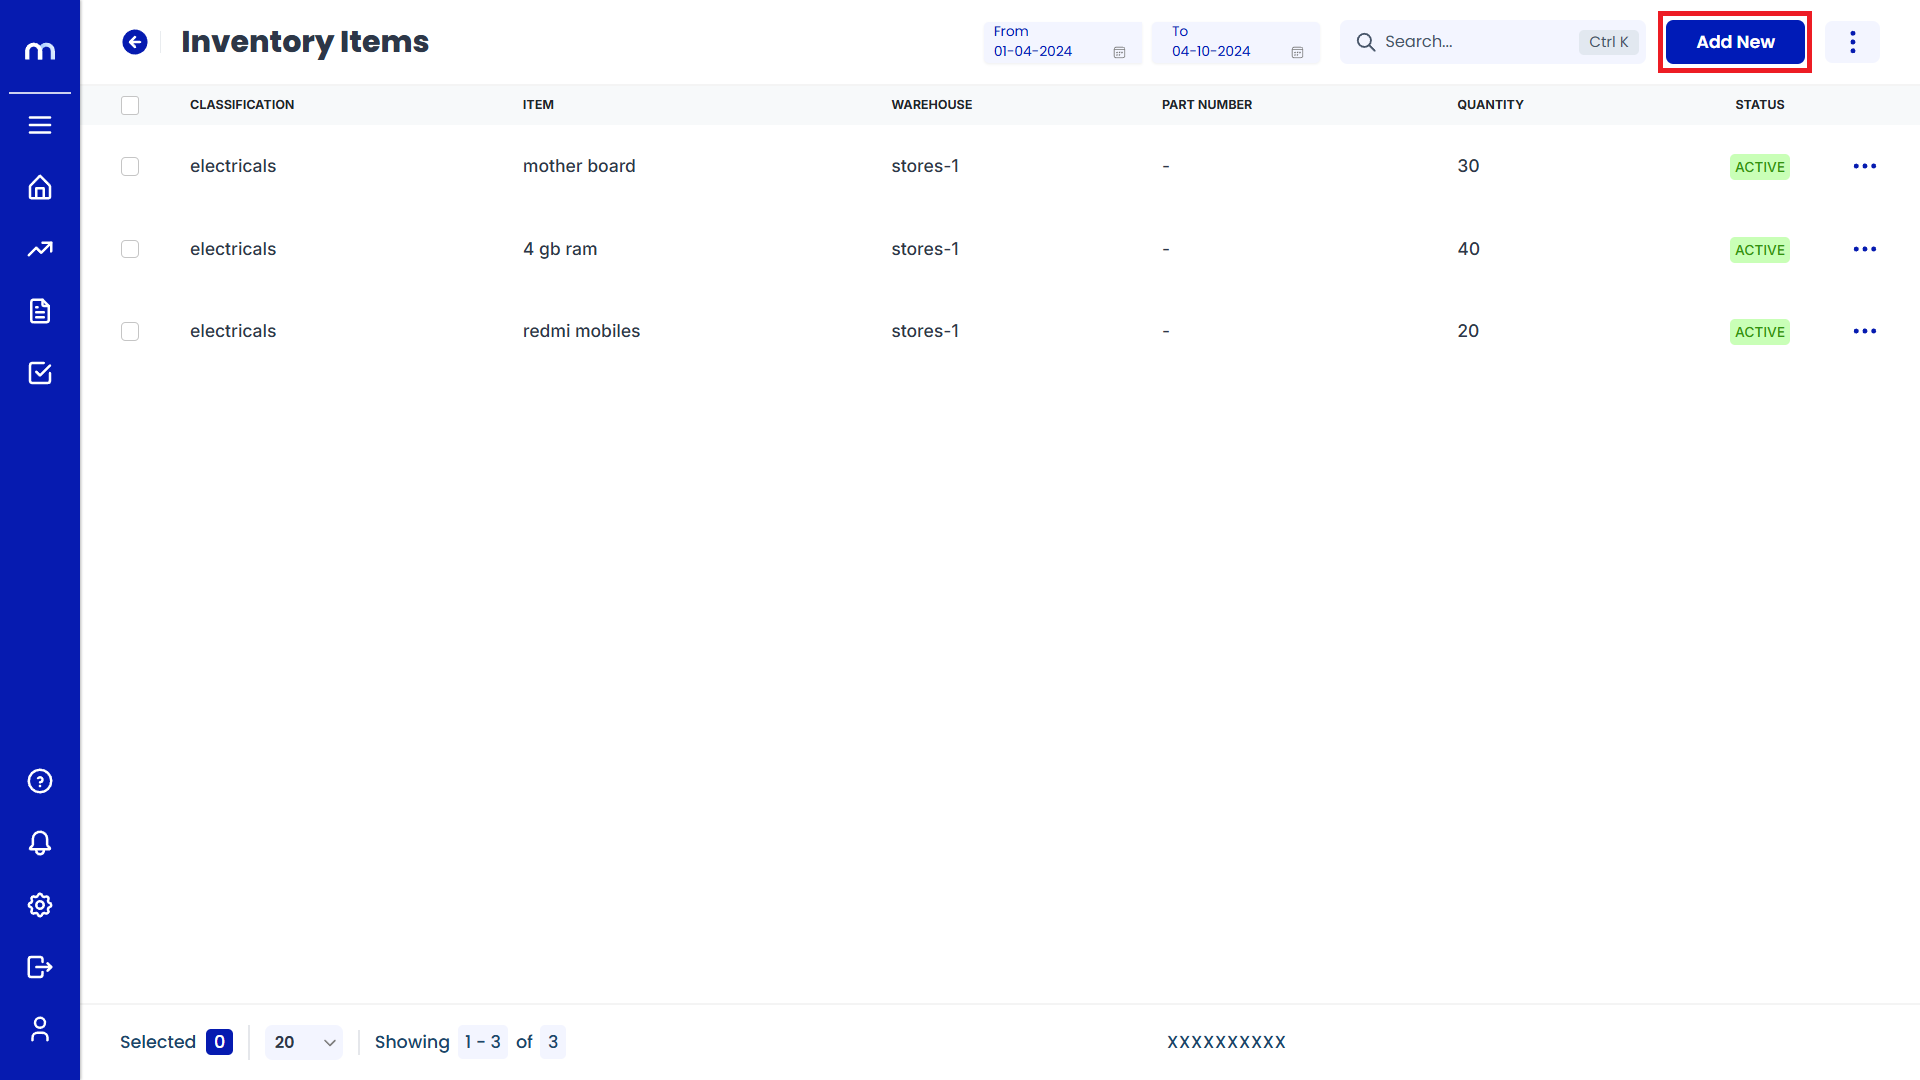
The Inventory Items page will be displayed as follows, and Click on the Add New button.
Click on Save
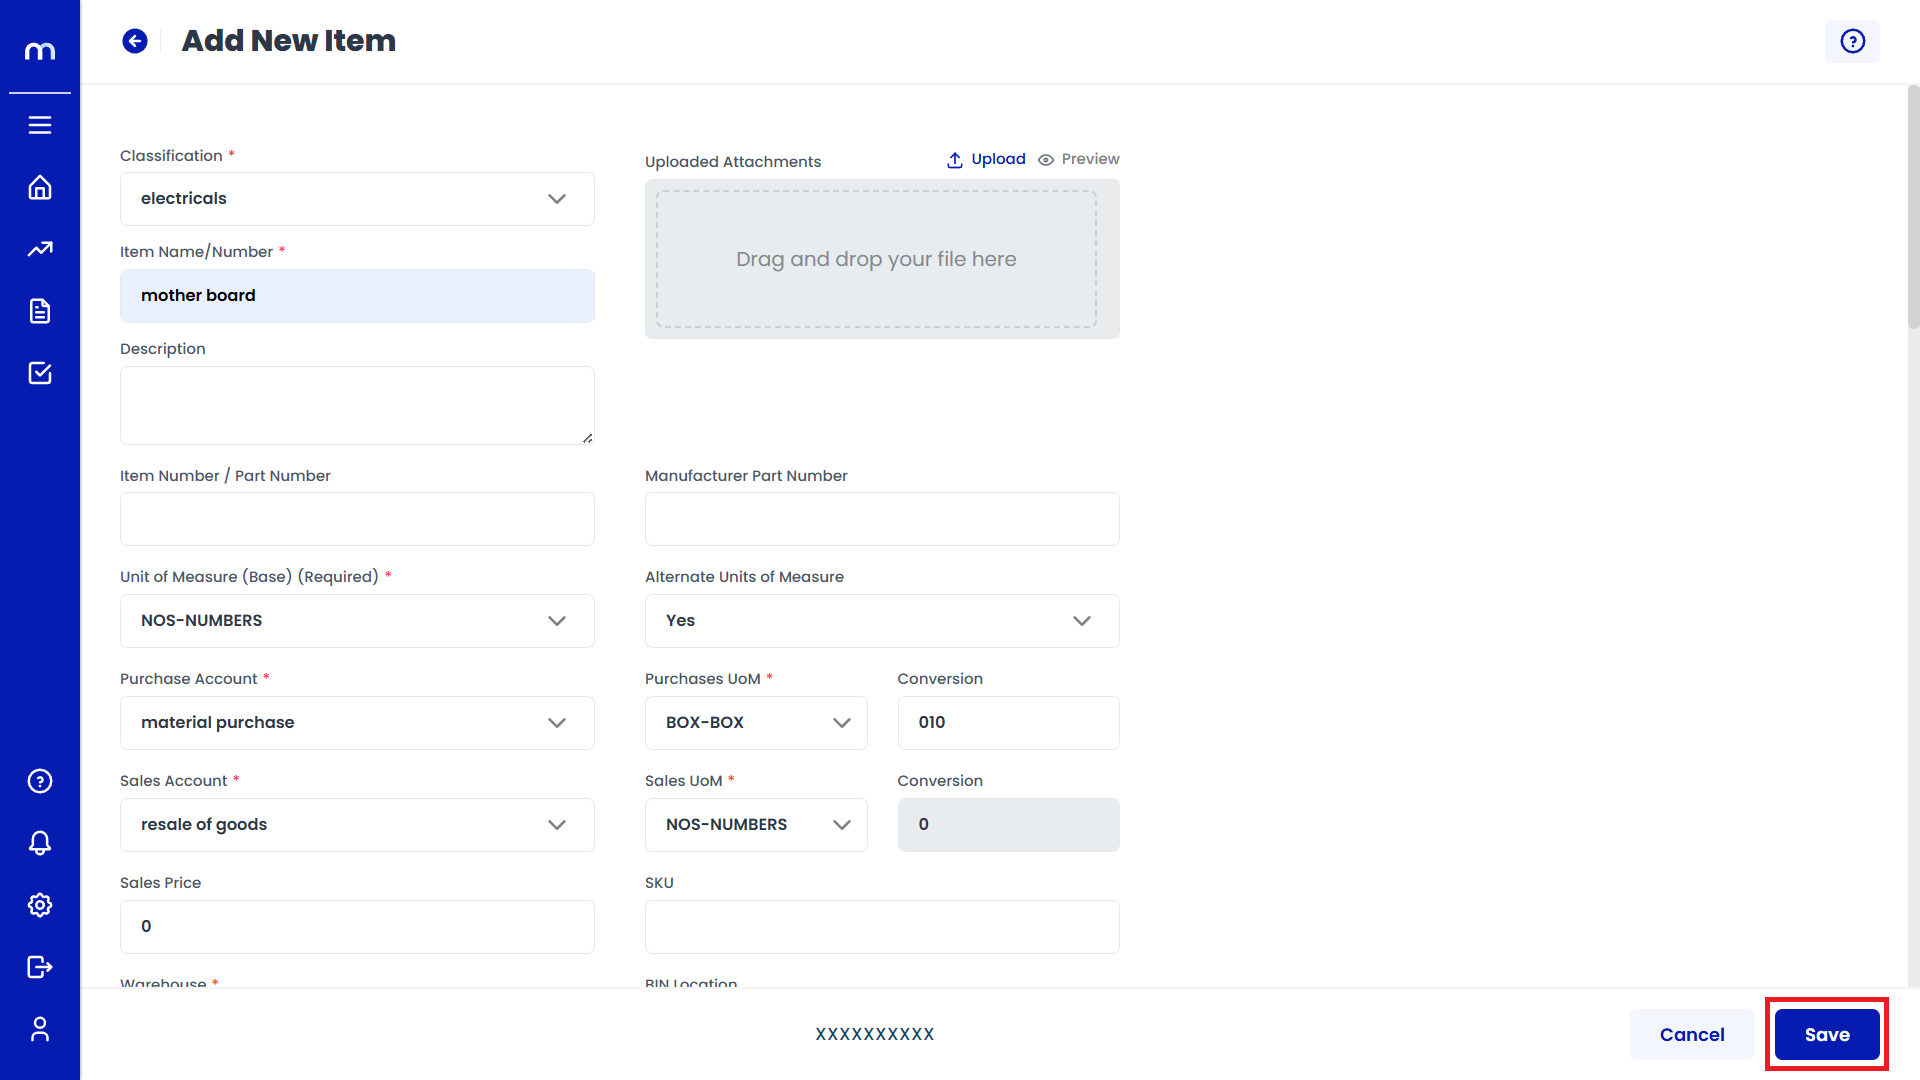
The Add New Item page will be displayed as follows. Fill all the mandatory fields and click the Save button to create an Inventory Item successfully.
Click on Edit
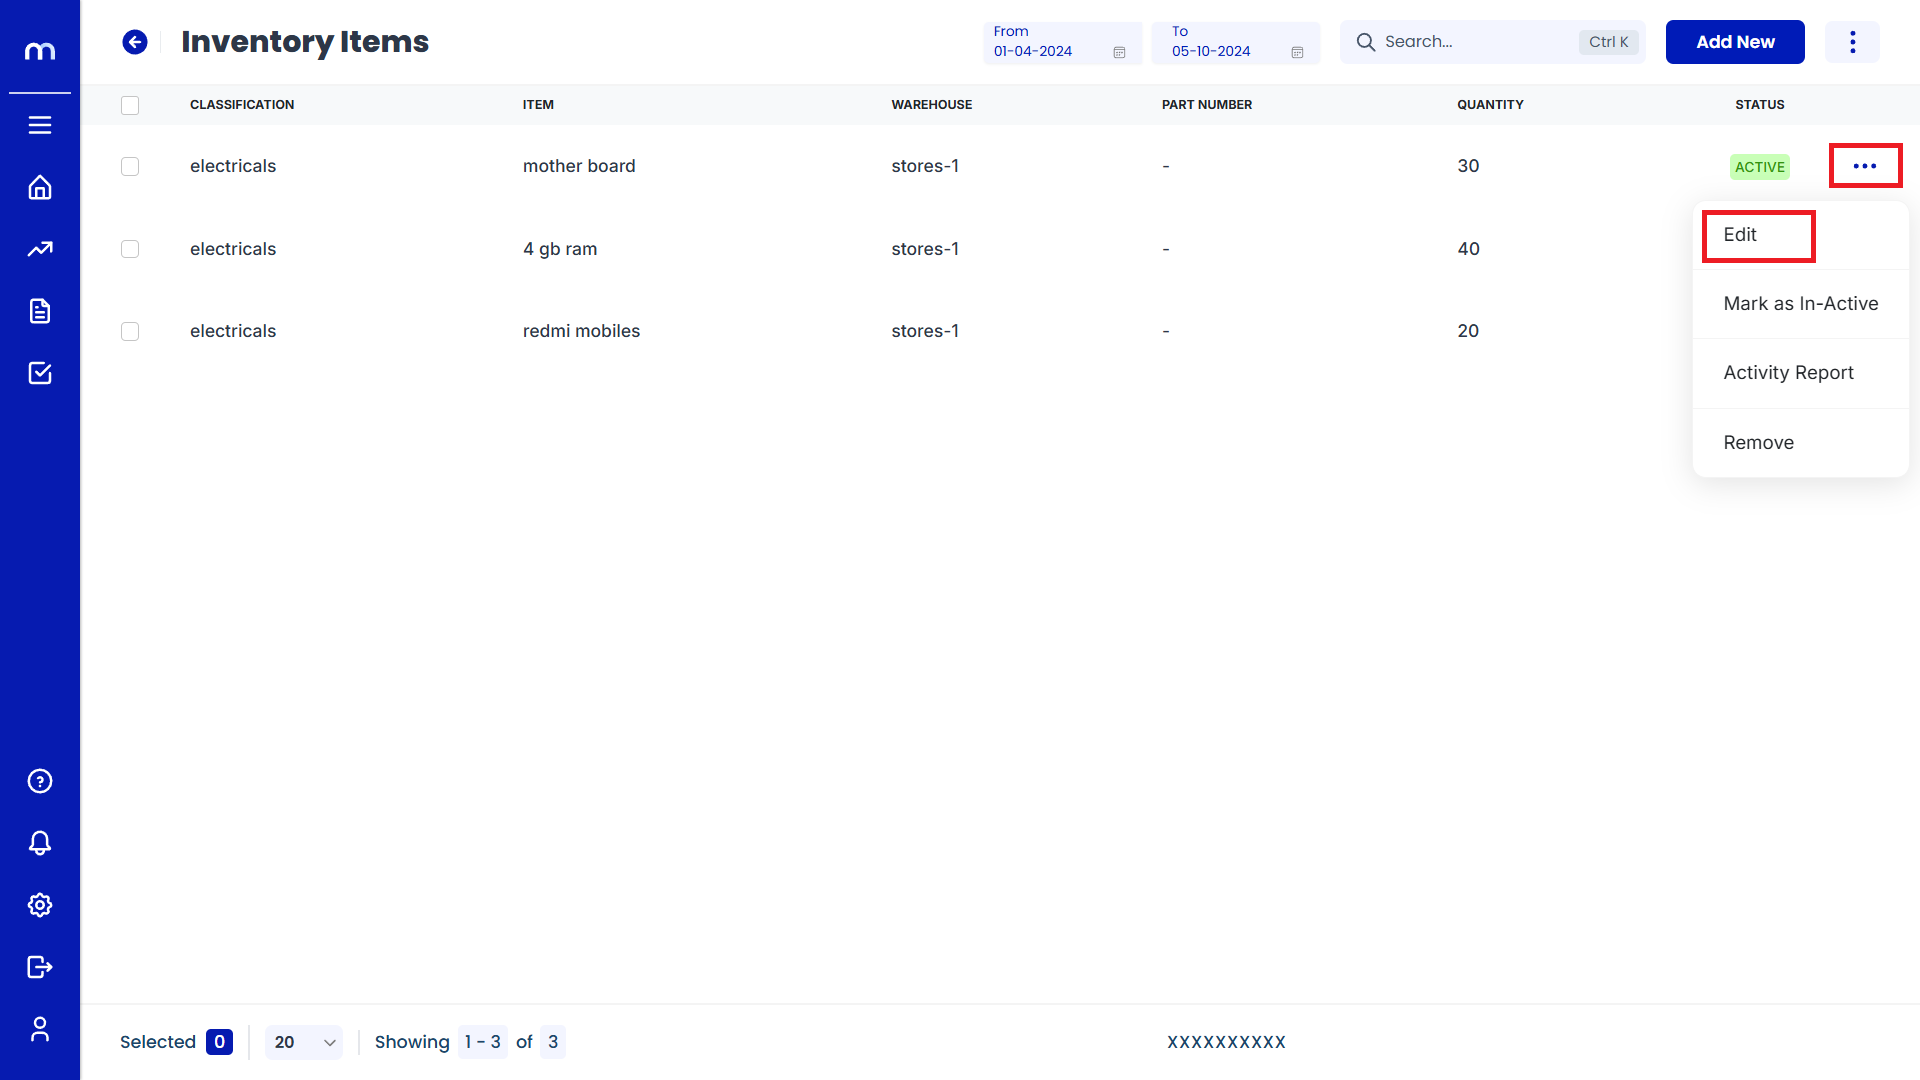
The Inventory Items page will display the newly created item. Click on the Three Vertical Dots (...) and then click on Edit.
Click on Update
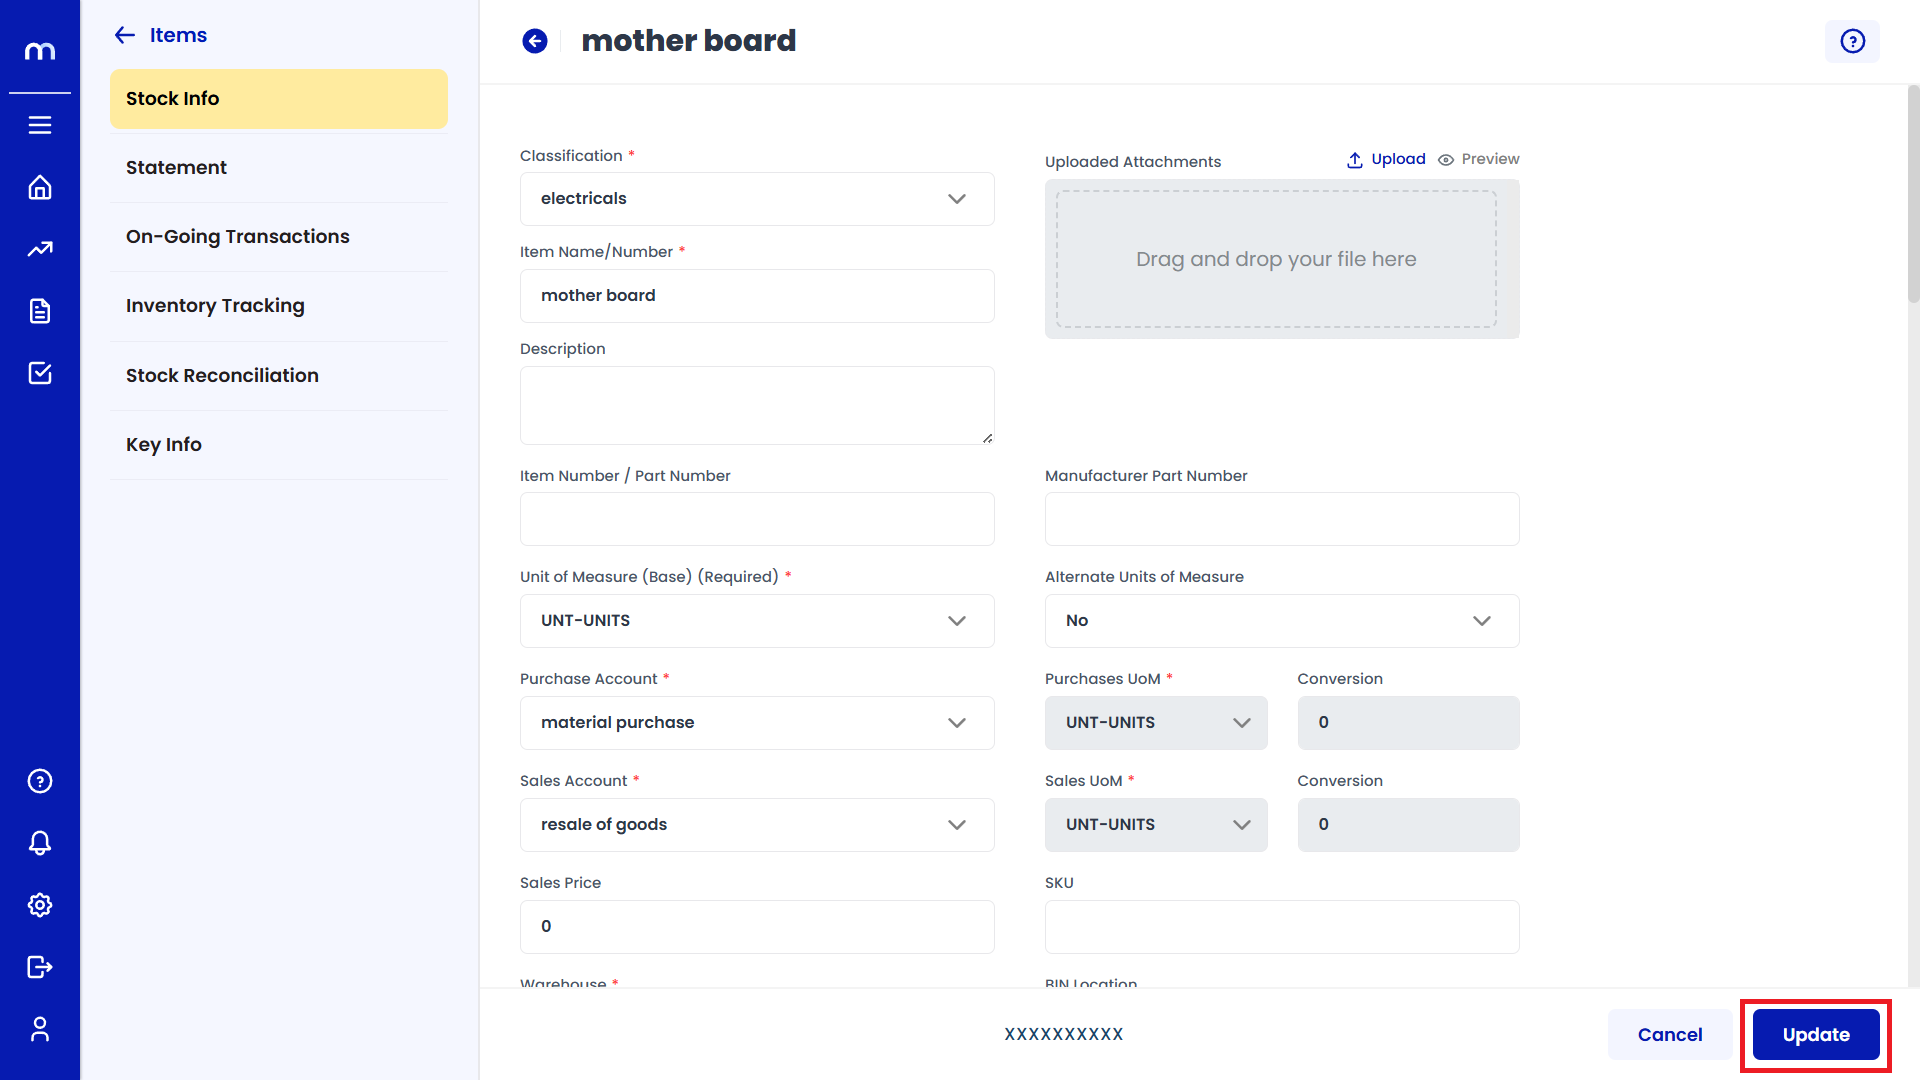
The Stock Info page will be displayed as follows. Change the mandatory fields and click the Update button to modify the Inventory Item successfully.
How to Enable GST Info?
Navigation
Go to Dashboard > Menu > Inventory > Items.
Select on Inventory Item.
Inventory Items Page will be displayed as follows and Select on one Inventory Item.
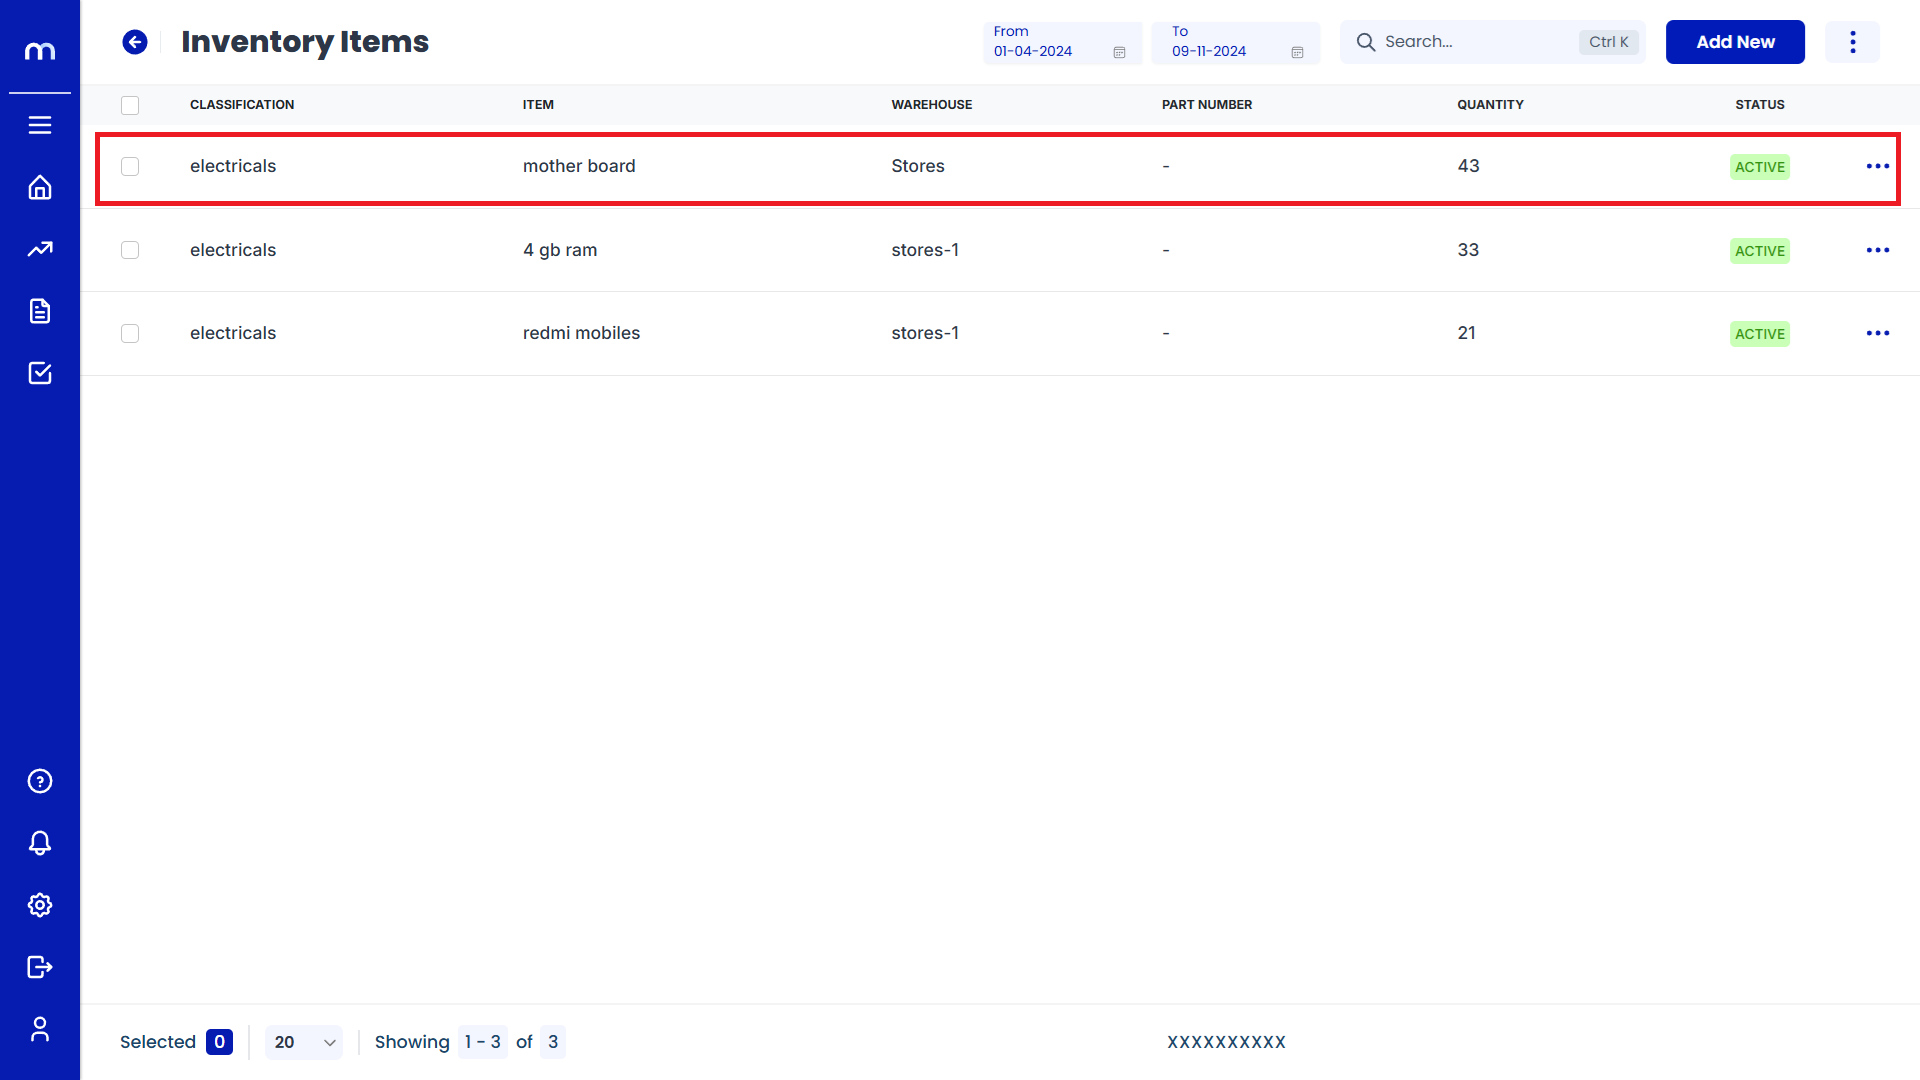
Click on Edit
Stock Info page will be displayed as Follows and Click on Edit button.
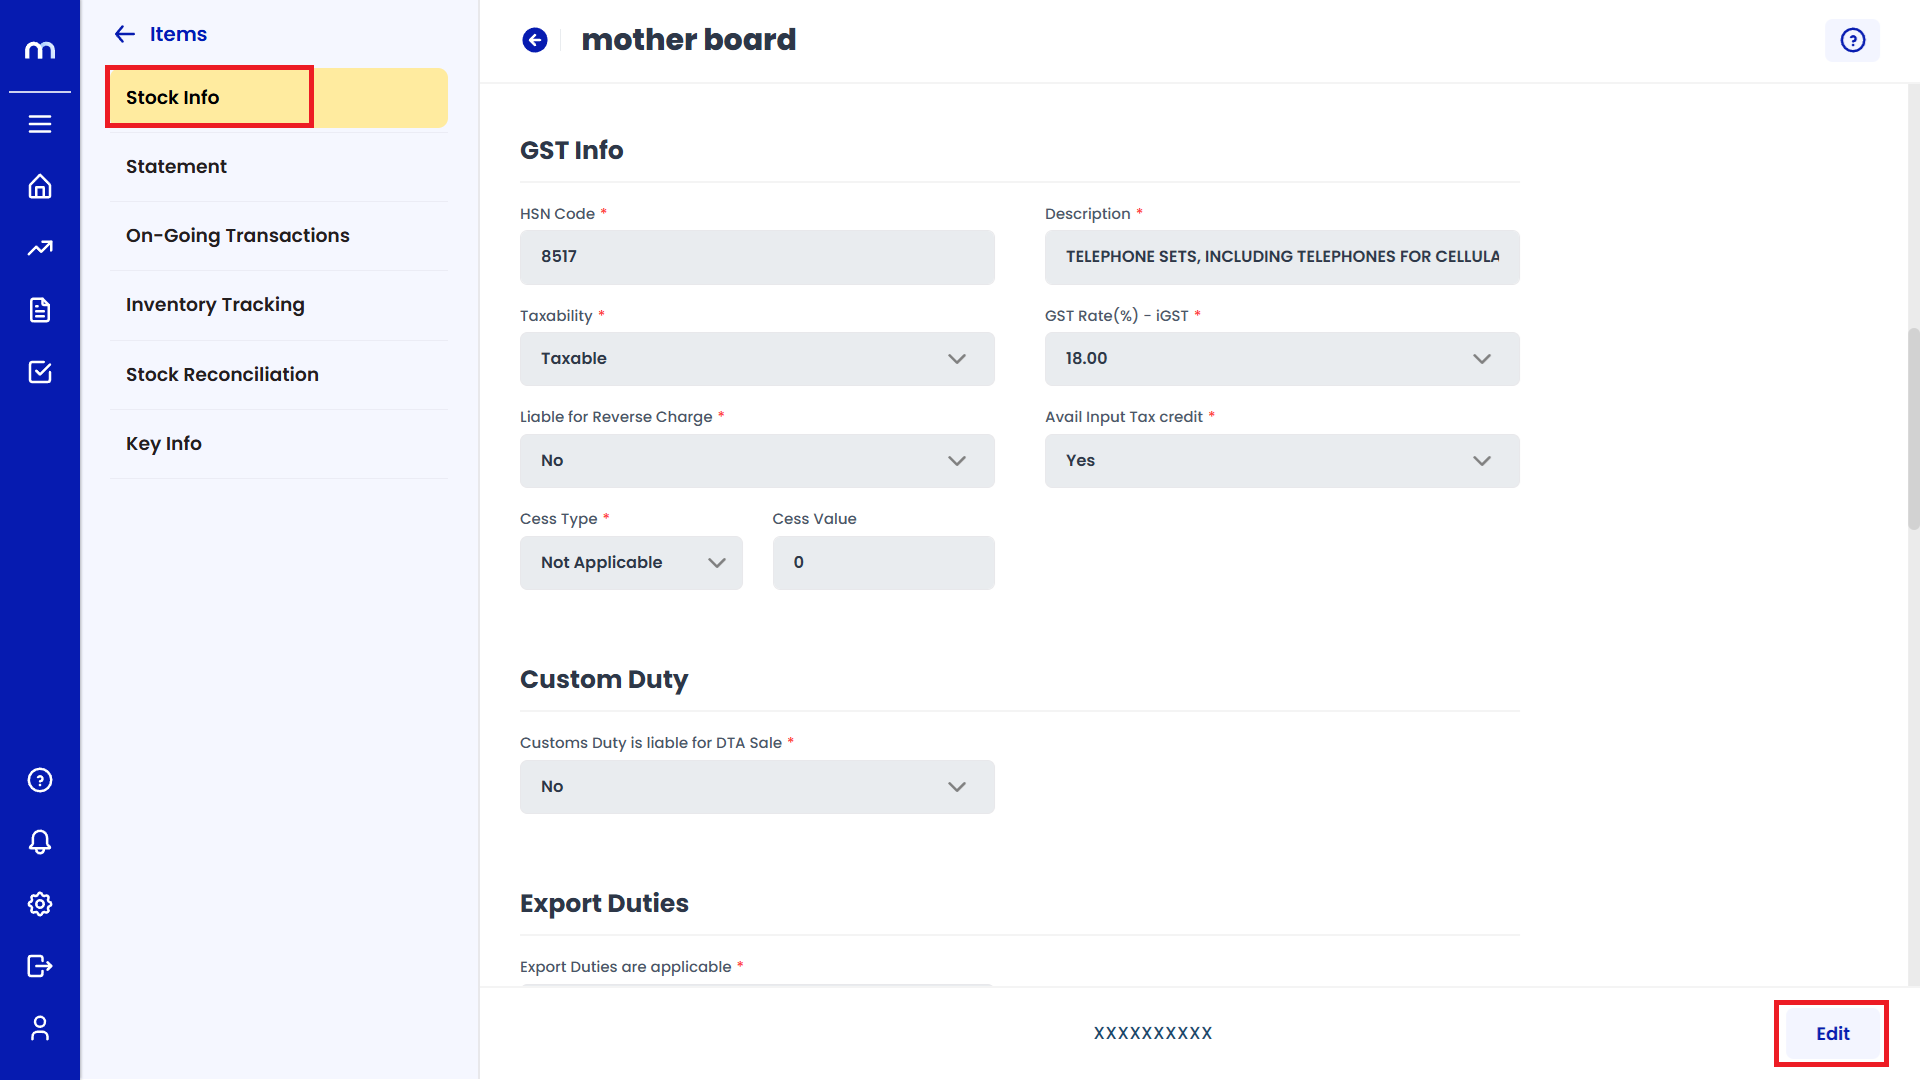
Select on Yes
Click on the dropdown menu next to Enable Liable for Reverse Charge and select Yes to enable GST Info.
Click on Update
Stock Info page will be displayed as Follows, Change the mandatory fields and click Update button to change an Inventory Item successfully.

How to Enable Custom Duty?
Navigation
Go to Dashboard > Menu > Inventory > Items.
Select on Inventory Item.
Inventory Items Page will be displayed as follows and Select on one Inventory Item.
Click on Edit
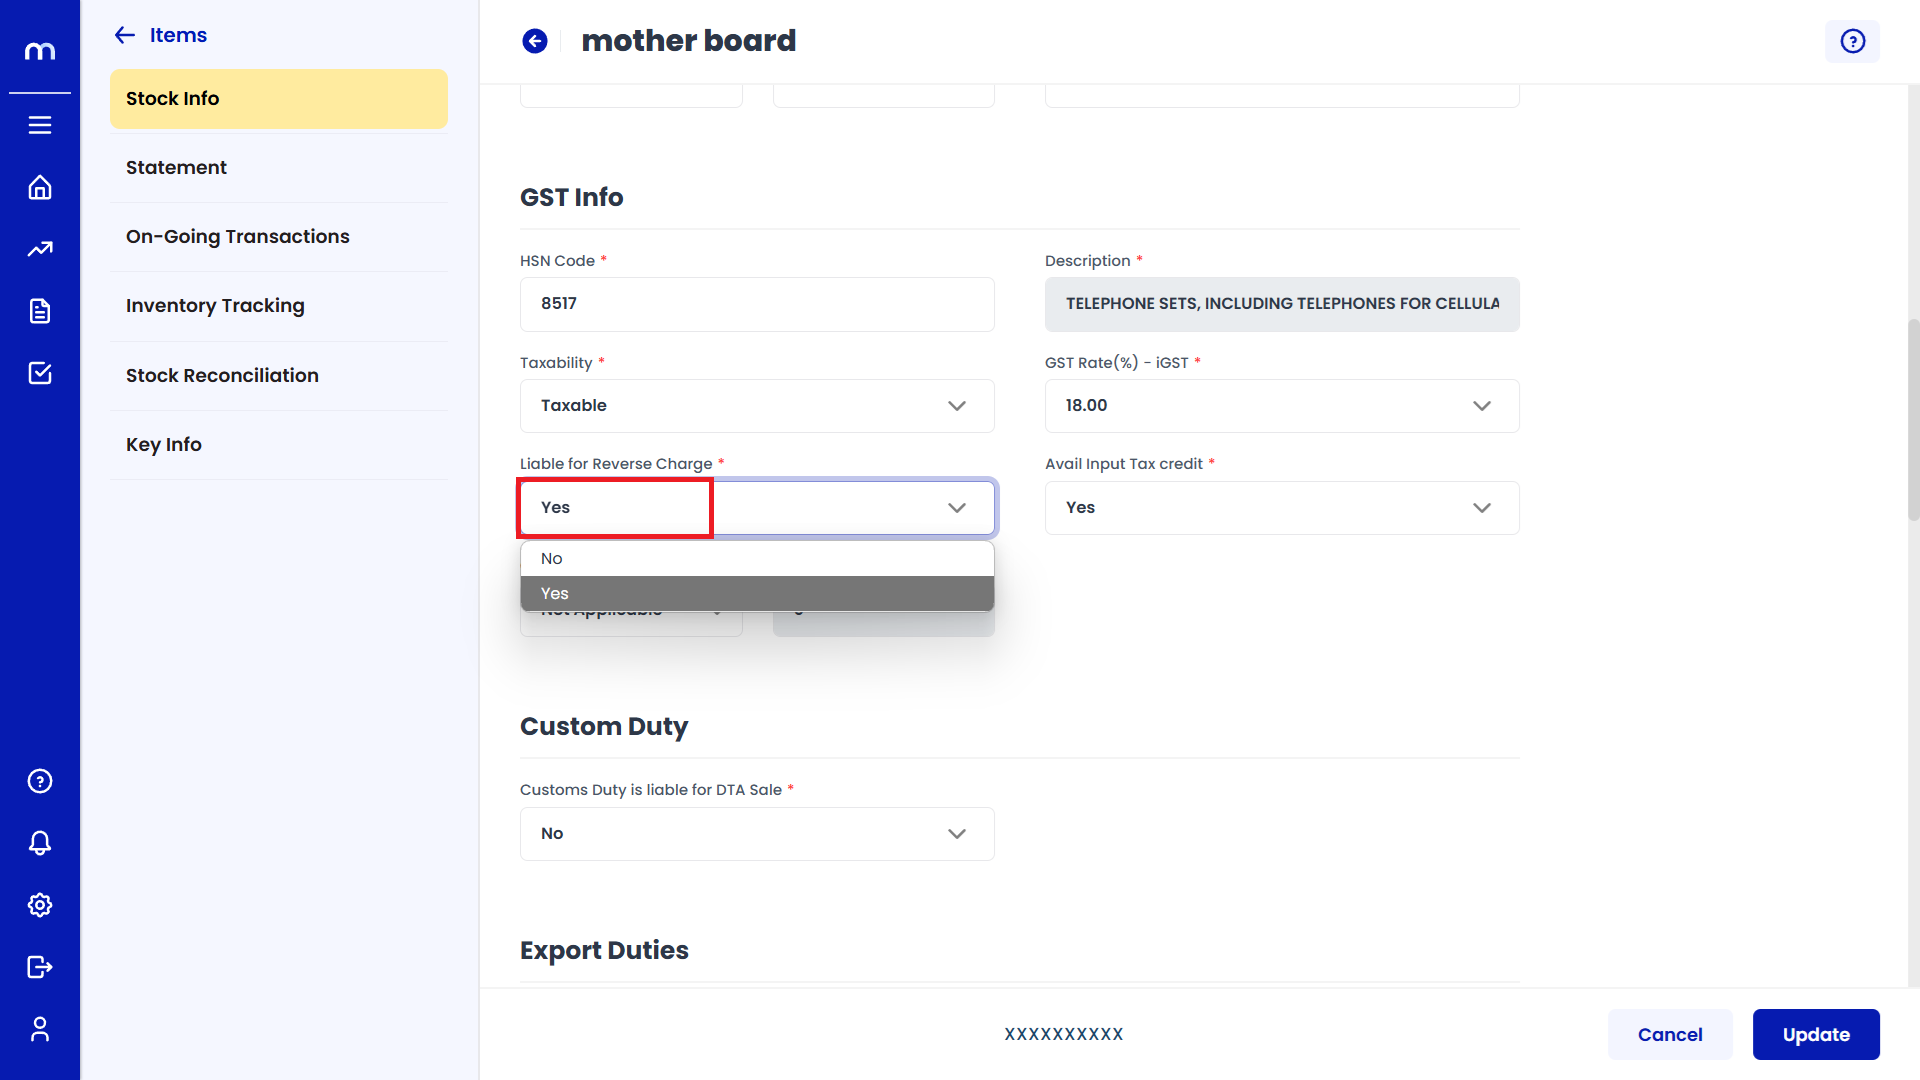
Stock Info page will be displayed as Follows and Click on Edit button.
Select on Yes
Click on the dropdown menu next to Enable Customs Duty is liable for DTA Sale and select Yes to enable Customs Duty.
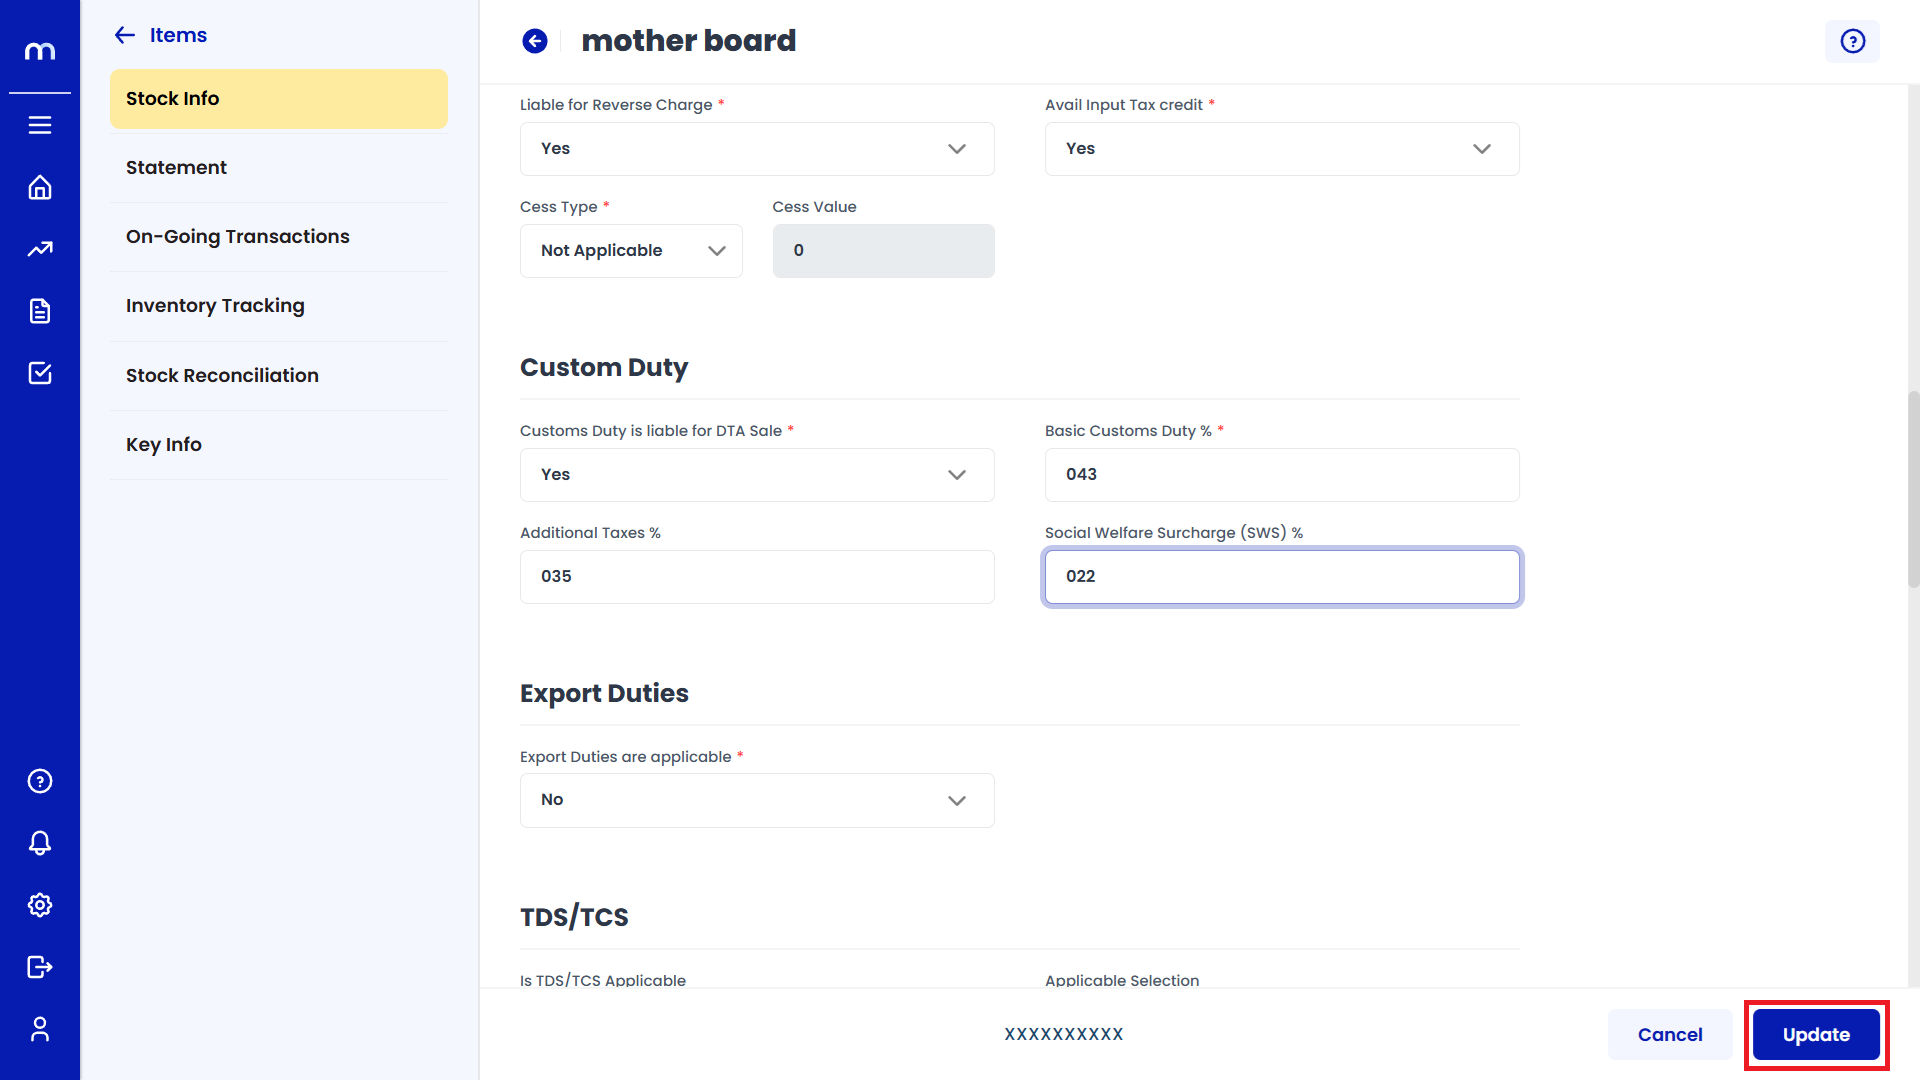
Click on Update
Stock Info page will be displayed as Follows, Change the mandatory fields and click Update button to change an Inventory Item successfully.
How to Enable Export Duties?
Navigation
Go to Dashboard > Menu > Inventory > Items.
Select on Inventory Item.
Inventory Items Page will be displayed as follows and Select on one Inventory Item.
Click on Edit
Stock Info page will be displayed as Follows and Click on Edit button.
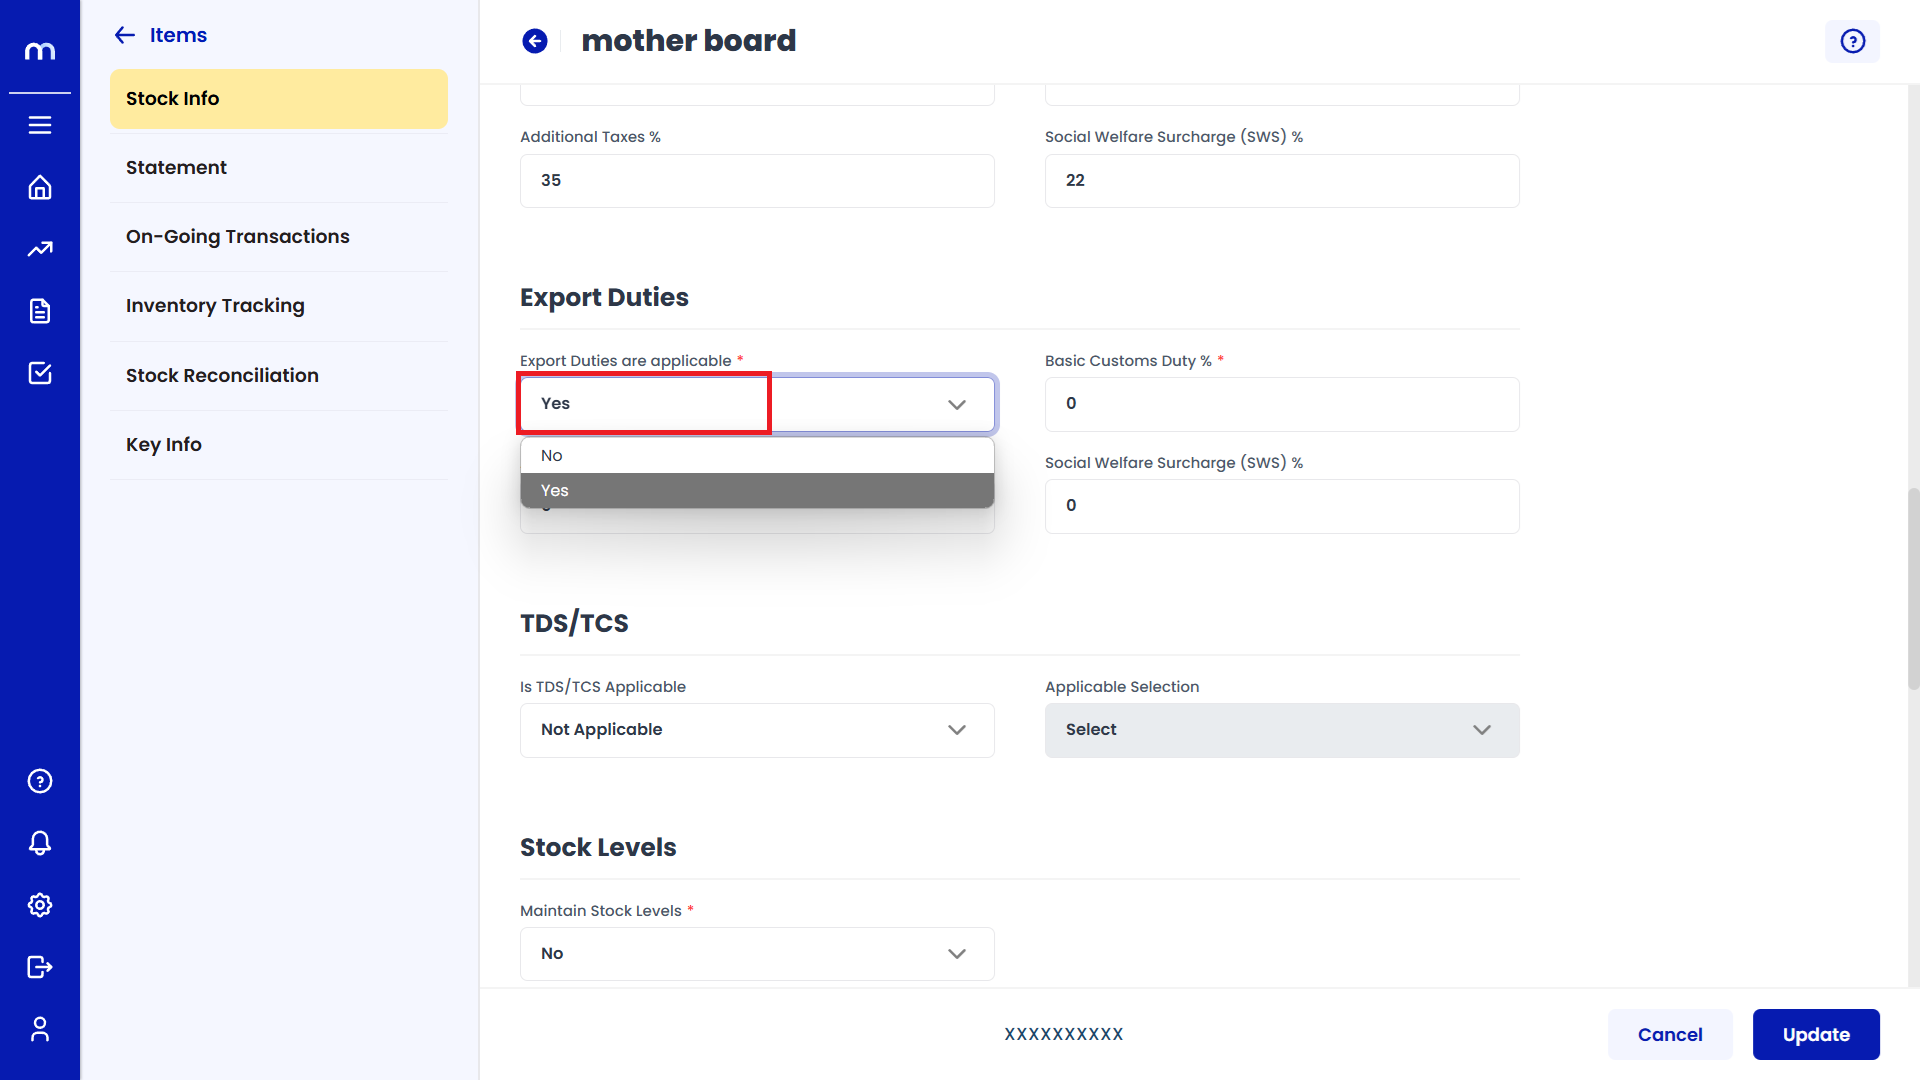
Select on Yes
Click on the dropdown menu next to Enable Export Duties are applicable and select Yes to enable Export Duties.
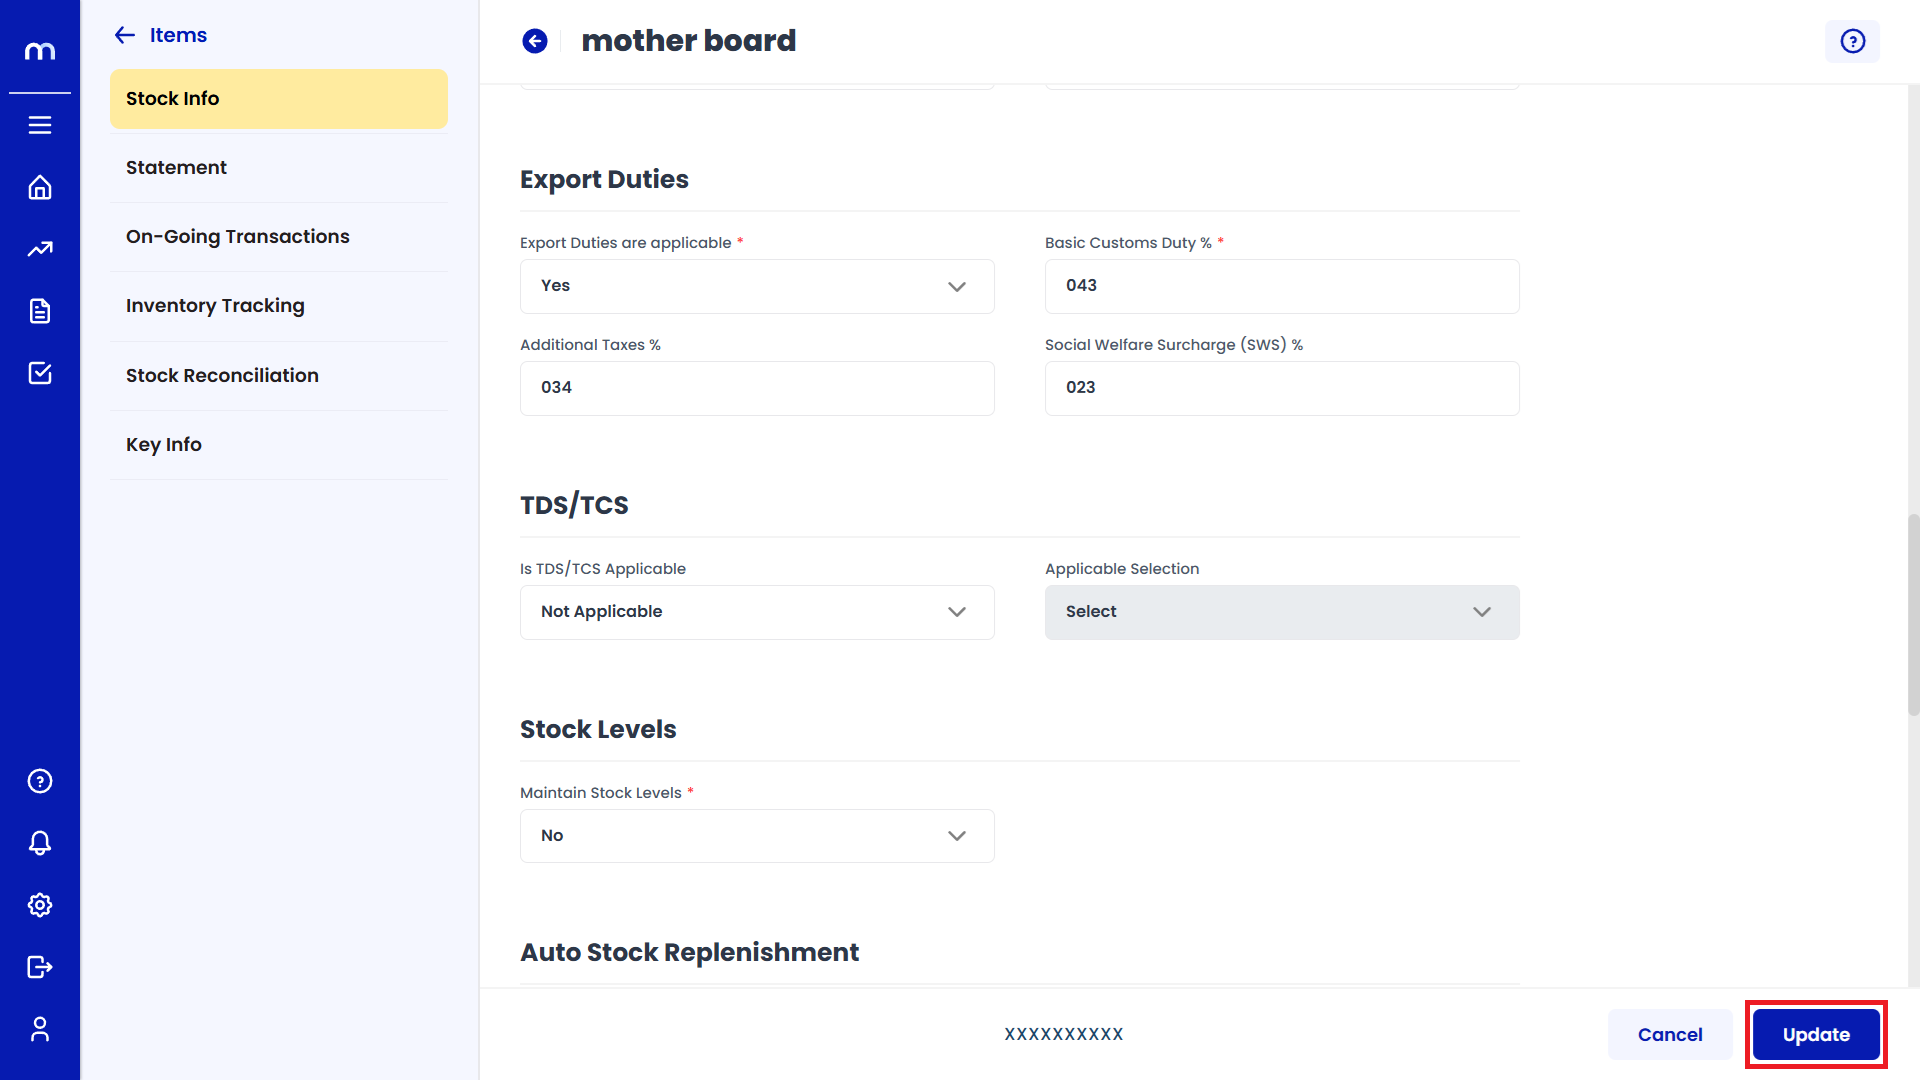
Click on Update
Stock Info page will be displayed as Follows, Change the mandatory fields and click Update button to change an Inventory Item successfully.
How to Enable Stock Levels?
Navigation
Go to Dashboard > Menu > Inventory > Items.
Select on Inventory Item.
Inventory Items Page will be displayed as follows and Select on one Inventory Item.
Click on Edit
Stock Info page will be displayed as Follows and Click on Edit button.
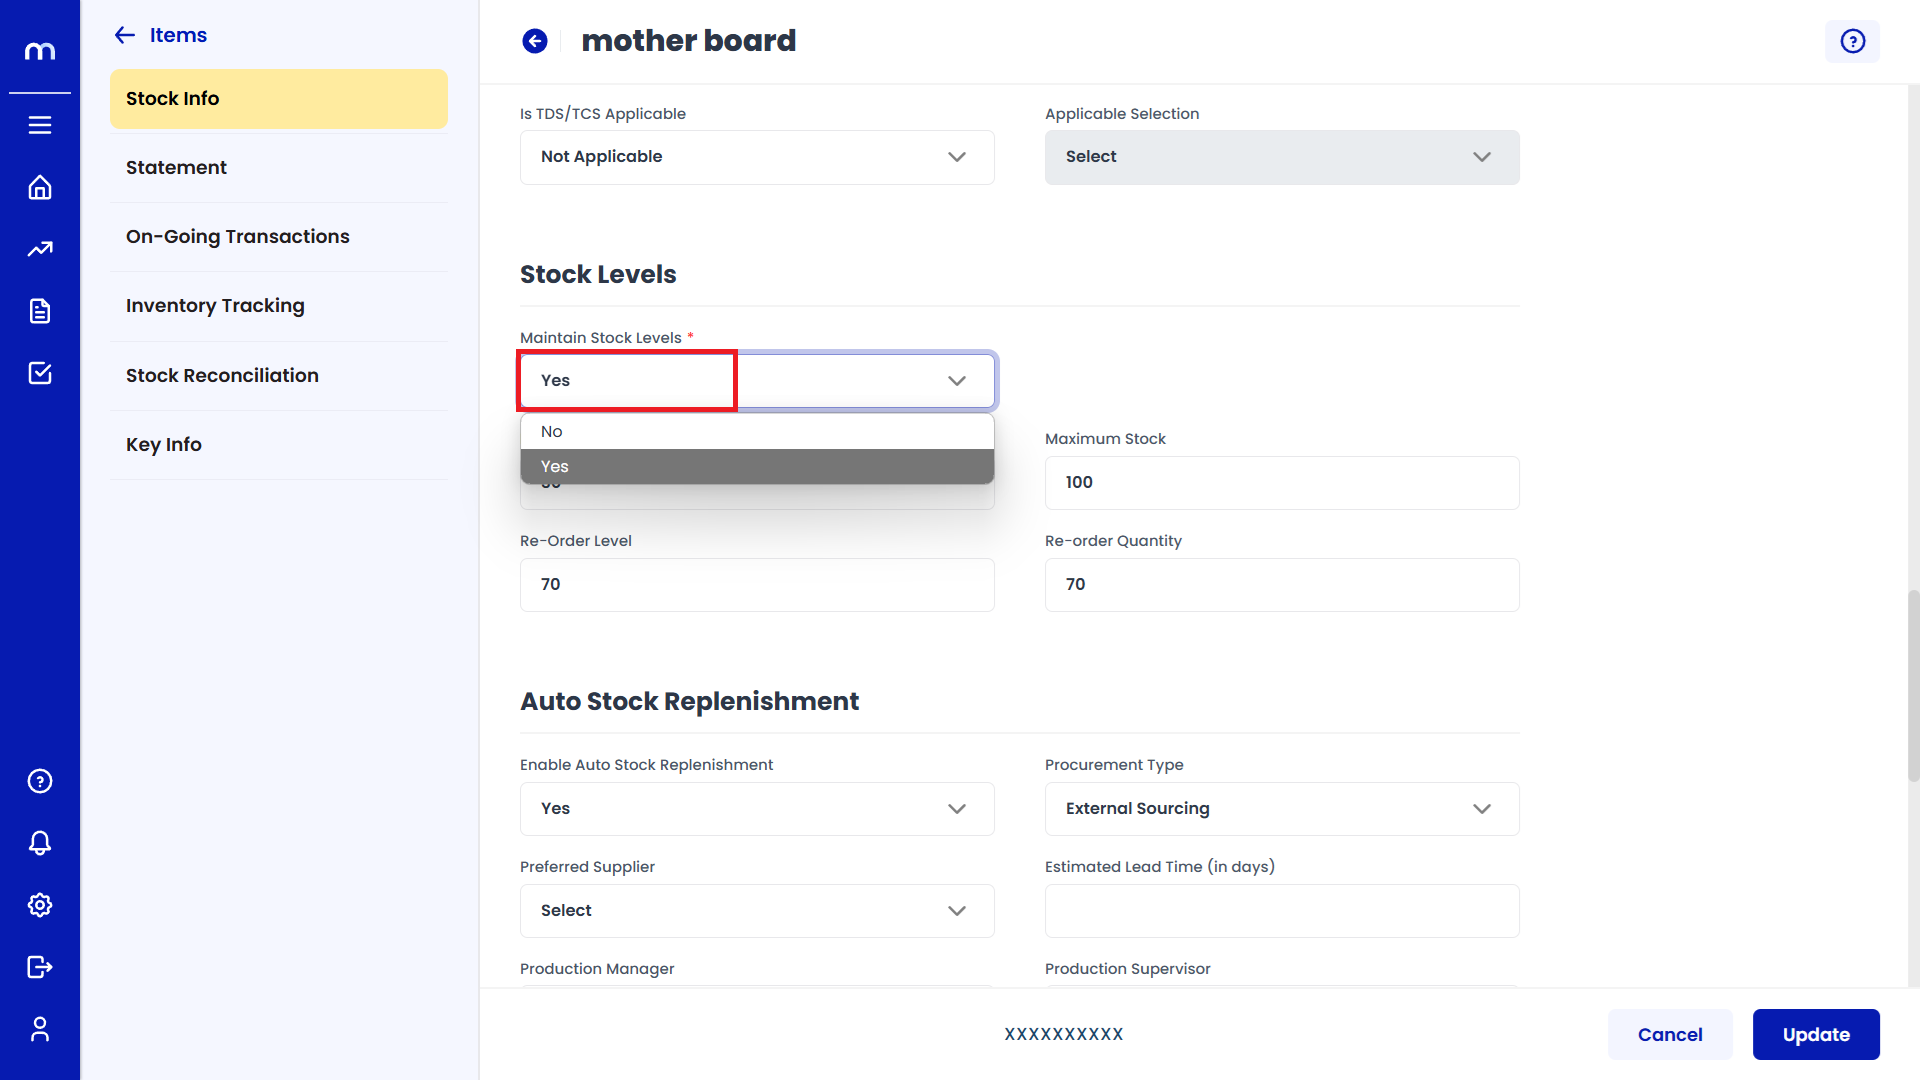
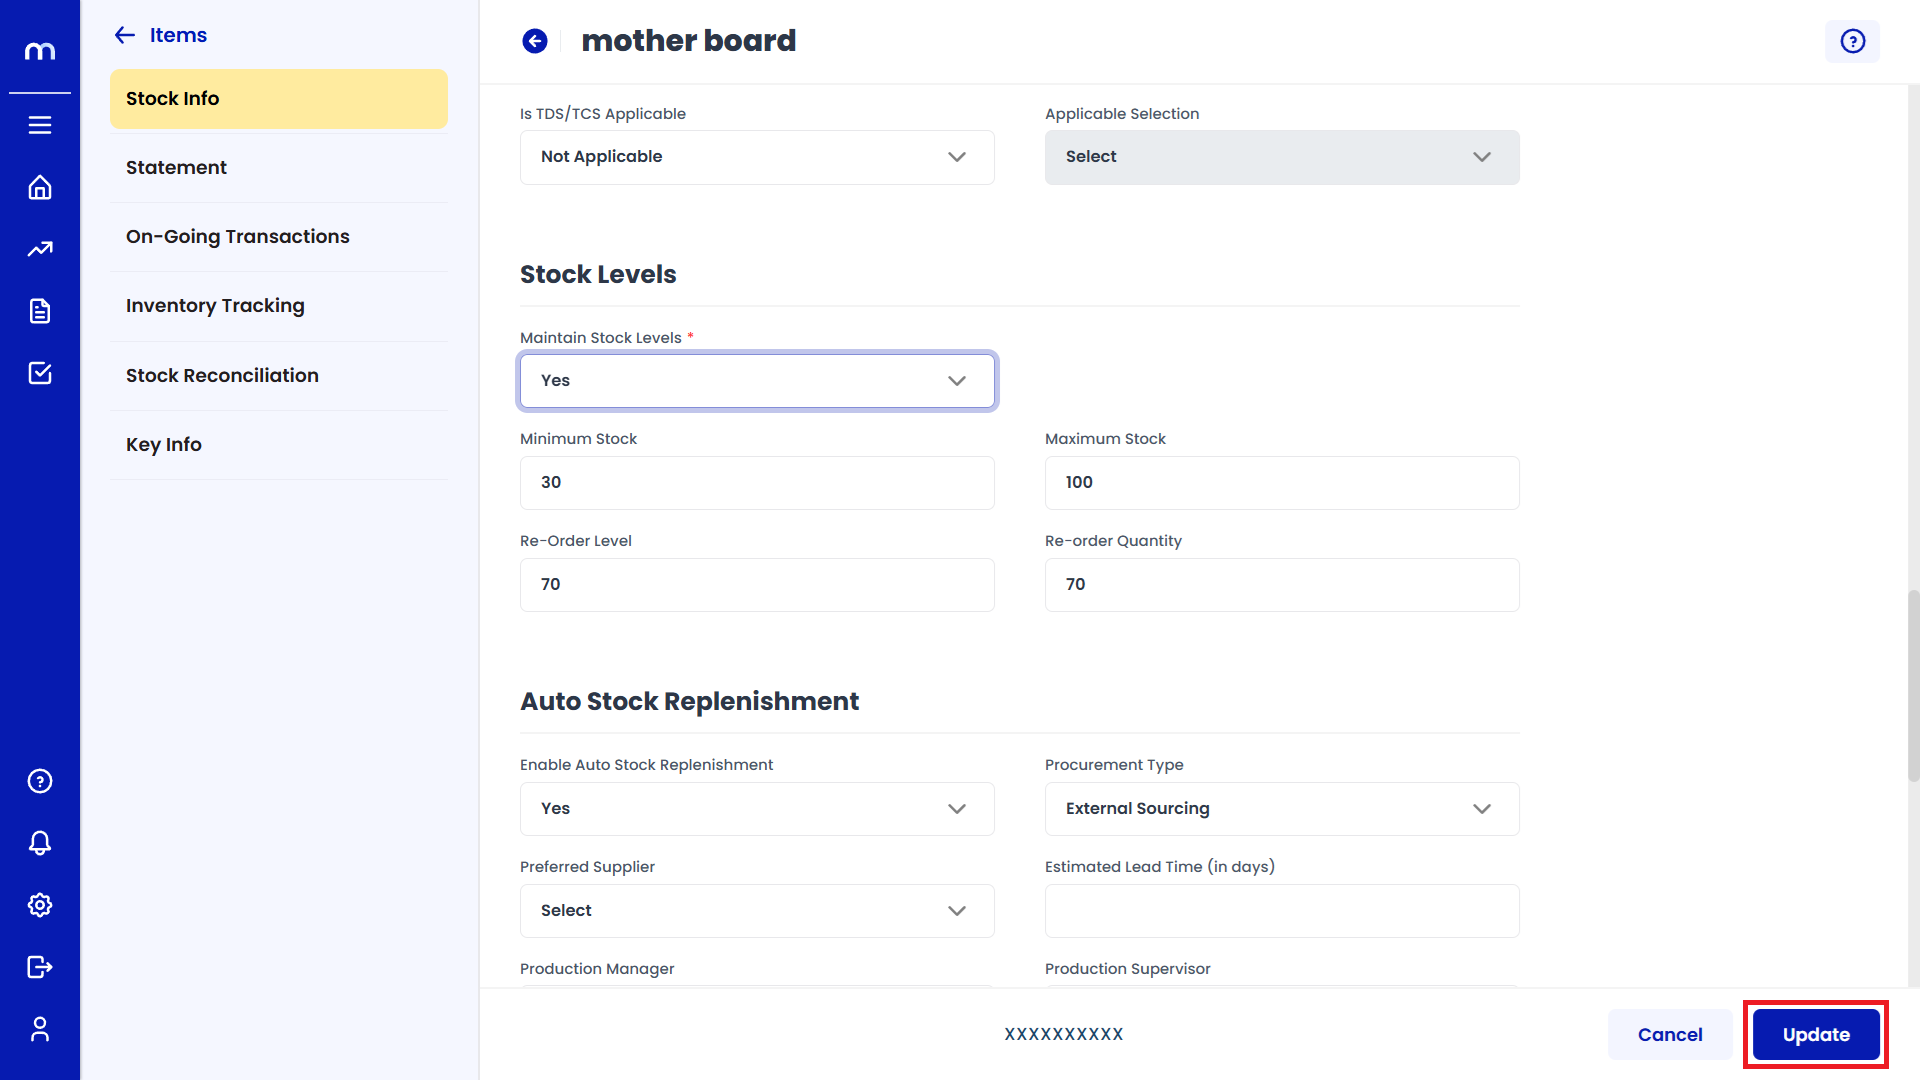
Select on Yes
Click on the dropdown menu next to Enable Maintain Stock Levels and select Yes to enable Stock Levels.
Click on Update
Stock Info page will be displayed as Follows, Change the mandatory fields and click Update button to change an Inventory Item successfully.
How to Enable Auto Stock Replenishment?
Navigation
Go to Dashboard > Menu > Inventory > Items.
Select on Inventory Item.
Inventory Items Page will be displayed as follows and Select on one Inventory Item.
Click on Edit
Stock Info page will be displayed as Follows and Click on Edit button.
Select on Yes
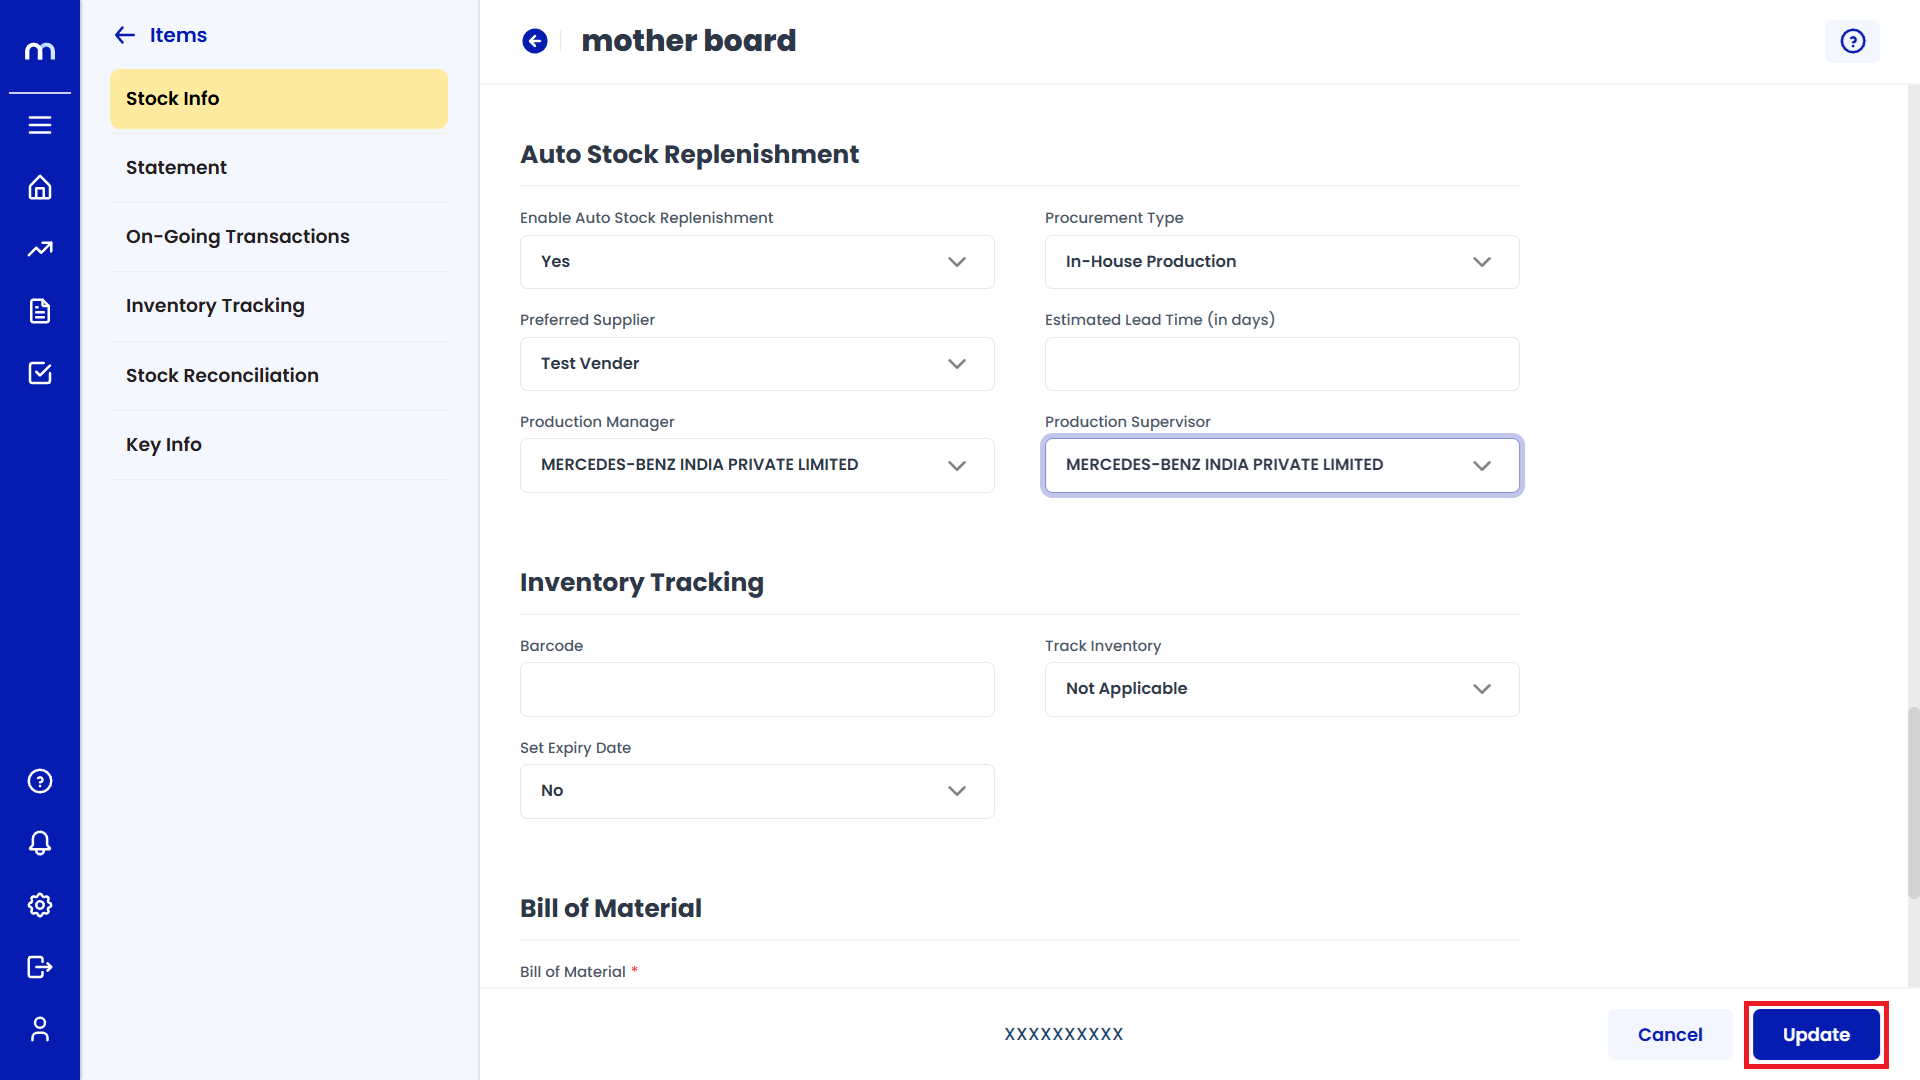
Click on the dropdown menu next to Enable Auto Stock Replenishment and select Yes to enable Auto Stock Replenishment.
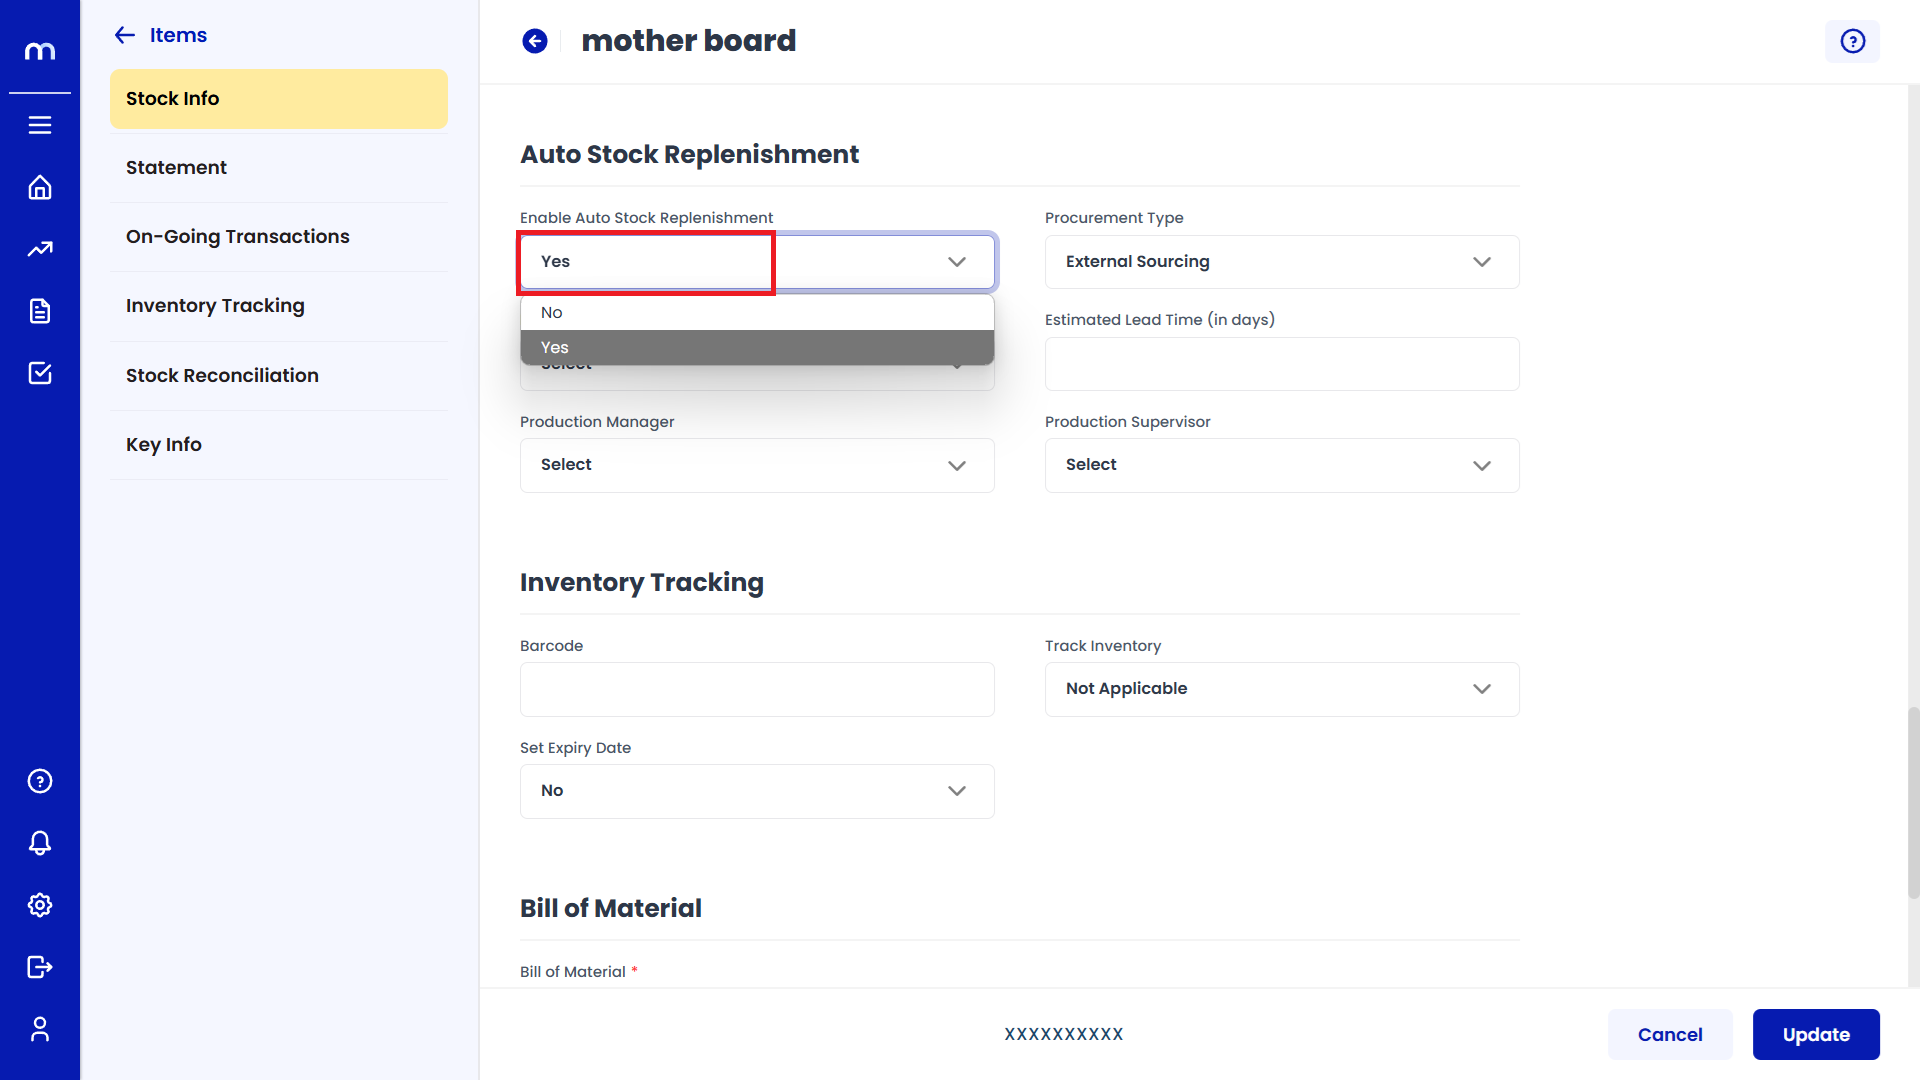
Click on Update
Stock Info page will be displayed as Follows, Change the mandatory fields and click Update button to change an Inventory Item successfully.
How to Enable Inventory Tracking?
Navigation
Go to Dashboard > Menu > Inventory > Items.
Select on Inventory Item.
Inventory Items Page will be displayed as follows and Select on one Inventory Item.
Click on Edit
Stock Info page will be displayed as Follows and Click on Edit button.
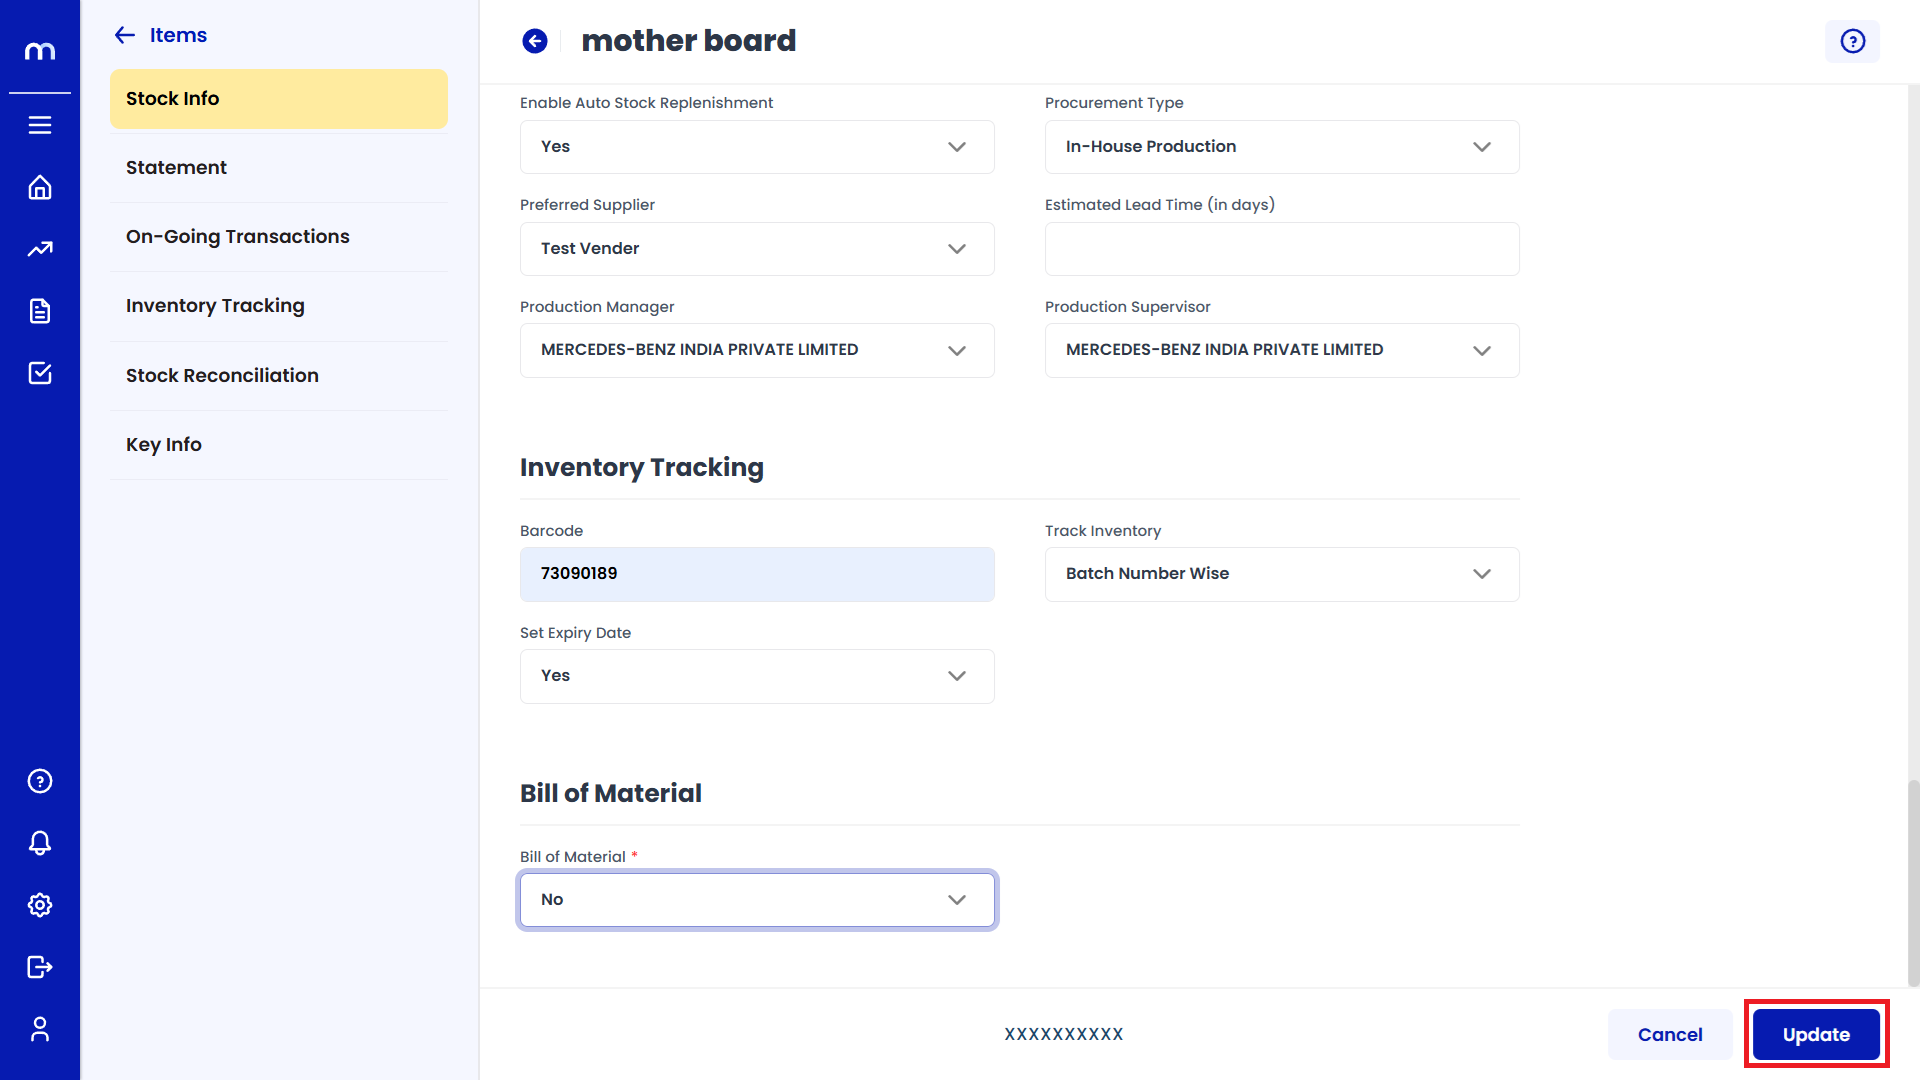
Select on Yes
Click on the dropdown menu next to Enable Set Expiry Date and select Yes to enable Set Expiry Date.

Click on Update
Stock Info page will be displayed as Follows, Change the mandatory fields and click Update button to change an Inventory Item successfully.
How to Enable Bill of Material (BOM)?
Navigation
Go to Dashboard > Menu > Inventory > Items.
Select on Inventory Item.
Inventory Items Page will be displayed as follows and Select on one Inventory Item.
Click on Edit
Stock Info page will be displayed as Follows and Click on Edit button.
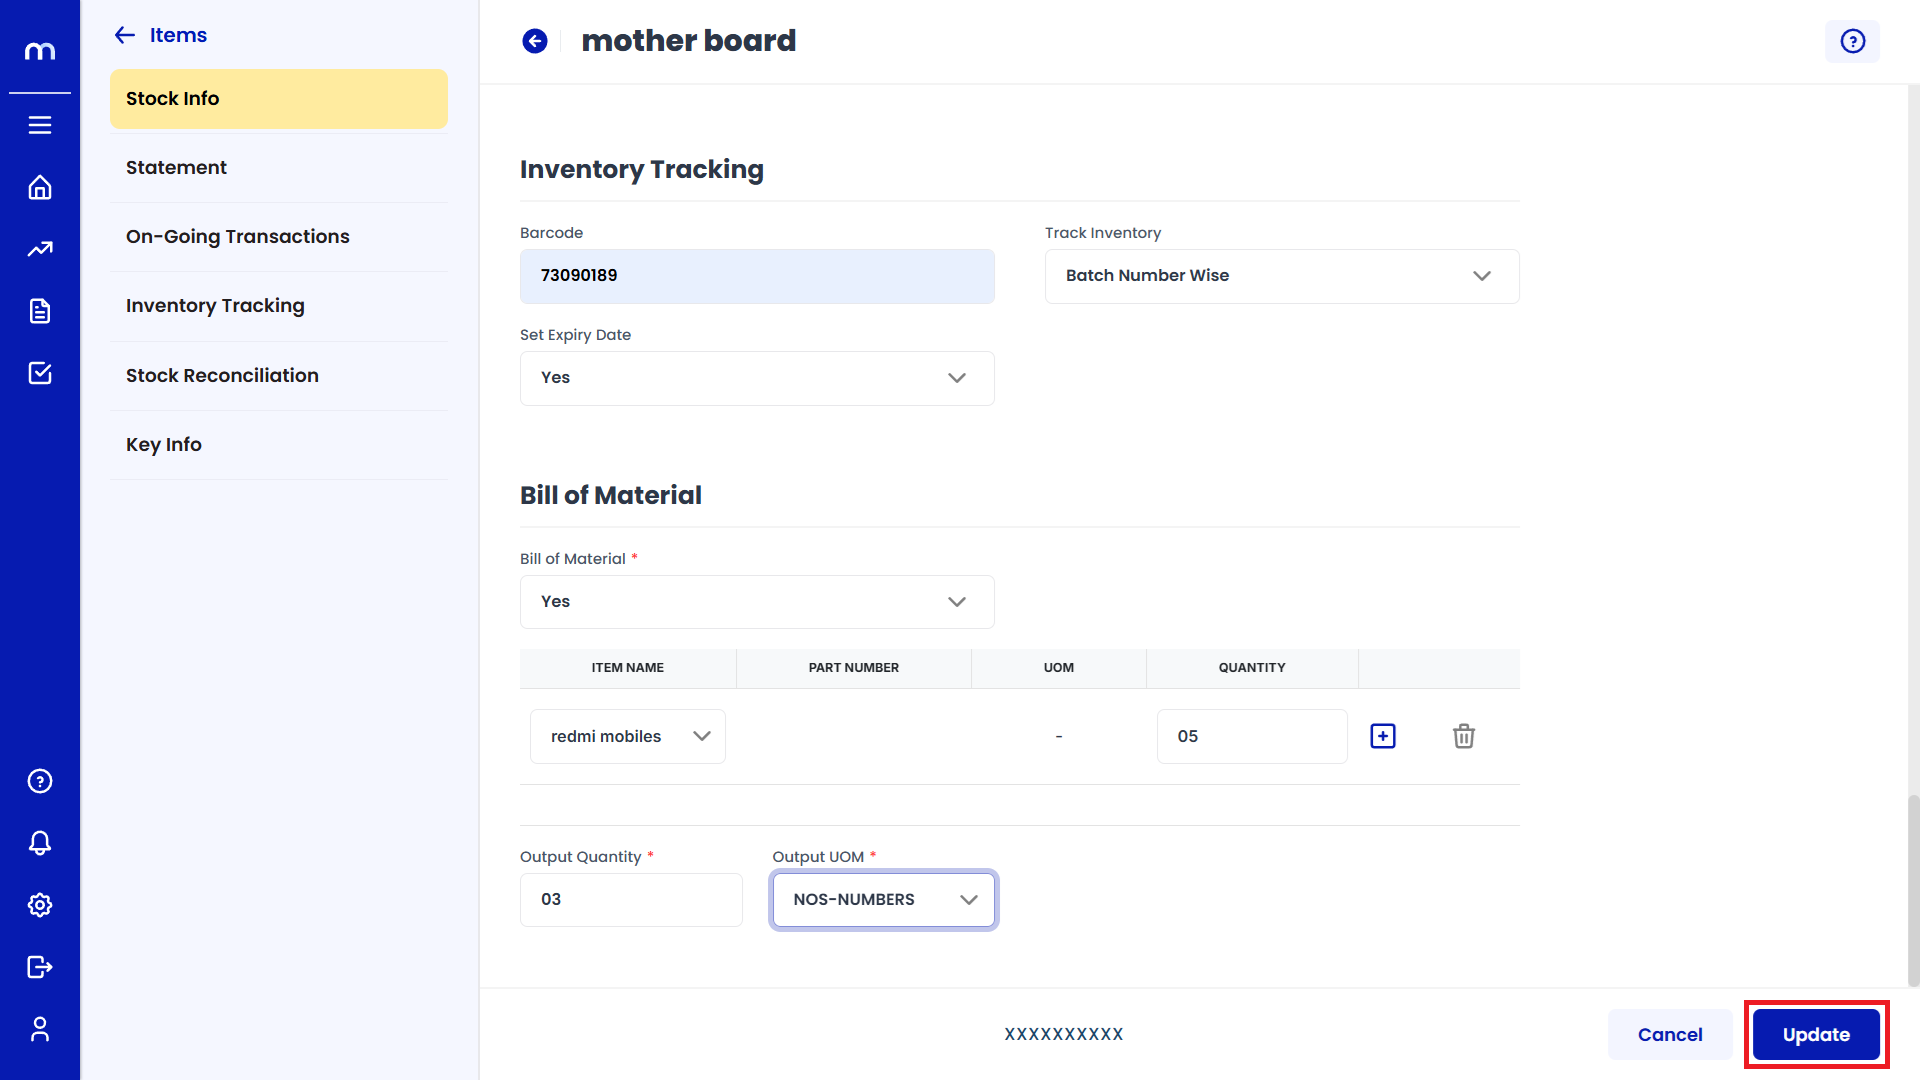
Select on Yes
Click on the dropdown menu next to Enable Bill of Material and select Yes to enable Bill of Material.
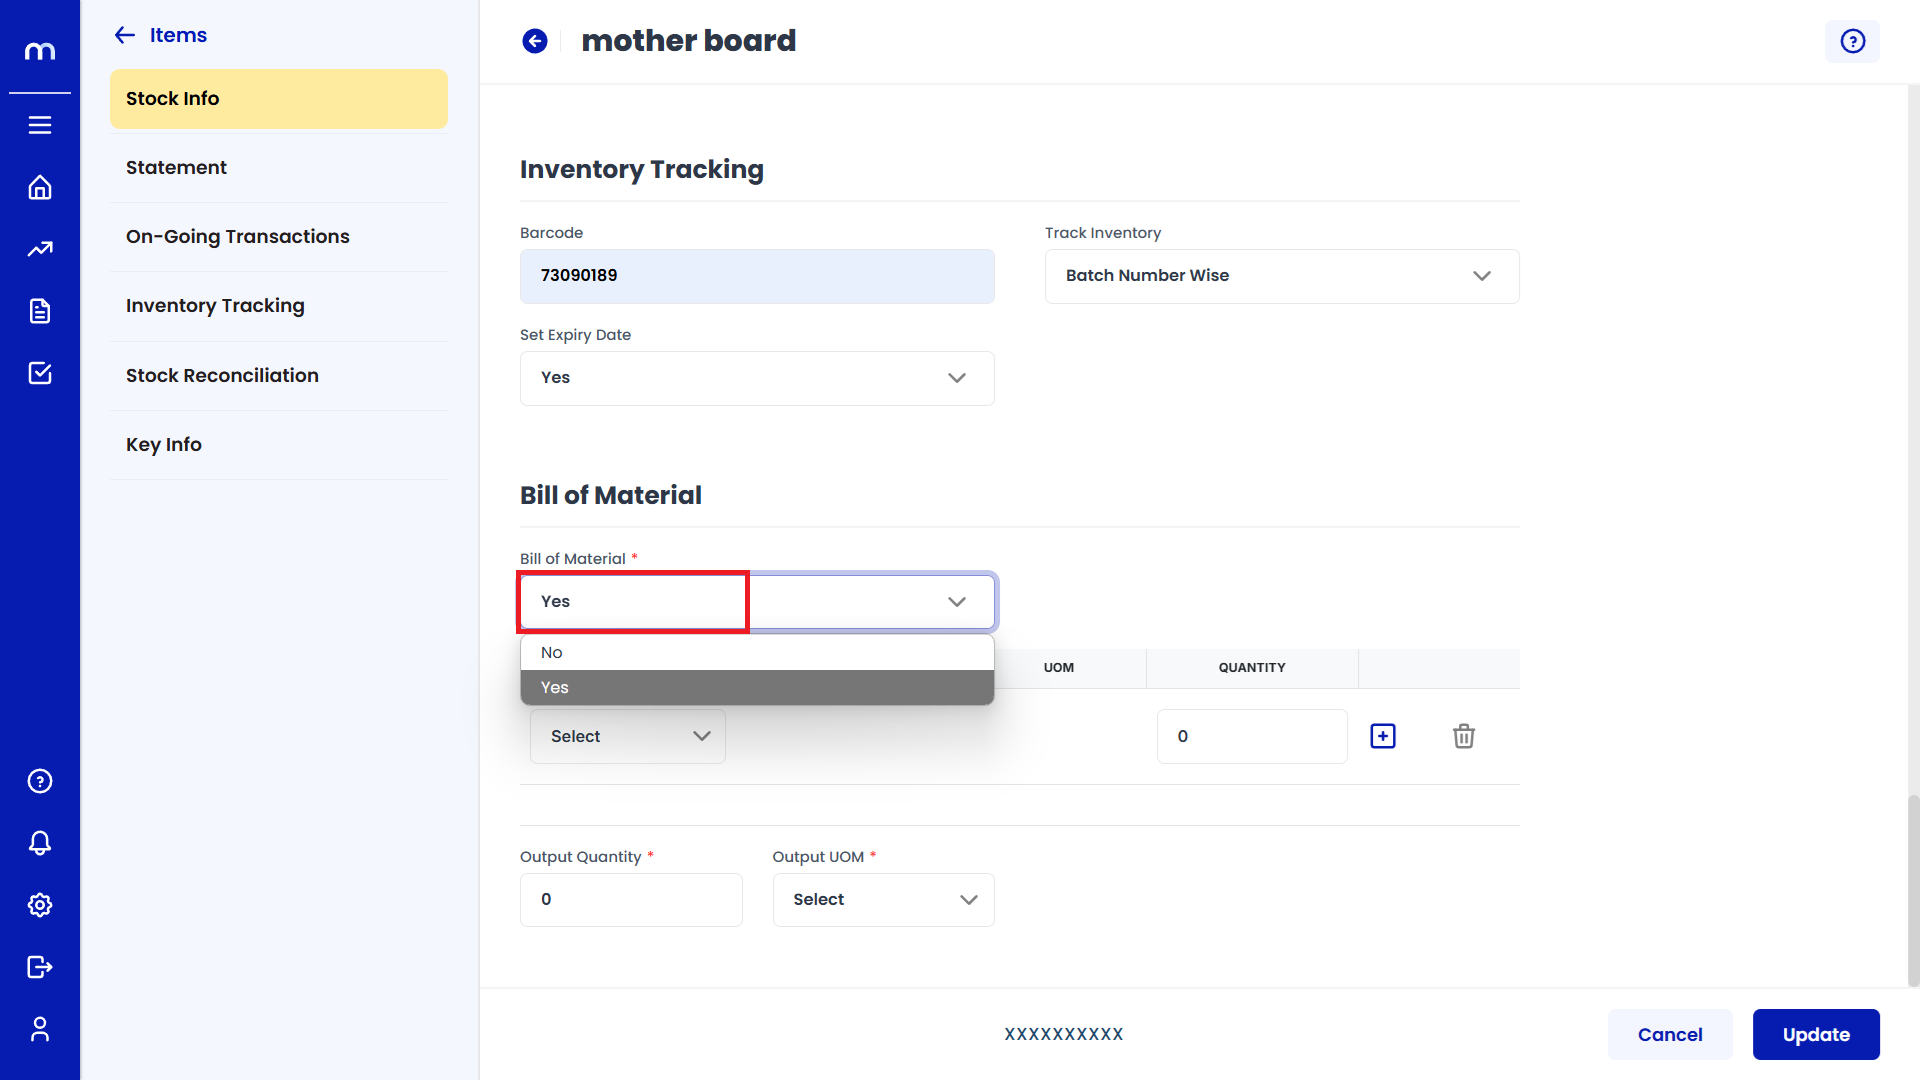
Click on Update
Stock Info page will be displayed as Follows, Change the mandatory fields and click Update button to change an Inventory Item successfully.