Inventory Item Creation
Inventory items can be created in two ways:
Flow-1: Using Quick Access Menu
Go to Dashboard > Menu > Inventory > Items.
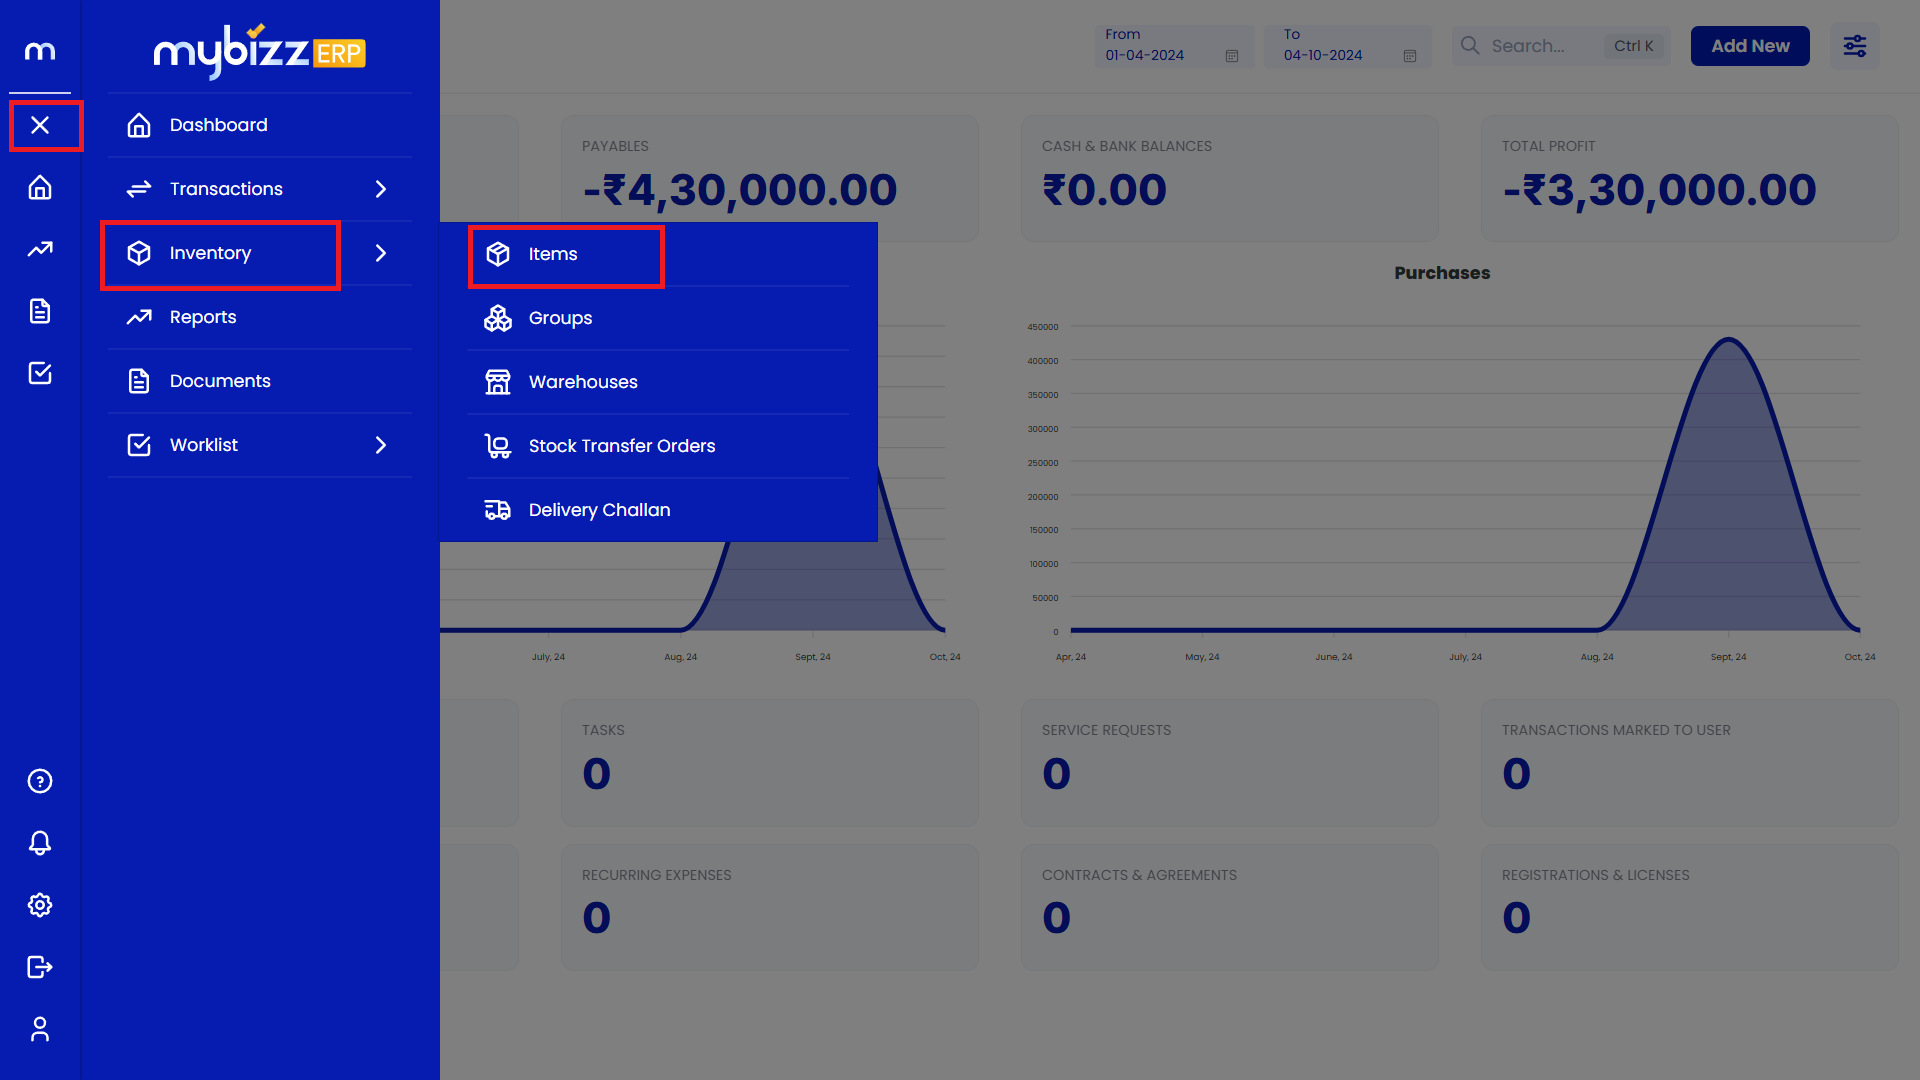
Note: Dashboard/Home/Main Menu will have the same meaning.
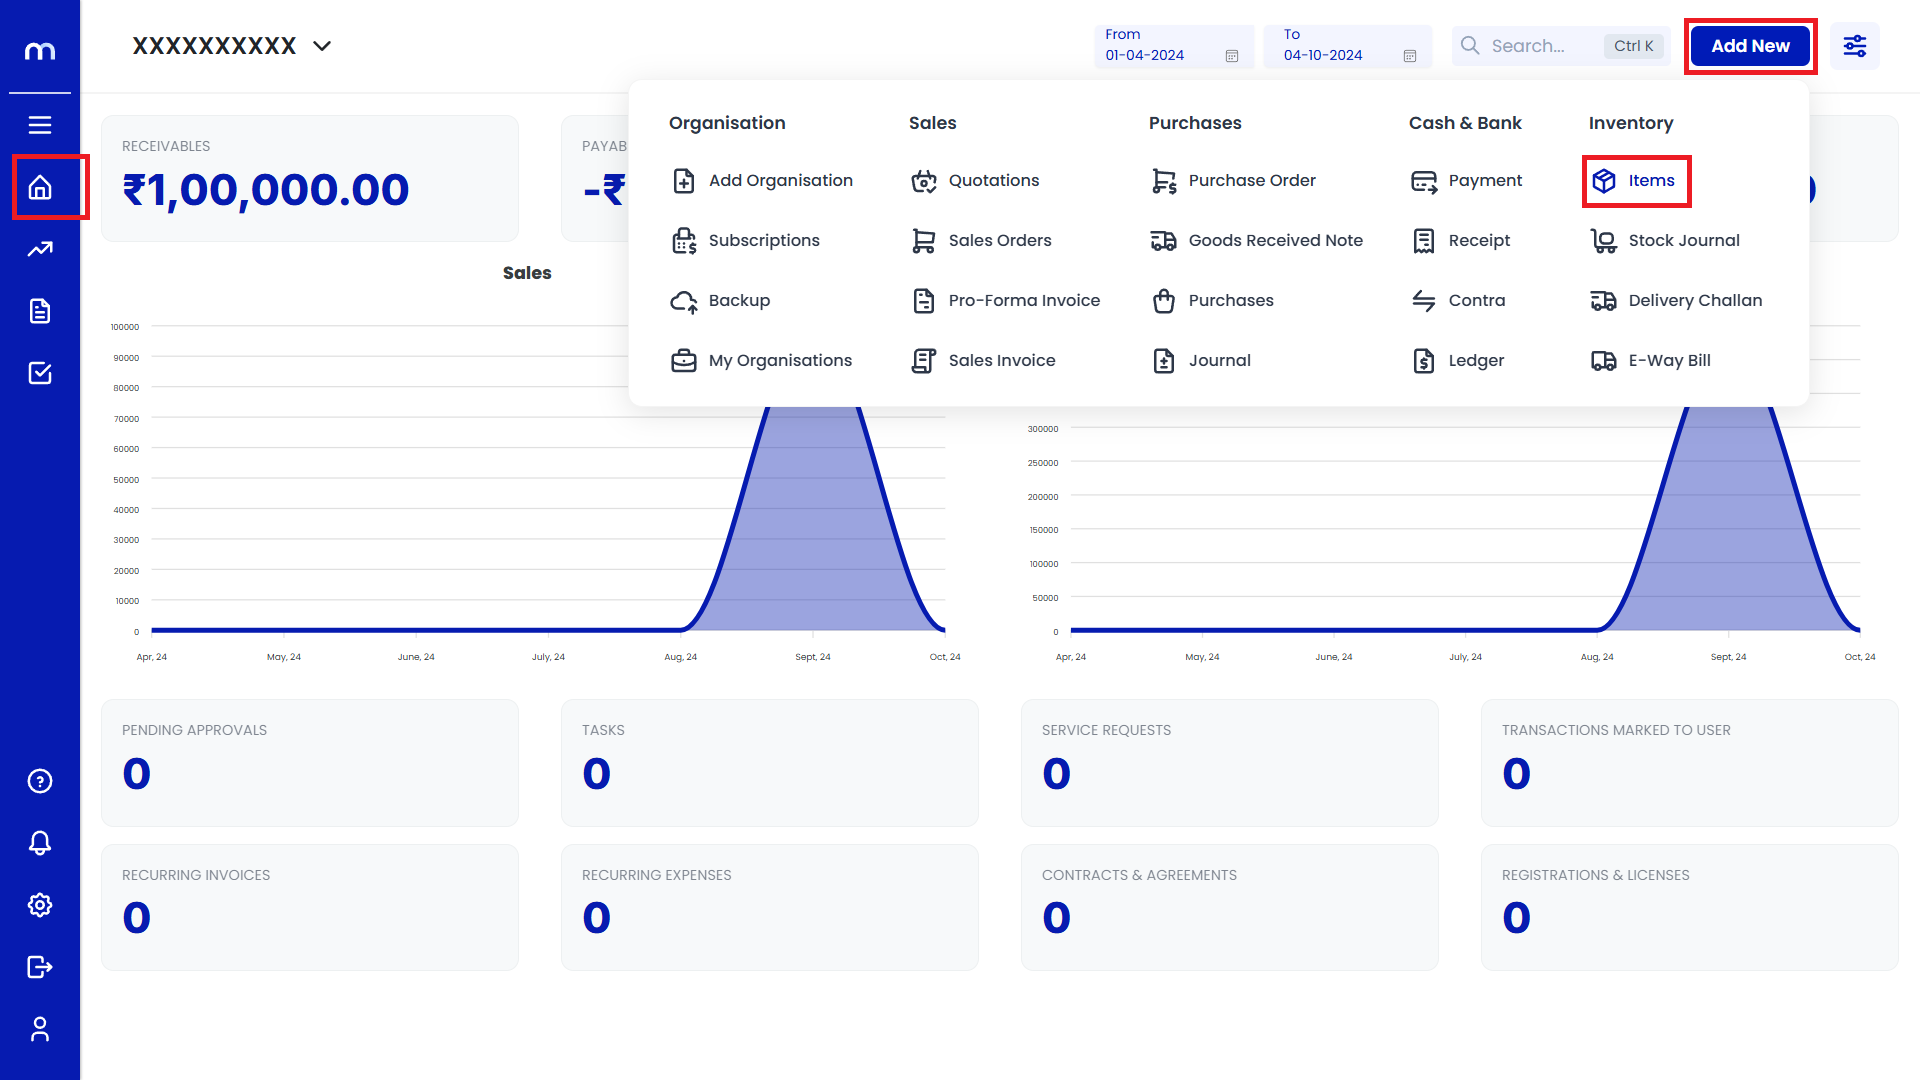
Flow-2: Using Dashboard
Go to Dashboard > Add New > Items.
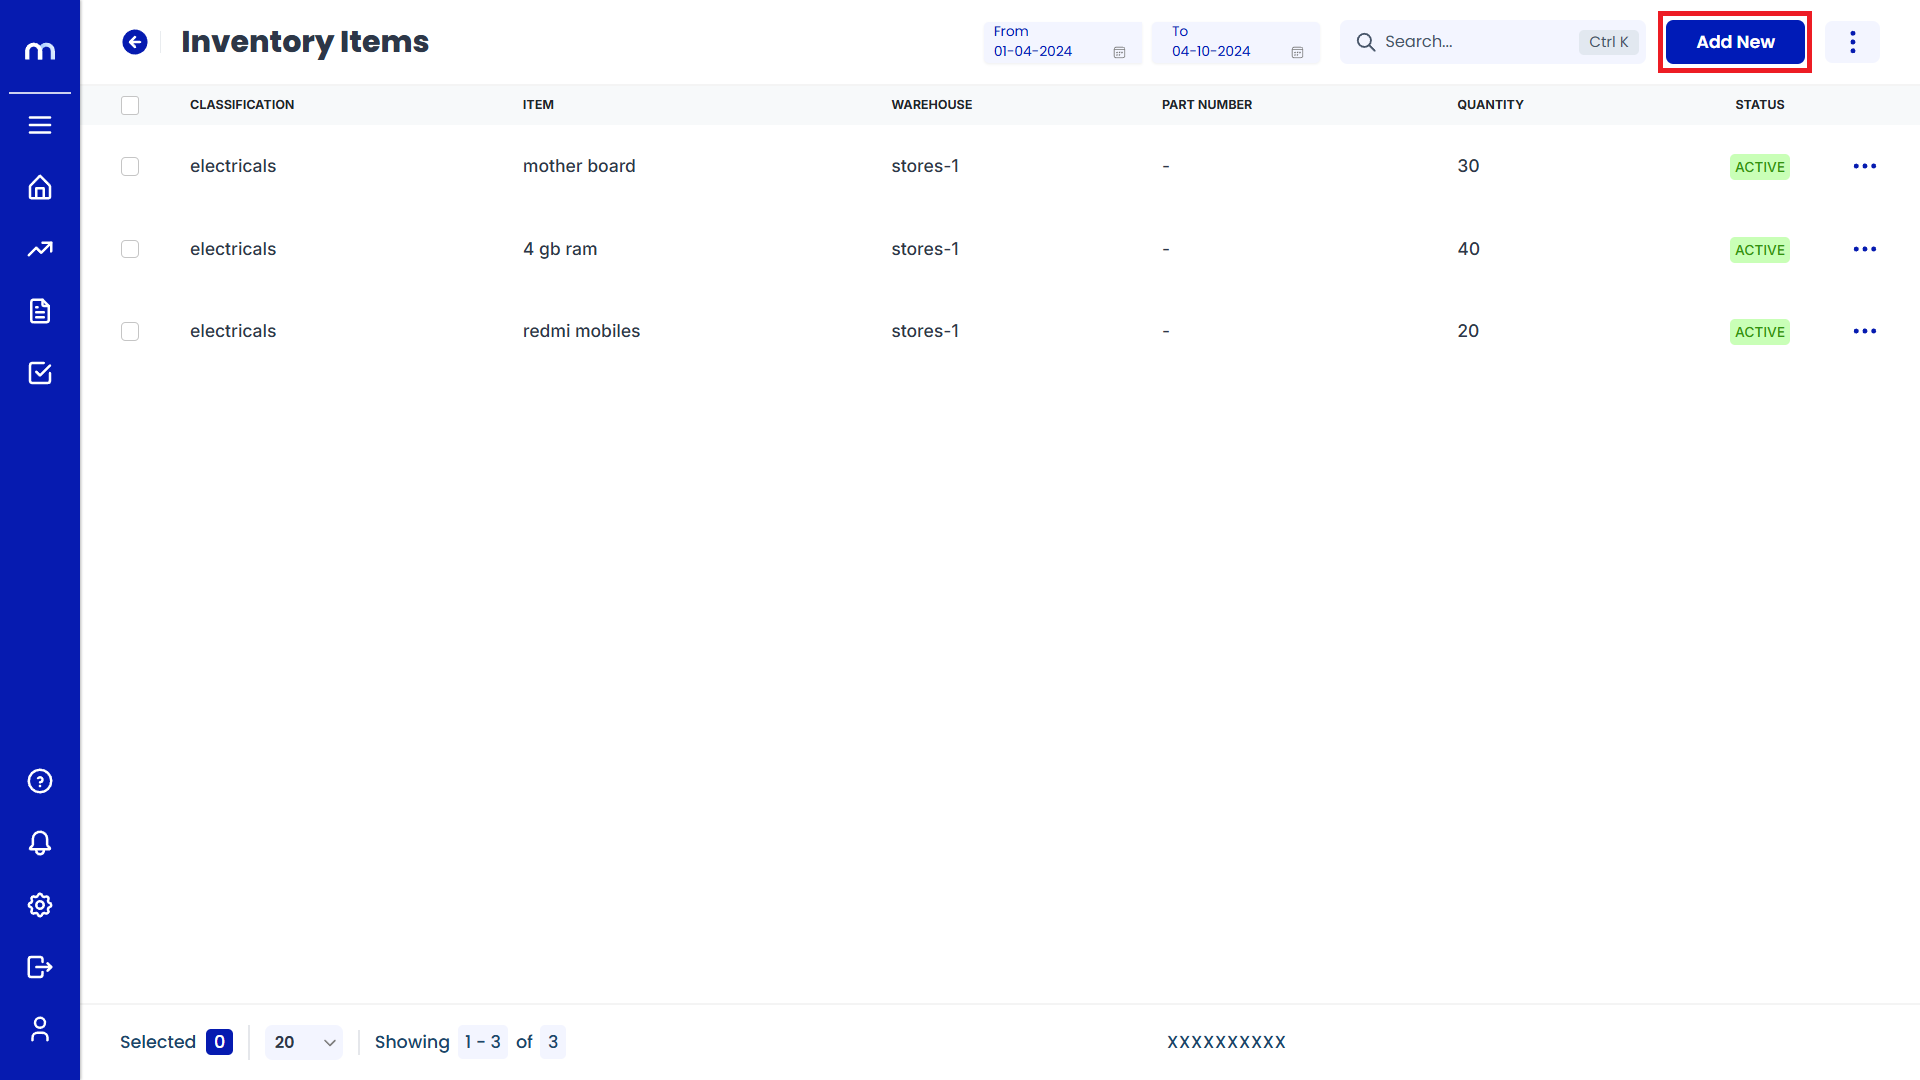
Adding New Inventory Item:
-
Click on Add New
The Inventory Items page will be displayed, click on Add New button.
-
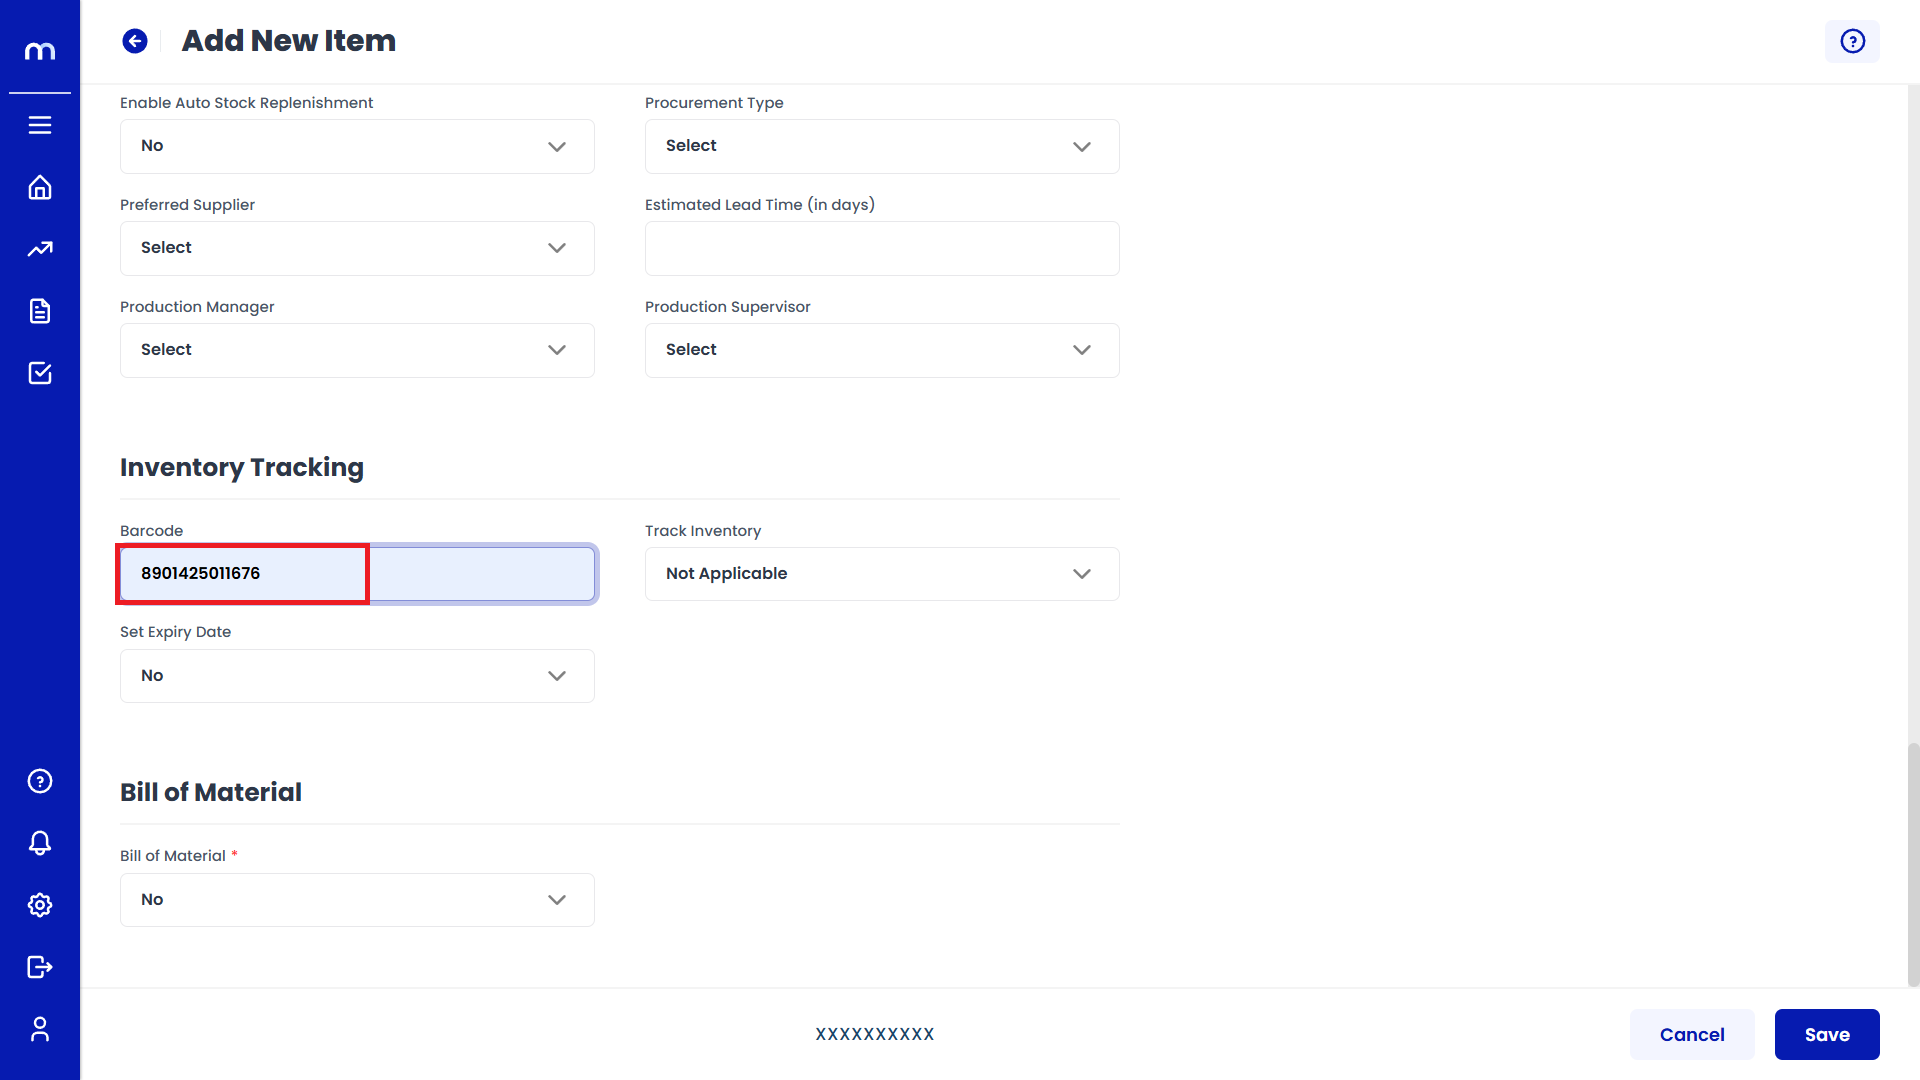
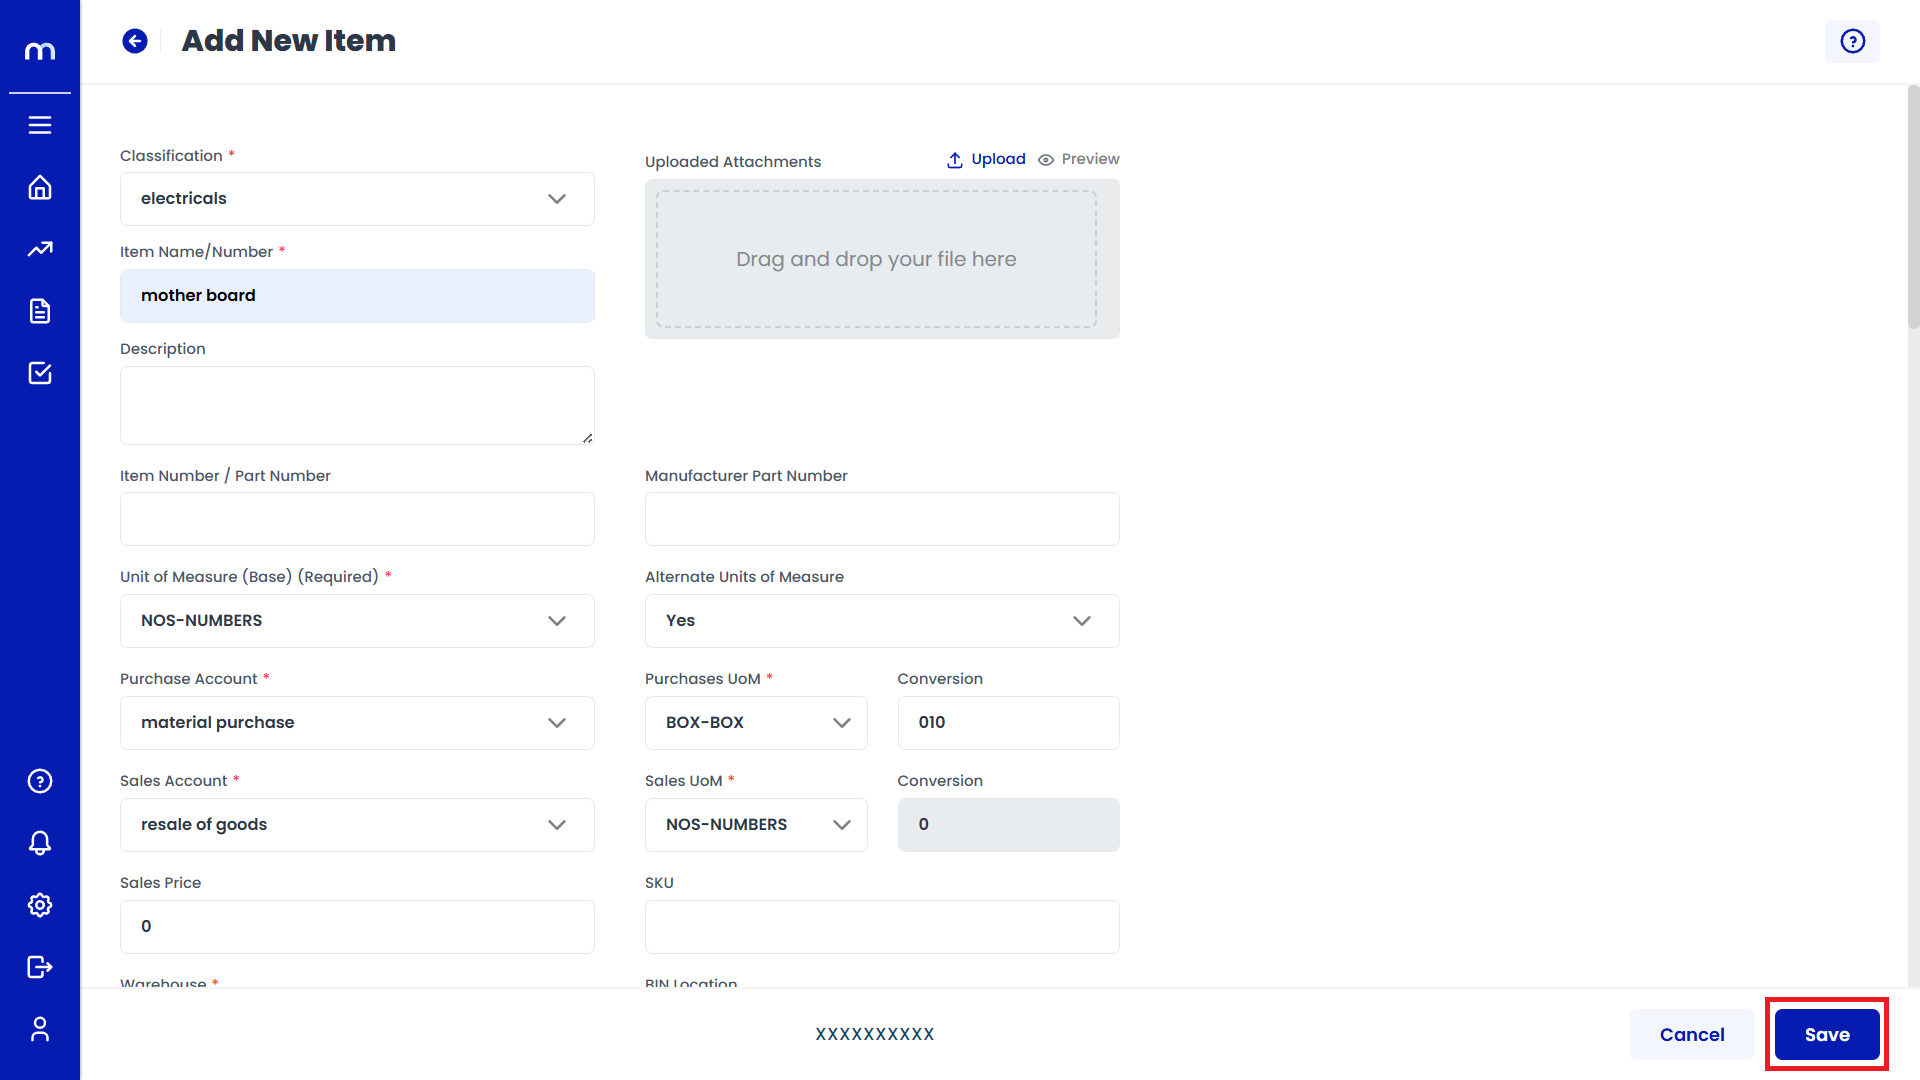
Fill in the Details
In the Add New Item page, fill all the mandatory fields. Enter the barcode number or scan the barcode using a barcode scanner. If the system supports barcode generation, you may also find an option to automatically generate and assign a barcode to the item.
-
Click on Save
Click the Save button to create a new inventory item successfully.
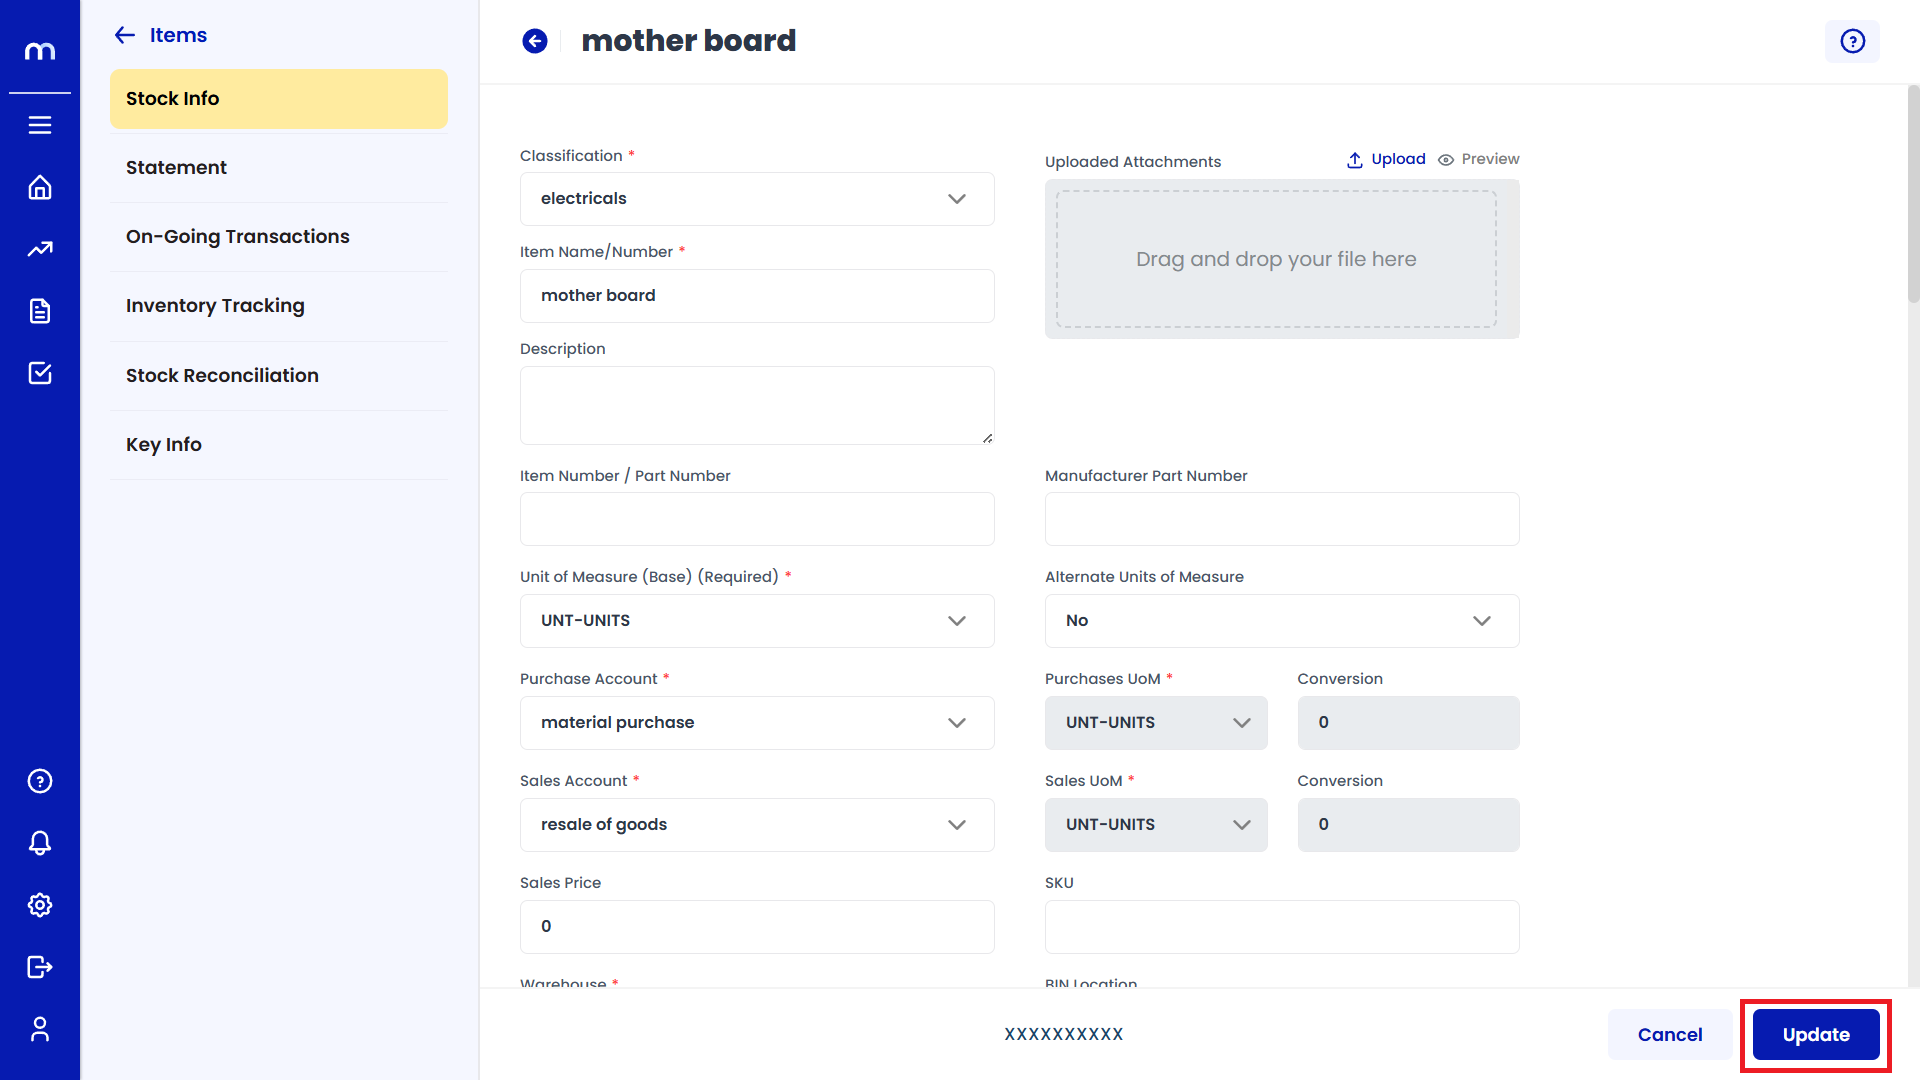
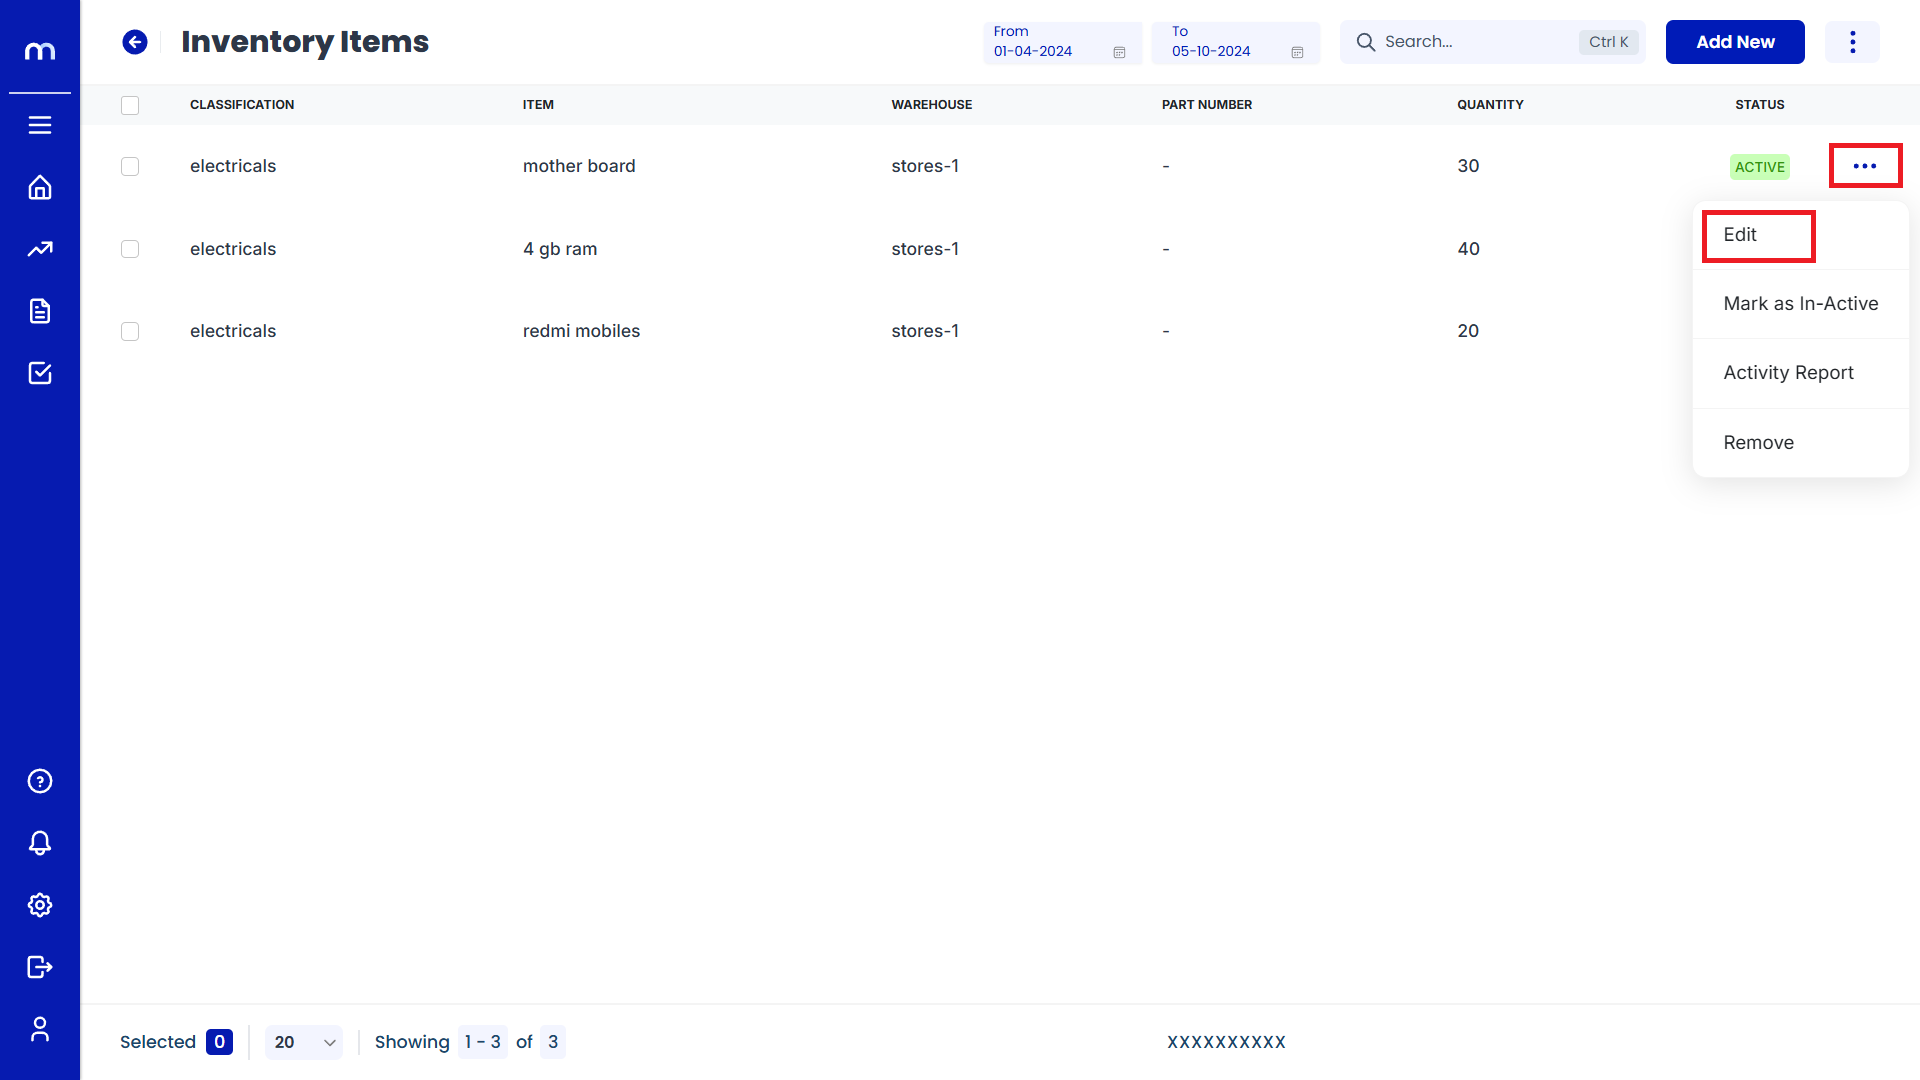
Editing Existing Inventory Item:
-
Click on Edit
On the Inventory Items page, click on the Three Vertical Dots (...) next to an item and then select Edit.
-
Update the Details
The Stock Info page will be displayed. Change the mandatory fields as needed and click the Update button to modify the inventory item successfully.