How to Customize Templates?
Navigation
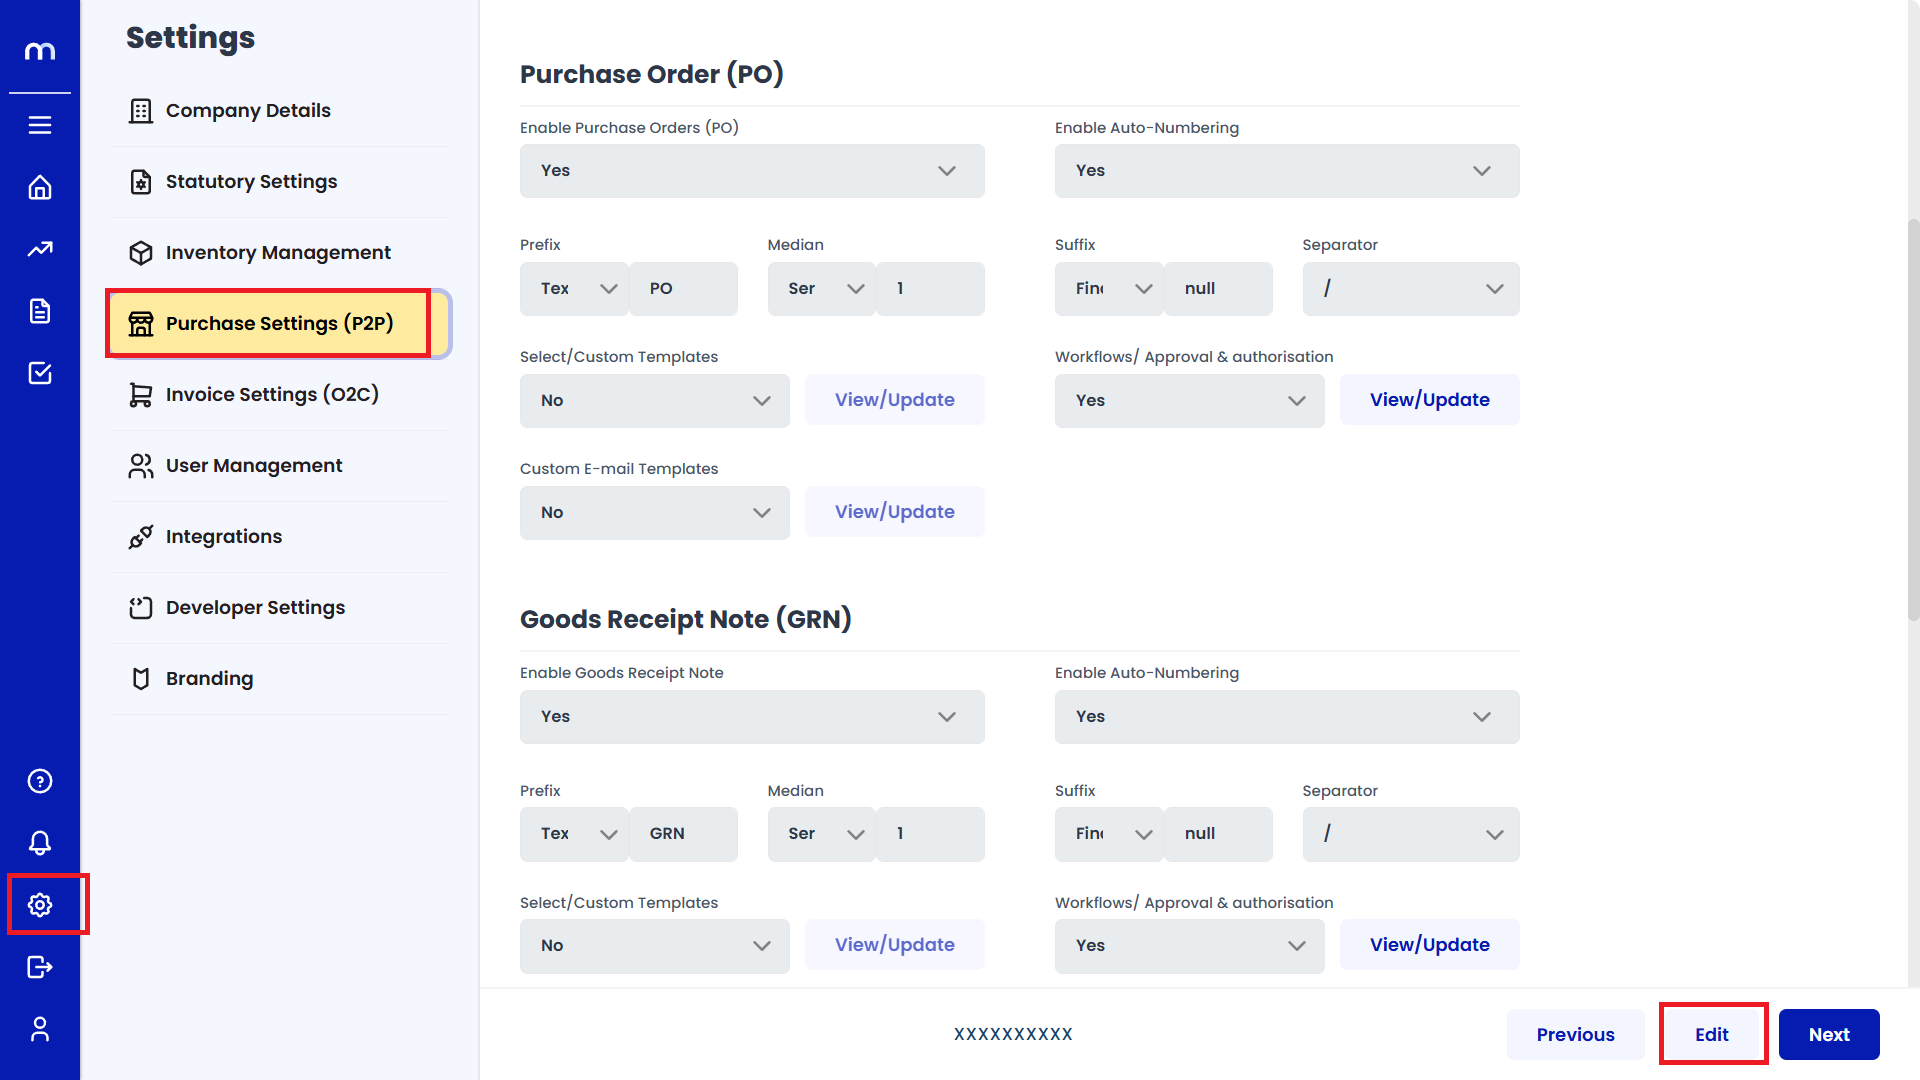
Go to Home > Settings > Purchase Settings > Purchase Order (PO) > Edit.
Click on Save
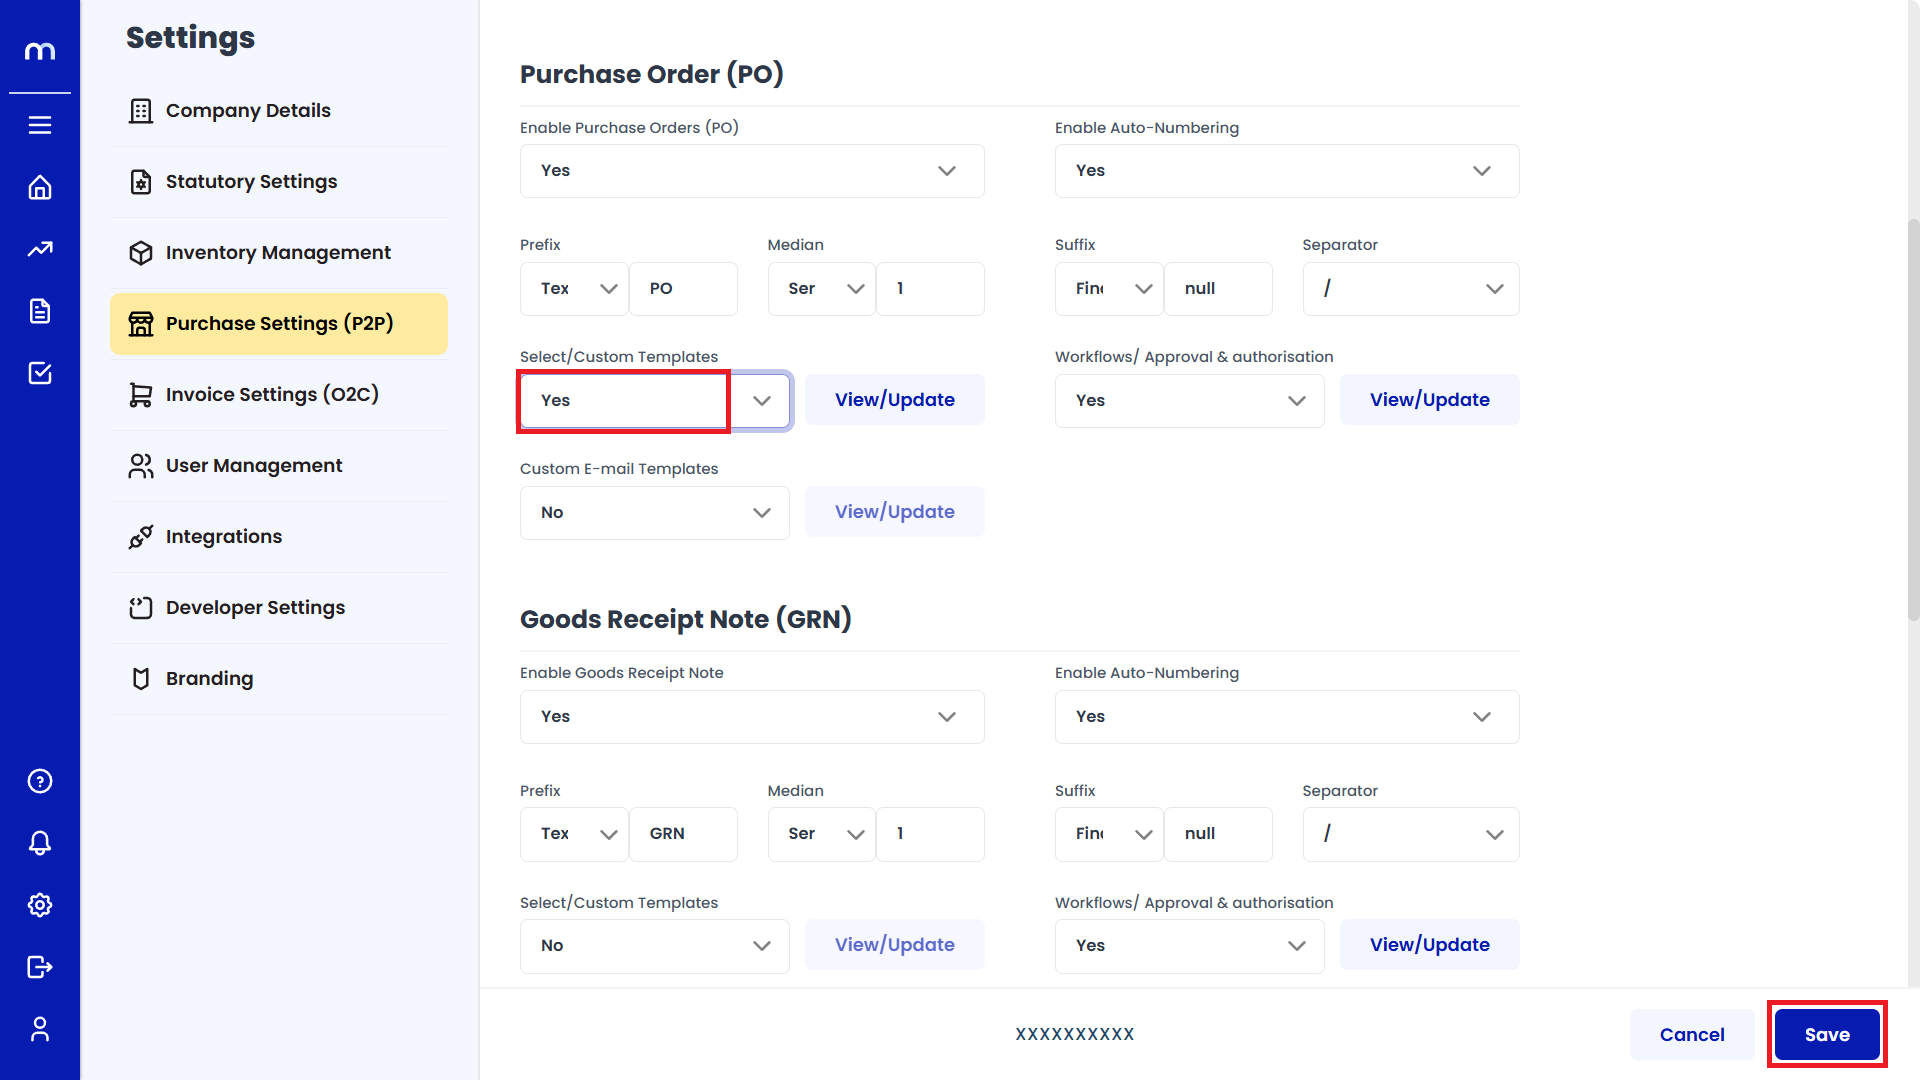
Click on the dropdown menu next to Enable Custom Templates Settings and select Yes to enable Custom Templates, then click on the Save button.
Click on View/Update
After enabling, click the View/Update button next to the Custom templates setting.

Click on Add New
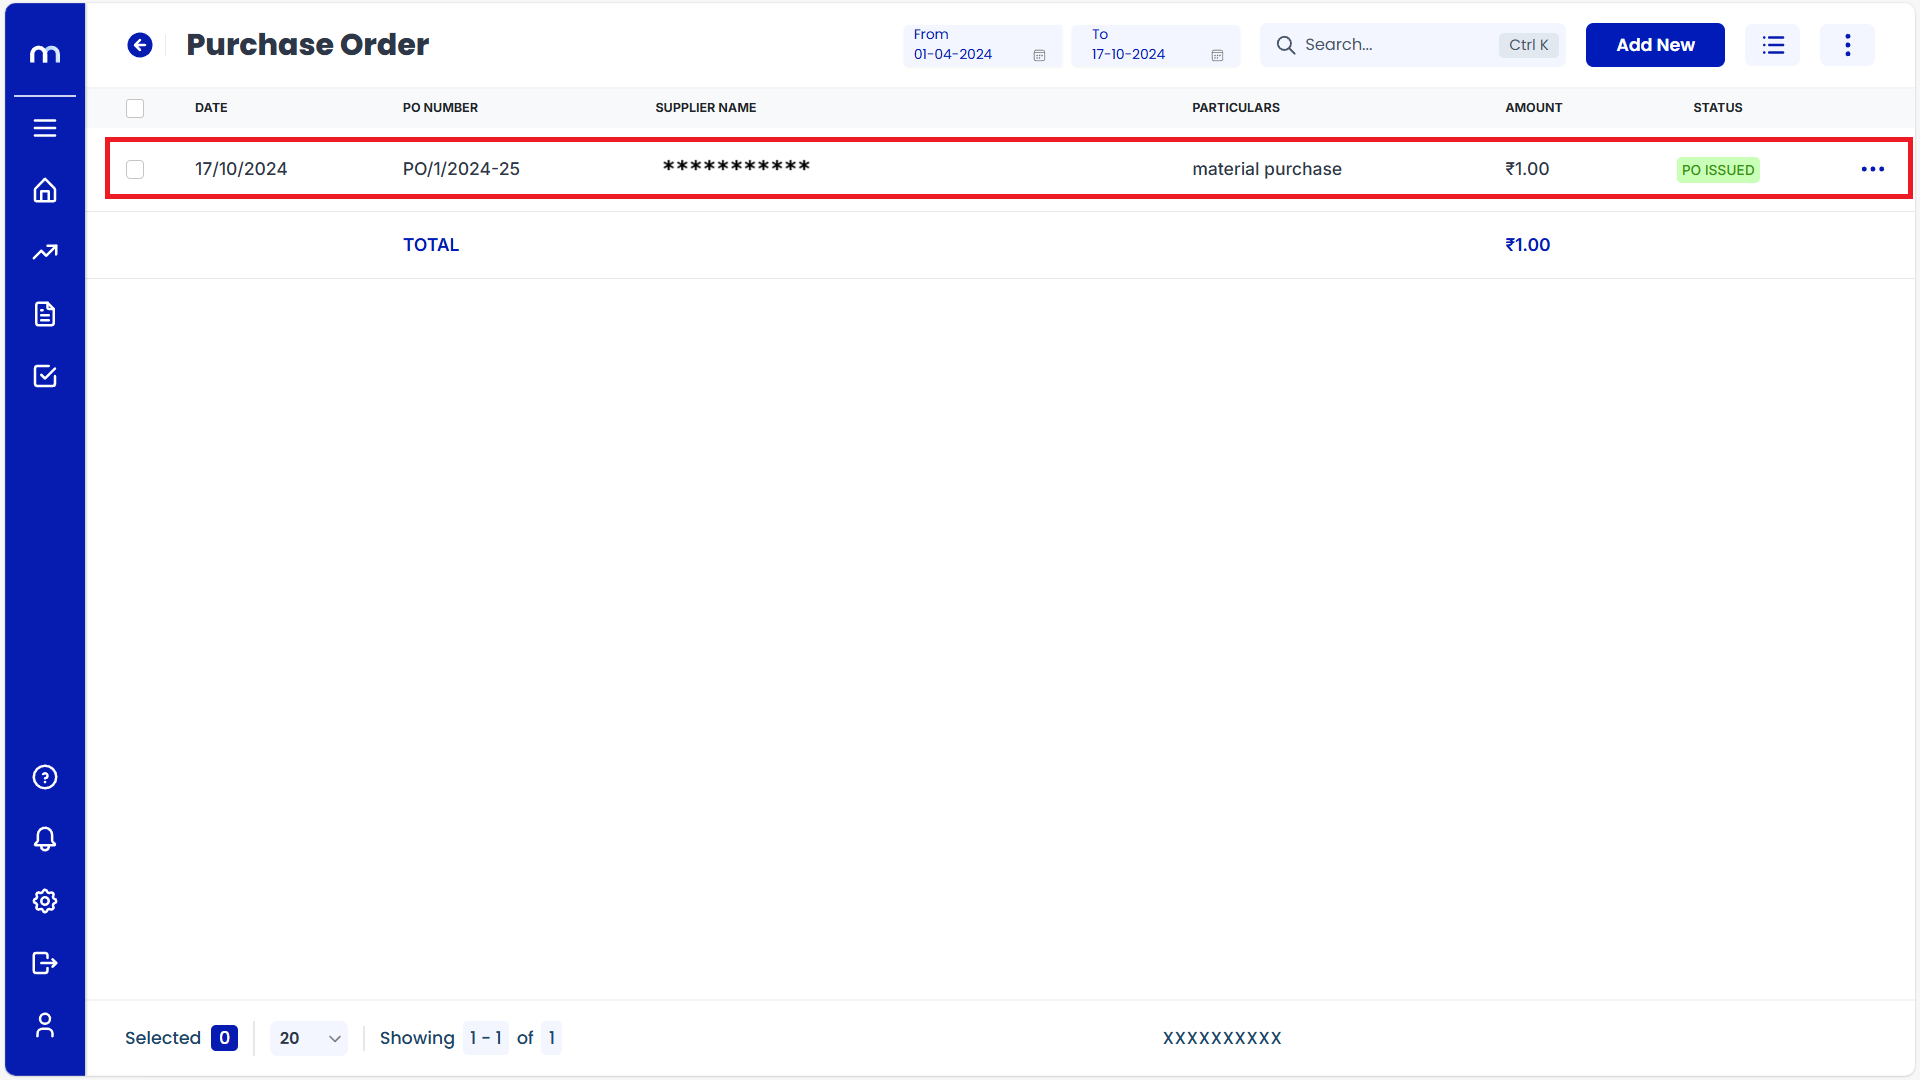
The Purchase Order page will open, and click on the Add New button.
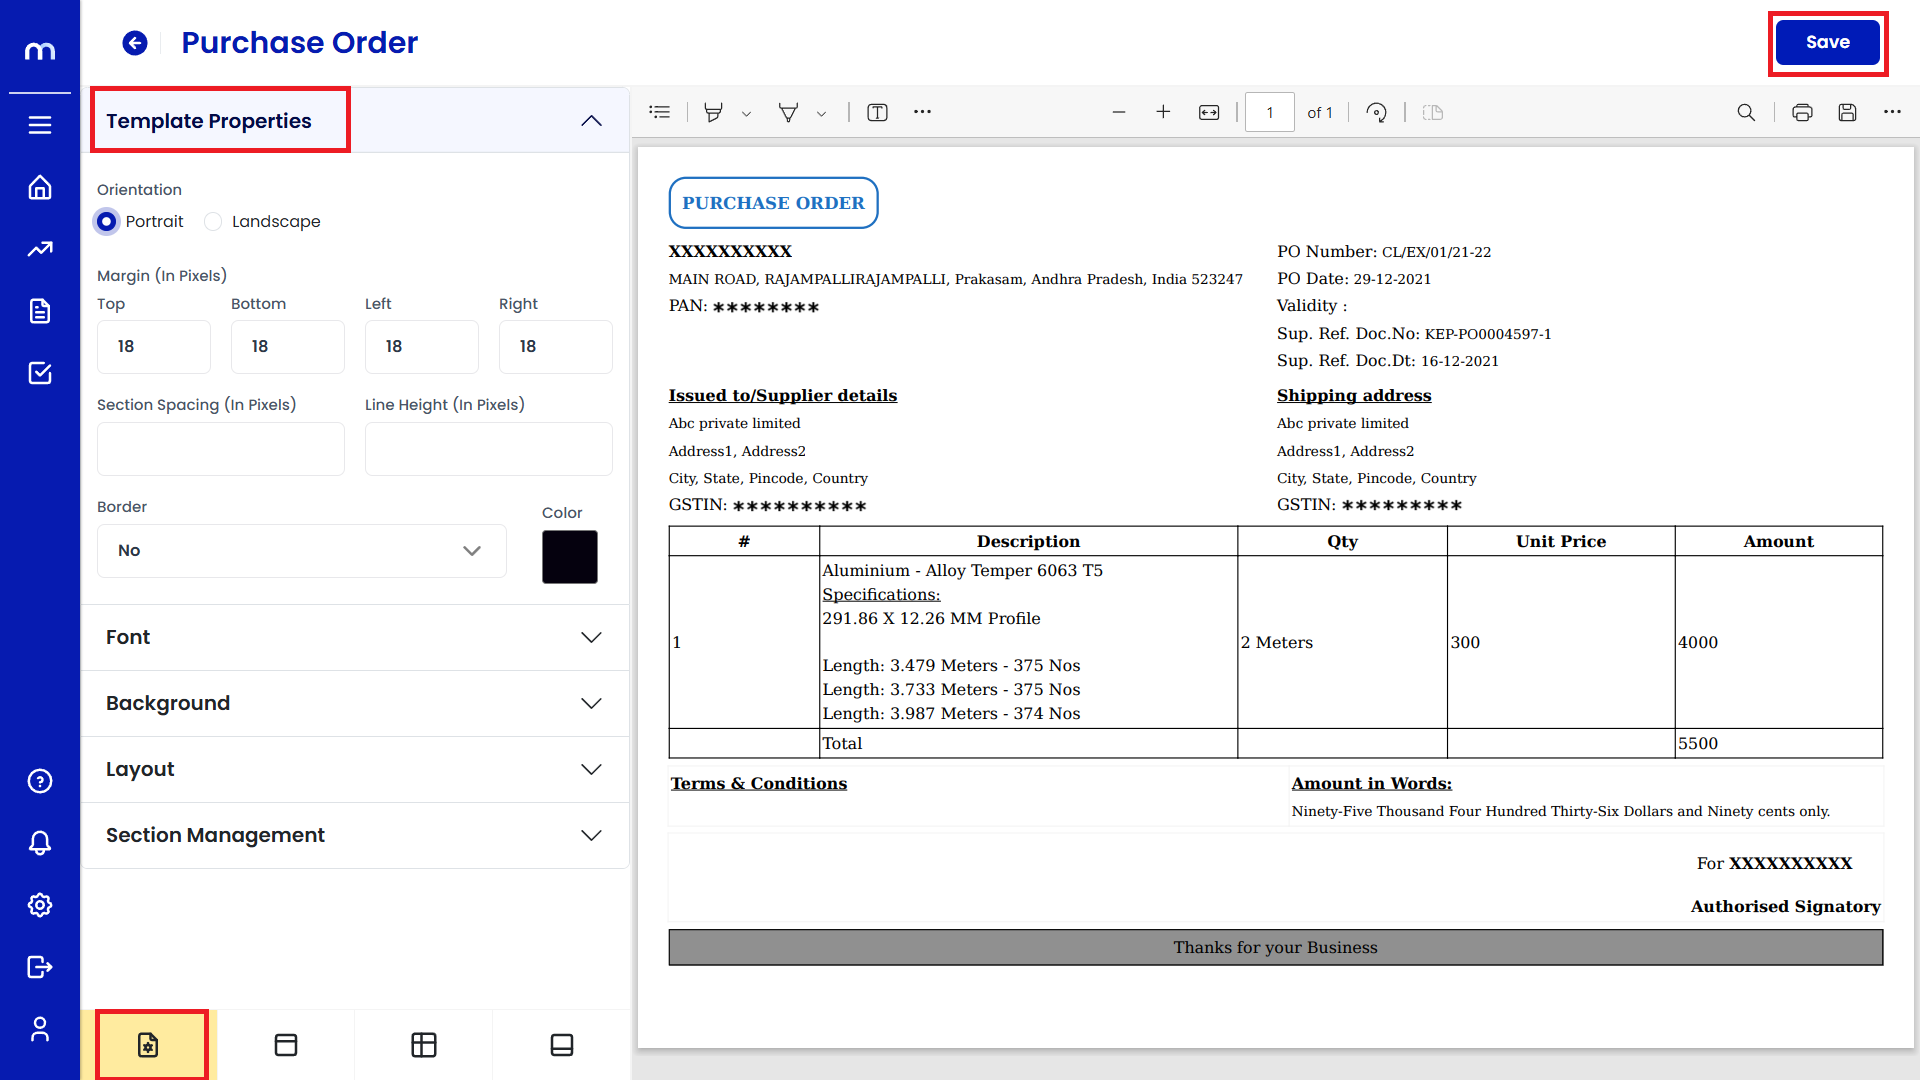
Edit Template Properties
The Purchase Order PDF file will open. Go to Template Properties and Edit Template Properties. Then click on the Save button.
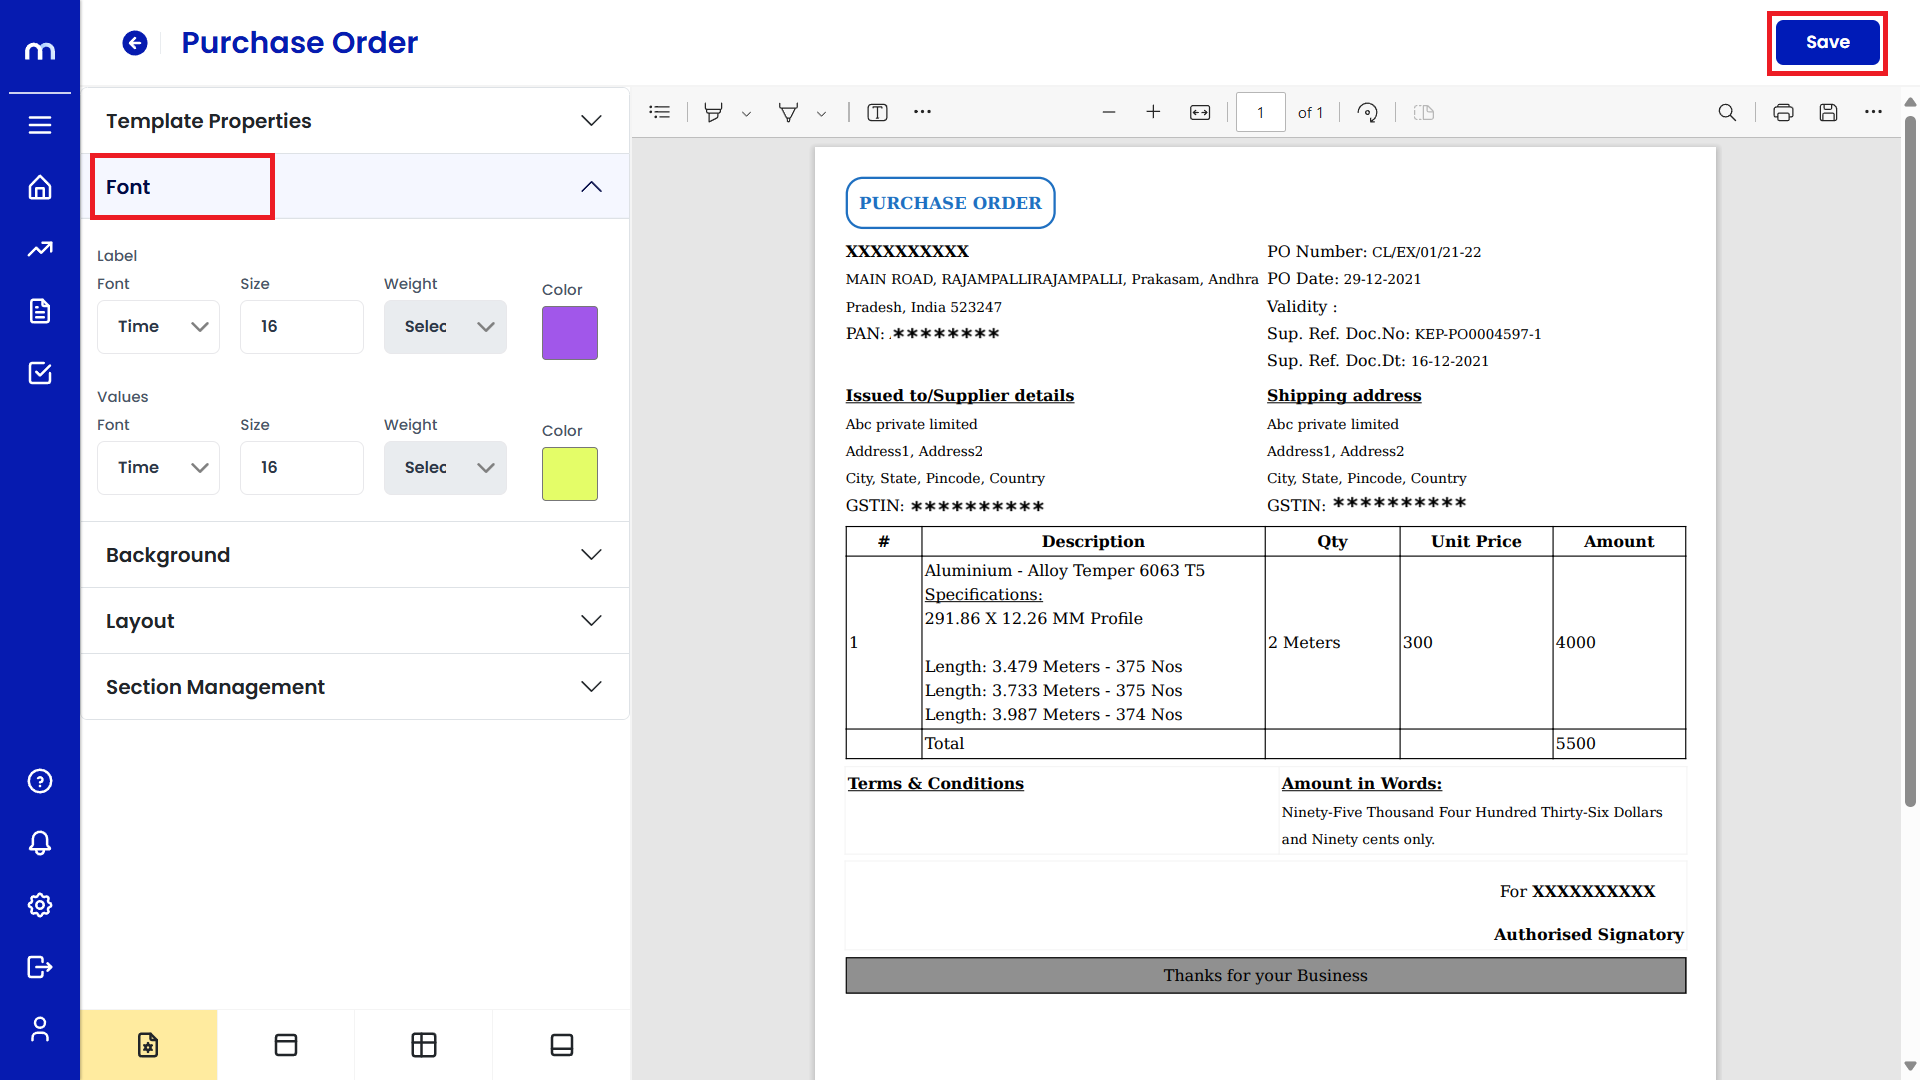
Edit Font
The Purchase Order PDF file will open. Go to Font and Edit Font size, weight, and color. Then click on the Save button.
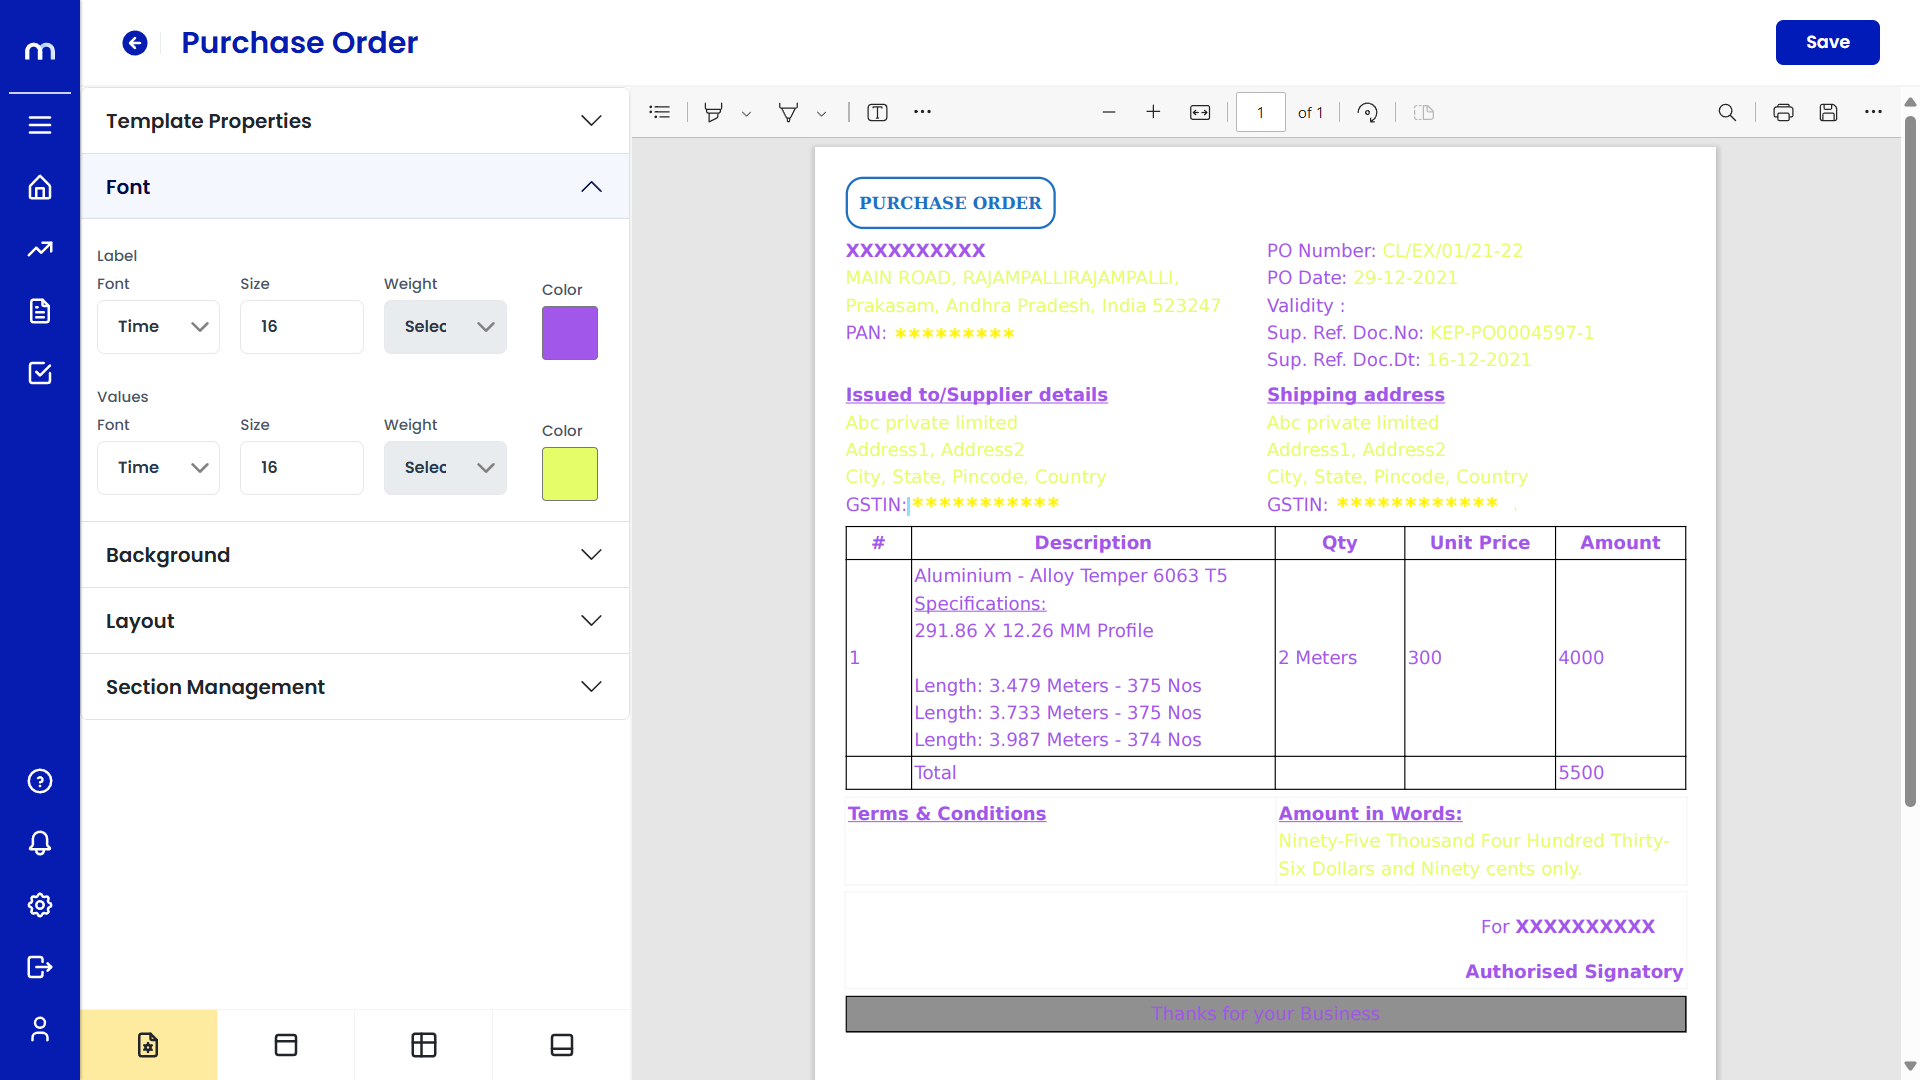
After Edit Font
After completing the font edits, it will display as follows.
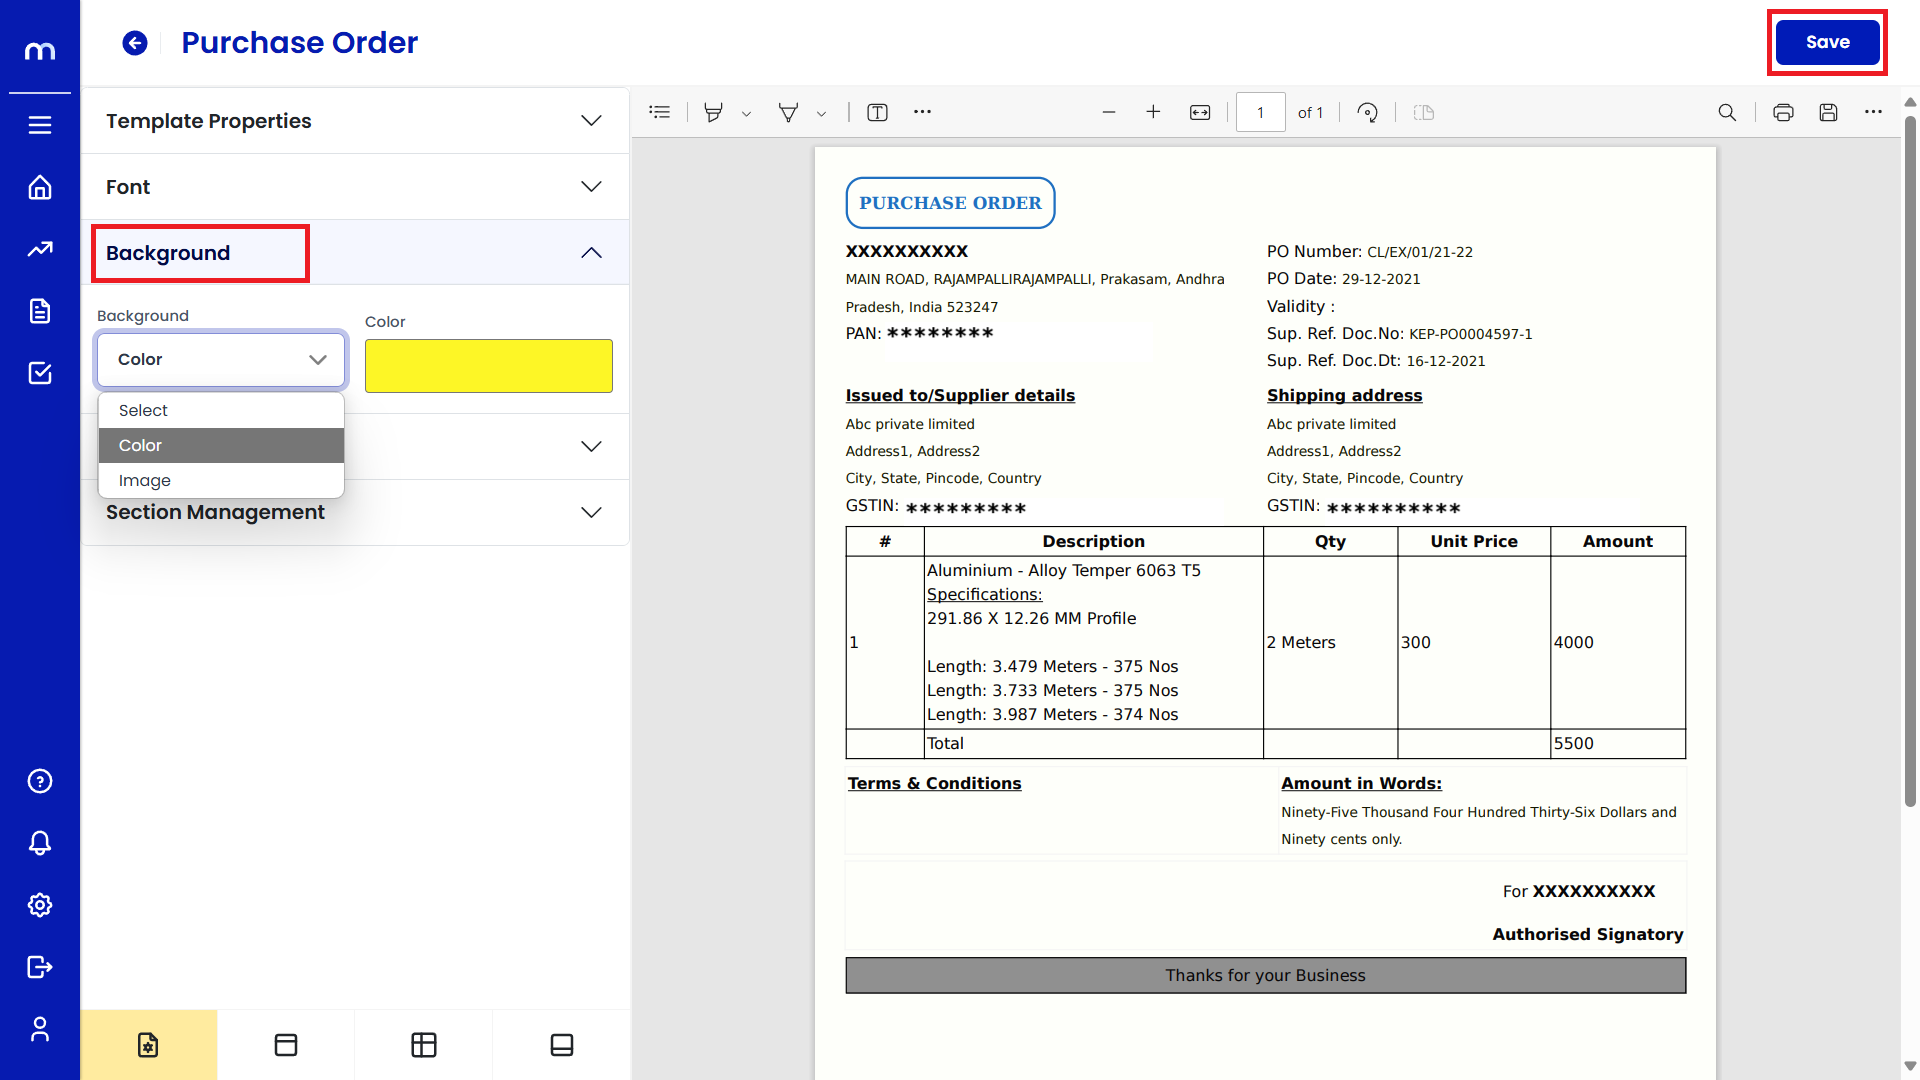
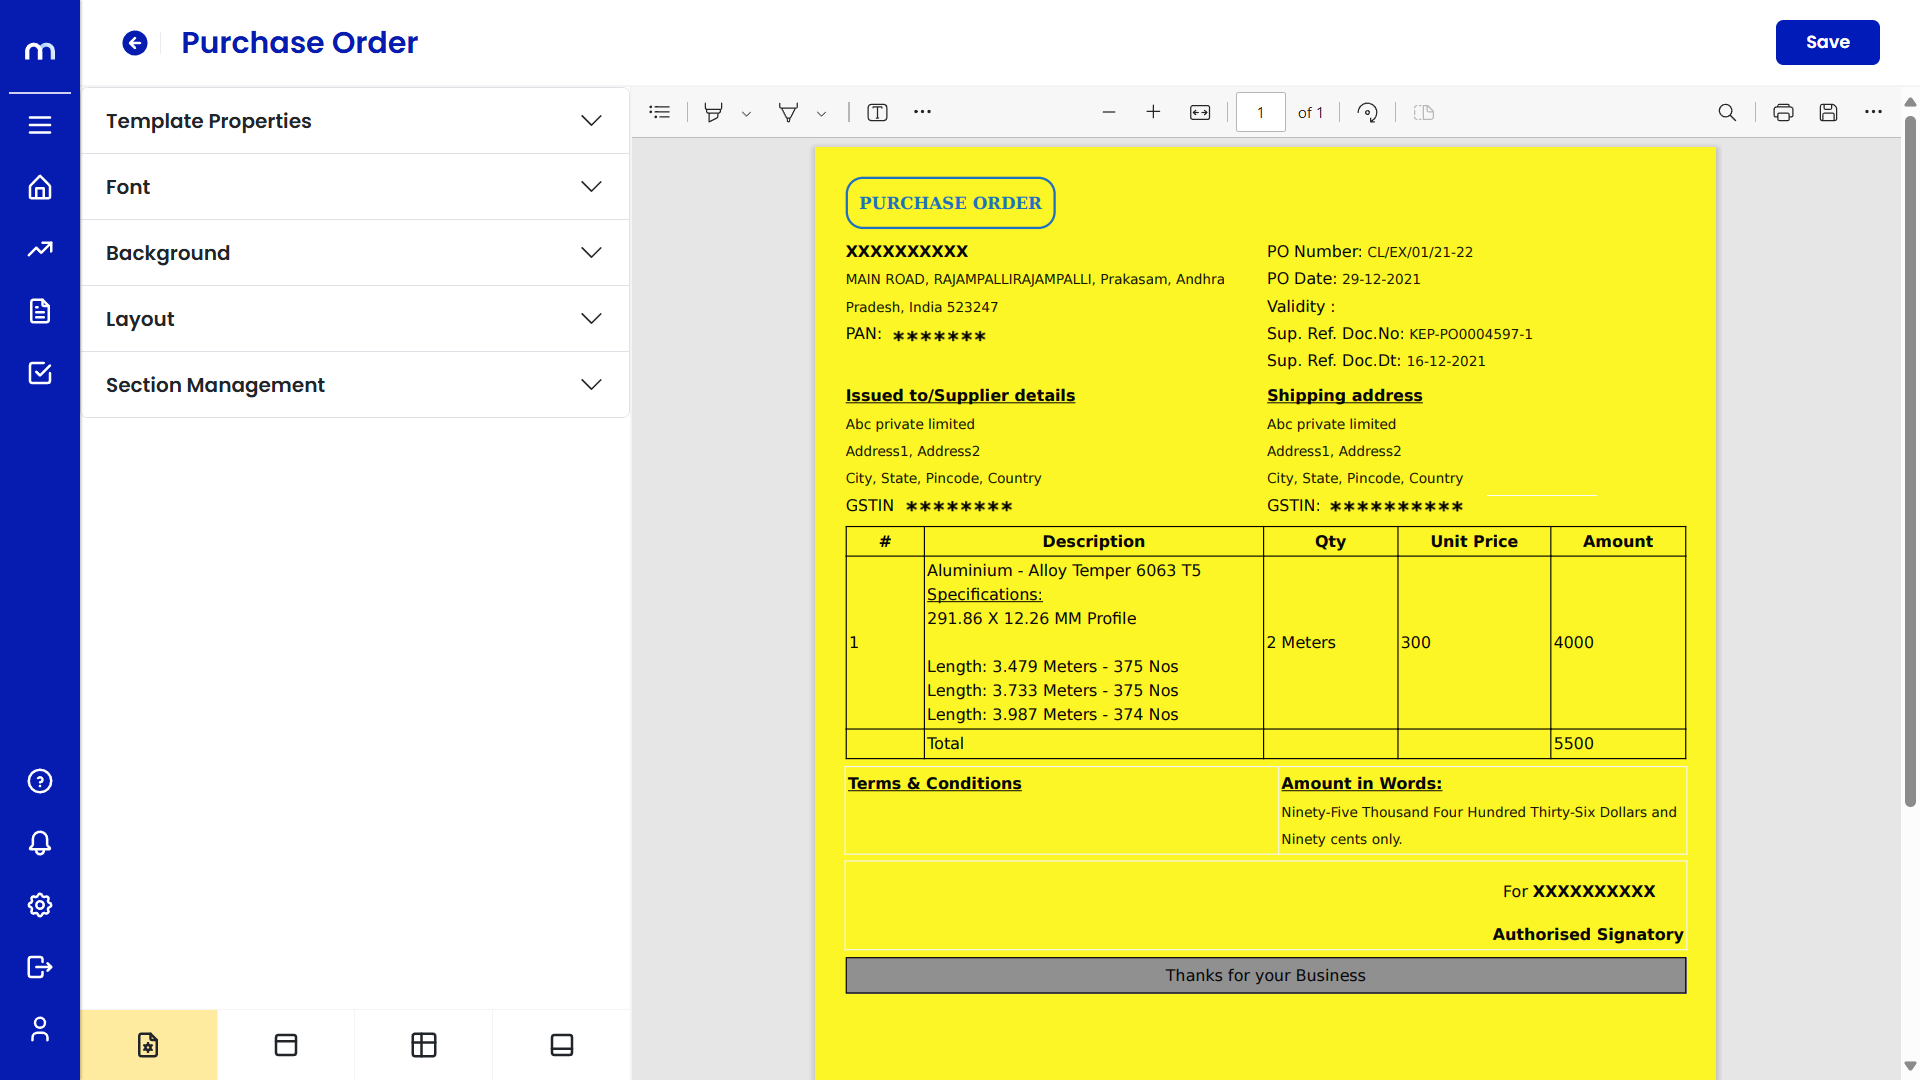
Edit Background
The Purchase Order PDF file will open. Go to Background and Edit Background color/image. Then click on the Save button.
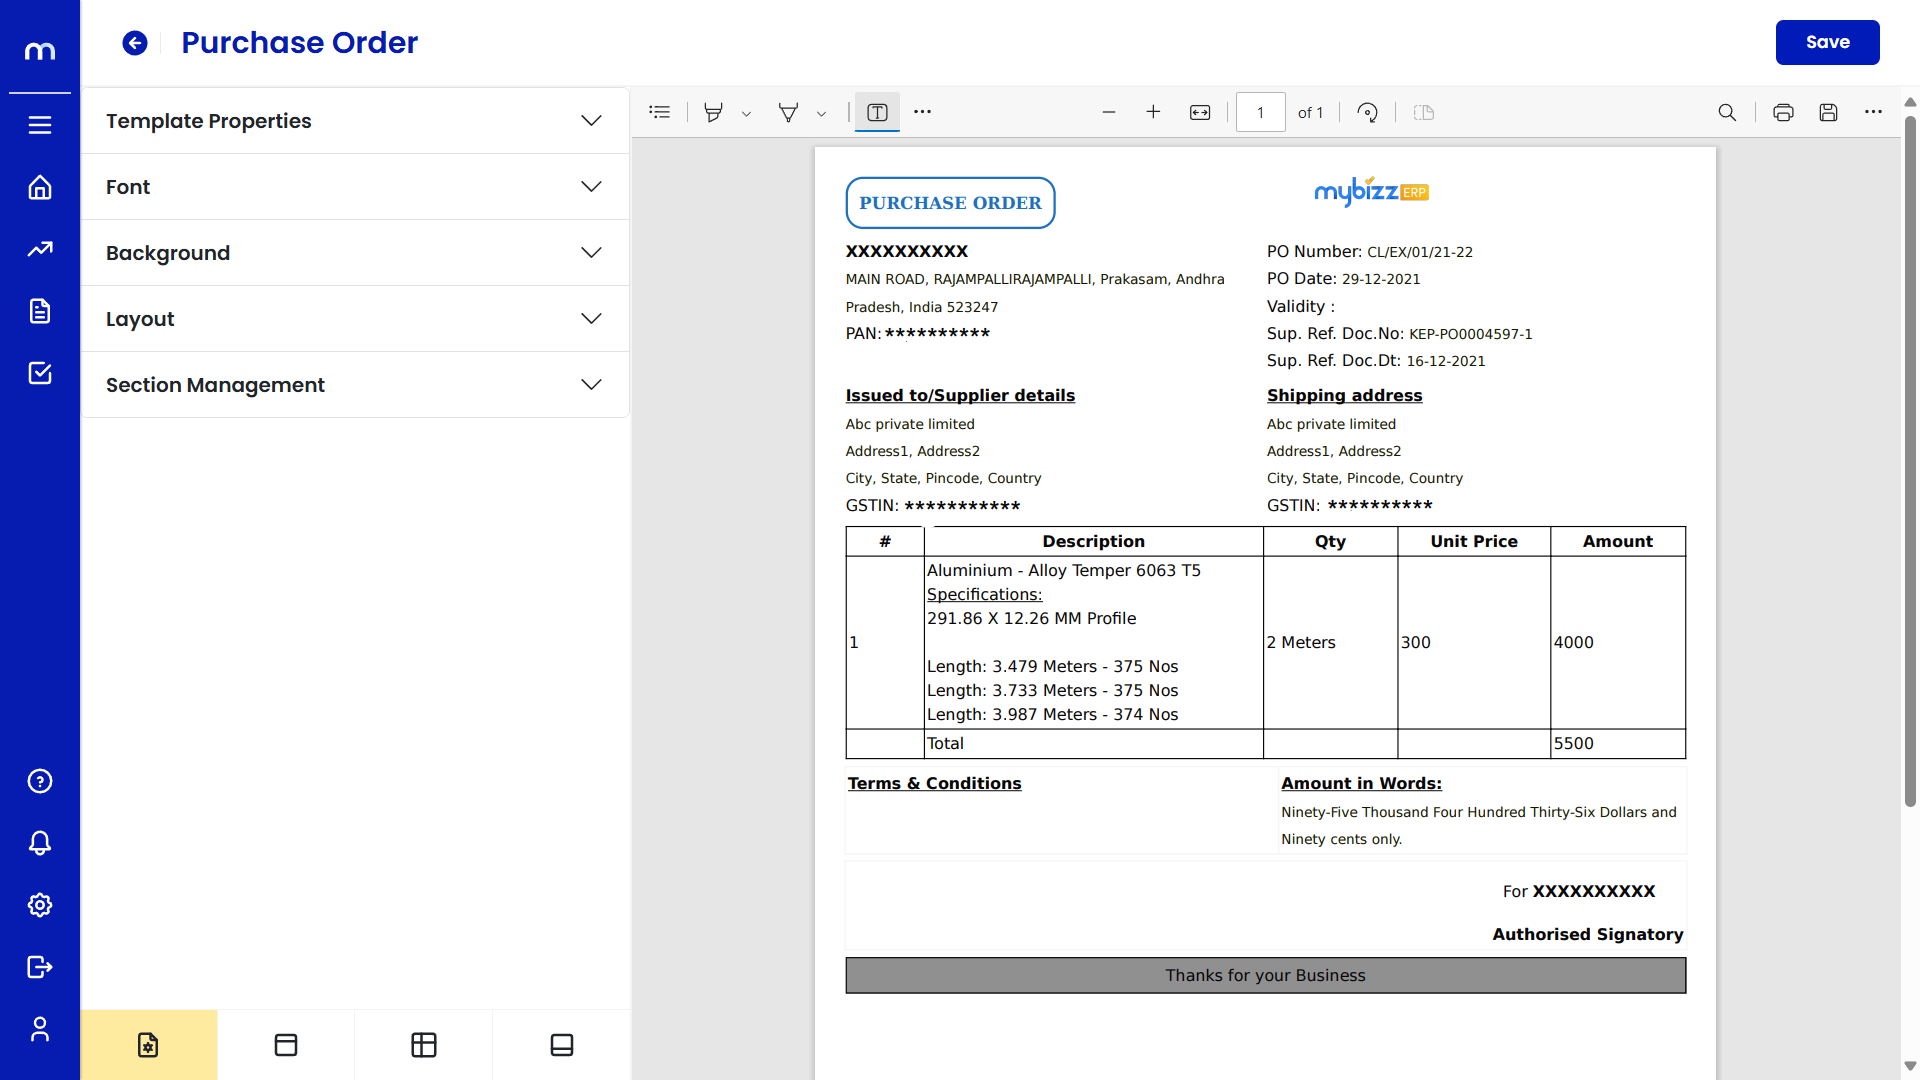
After Edit Background
After completing the background template edits, it will display as follows.
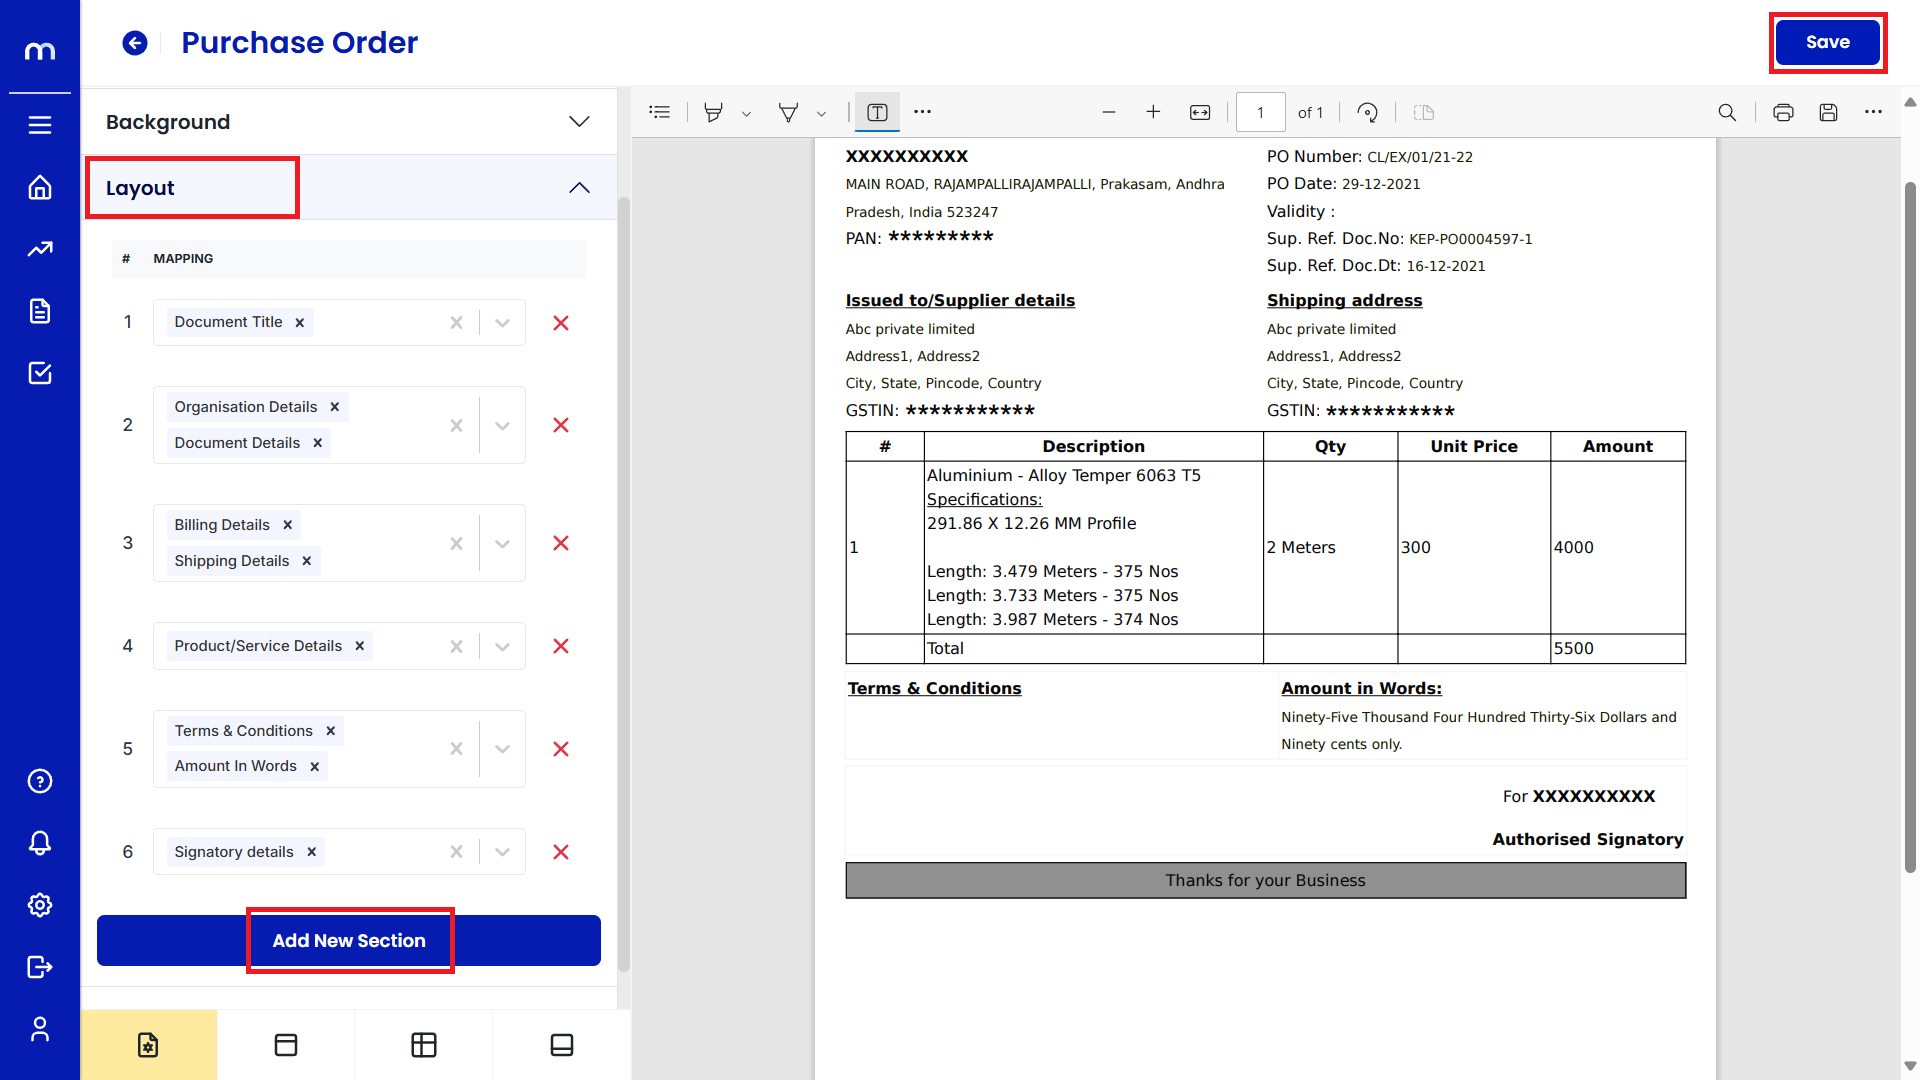
Edit Layout
Adjust Columns: Modify how columns (e.g., Description, Quantity, Unit Price) are displayed. You can adjust their width or add new columns if necessary. Add or Rearrange Sections: Sections like "Issued To," "Shipping Address," and "Terms & Conditions" can be rearranged or edited. Spacing and Alignment: Ensure the content aligns properly and doesn’t overlap. Then click on the Save button.
After Edit Layout
After completing the layout template edits, it will display as follows.
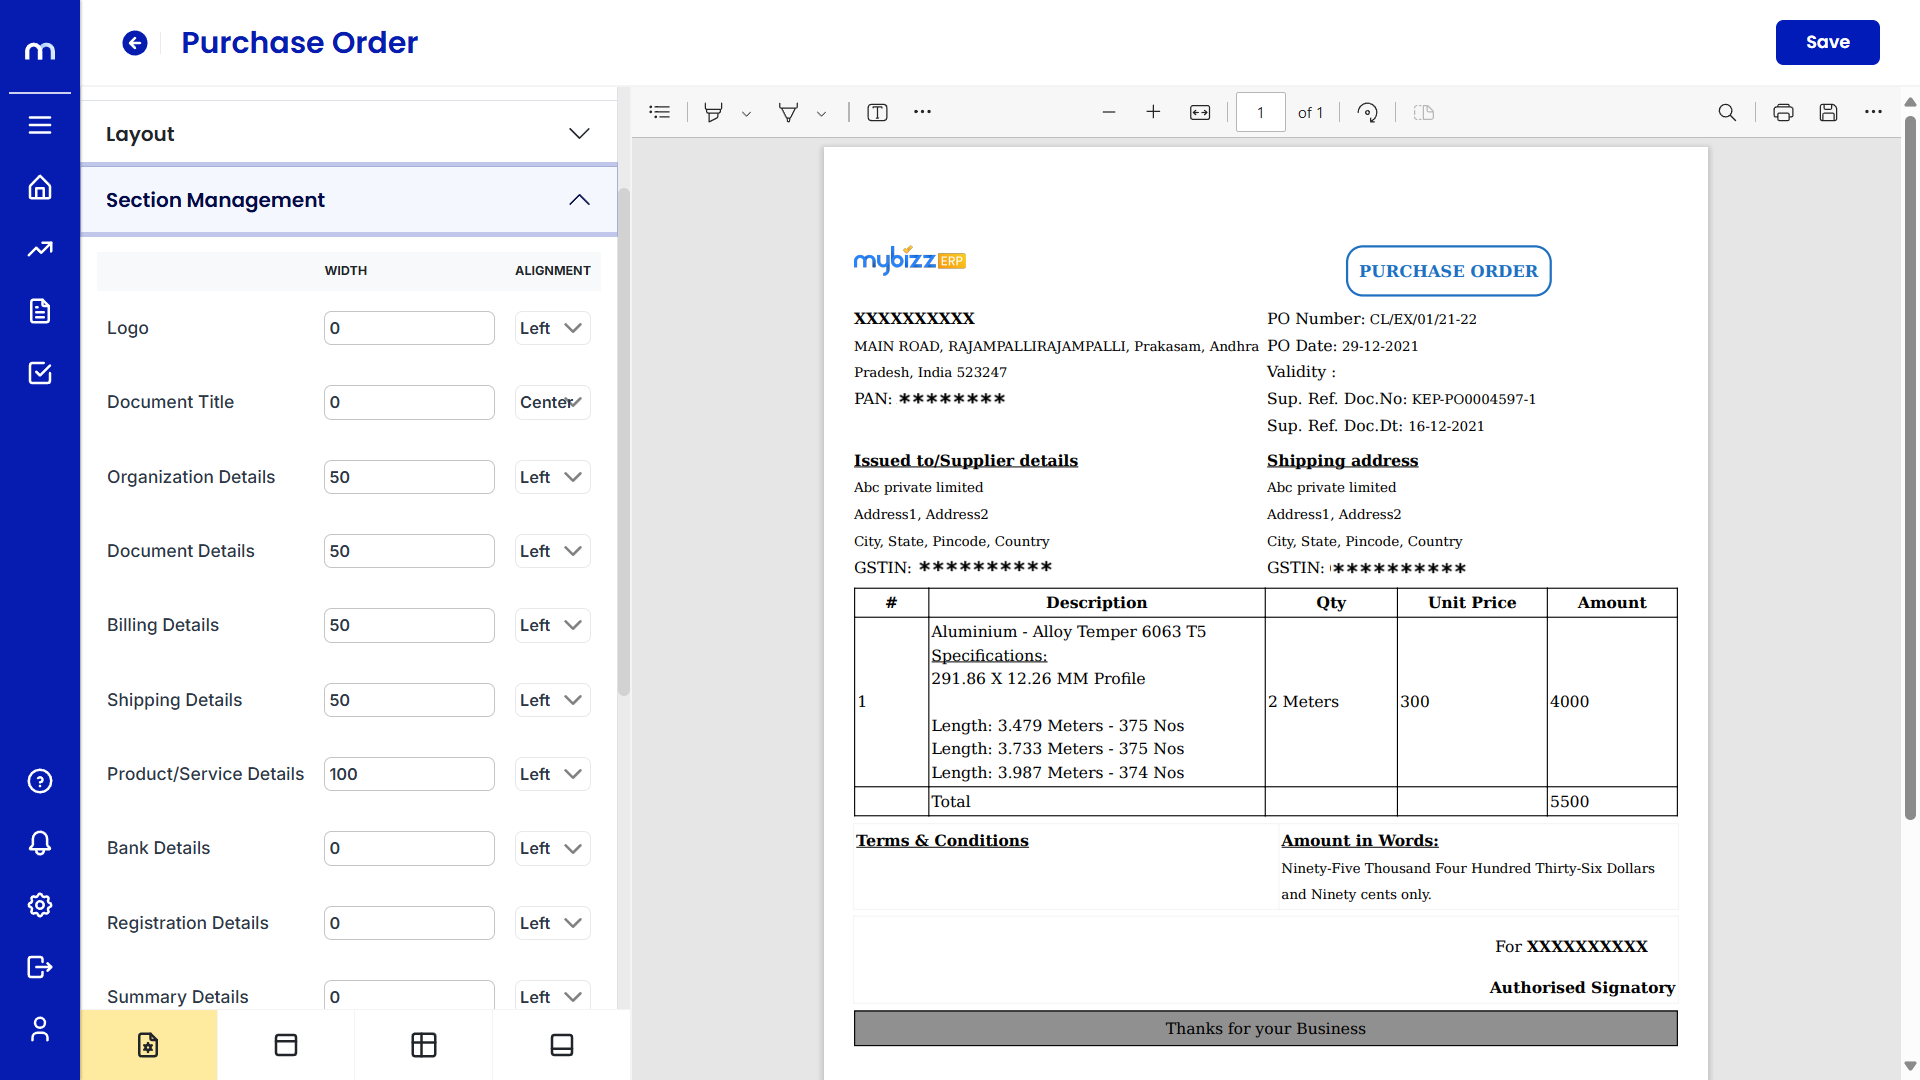
Edit Section Management
The Purchase Order PDF file will open. Go to Section Management and Edit Section Management width and alignment. Then click on the Save button.

After Edit Section Management
After completing the Section Management template edits, it will display as follows.
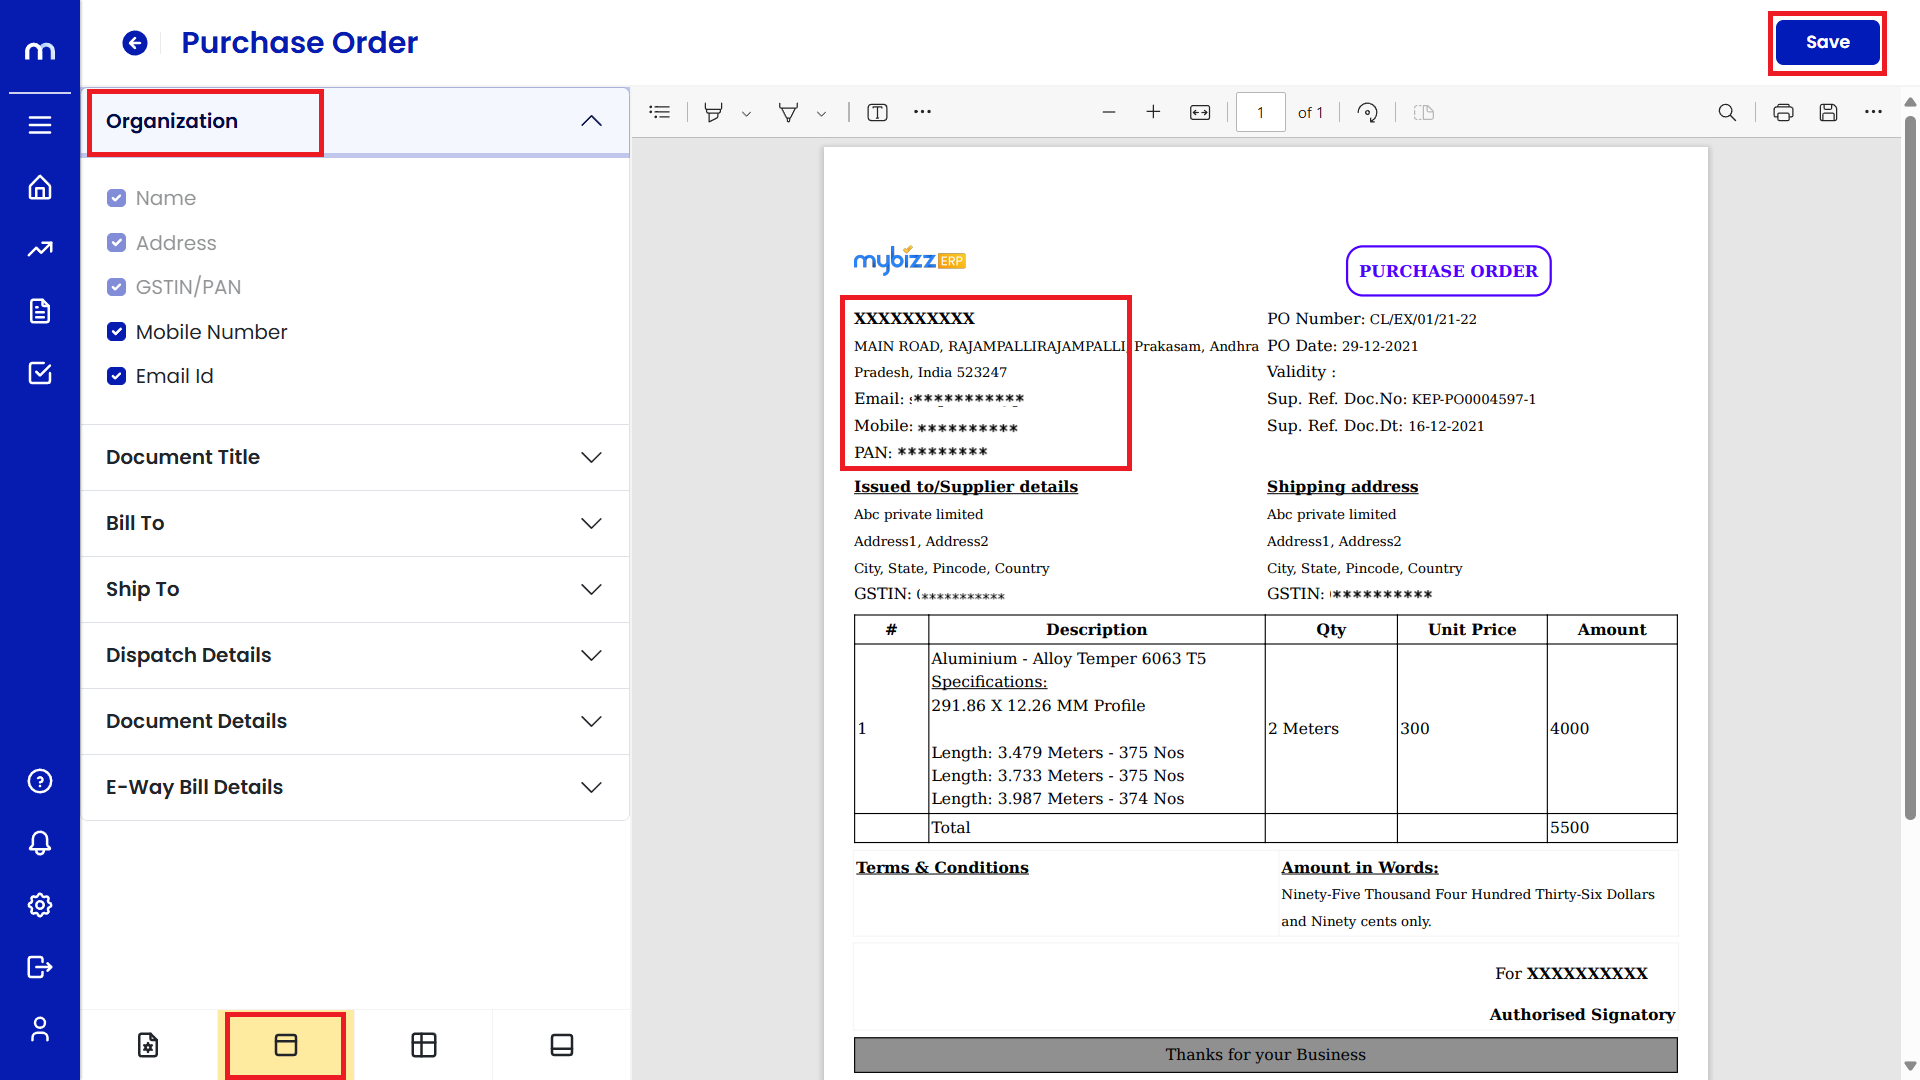
Organization Details
You can customize the details that appear at the top of the template, such as your company name, address, and logo. Then click on the Save button.
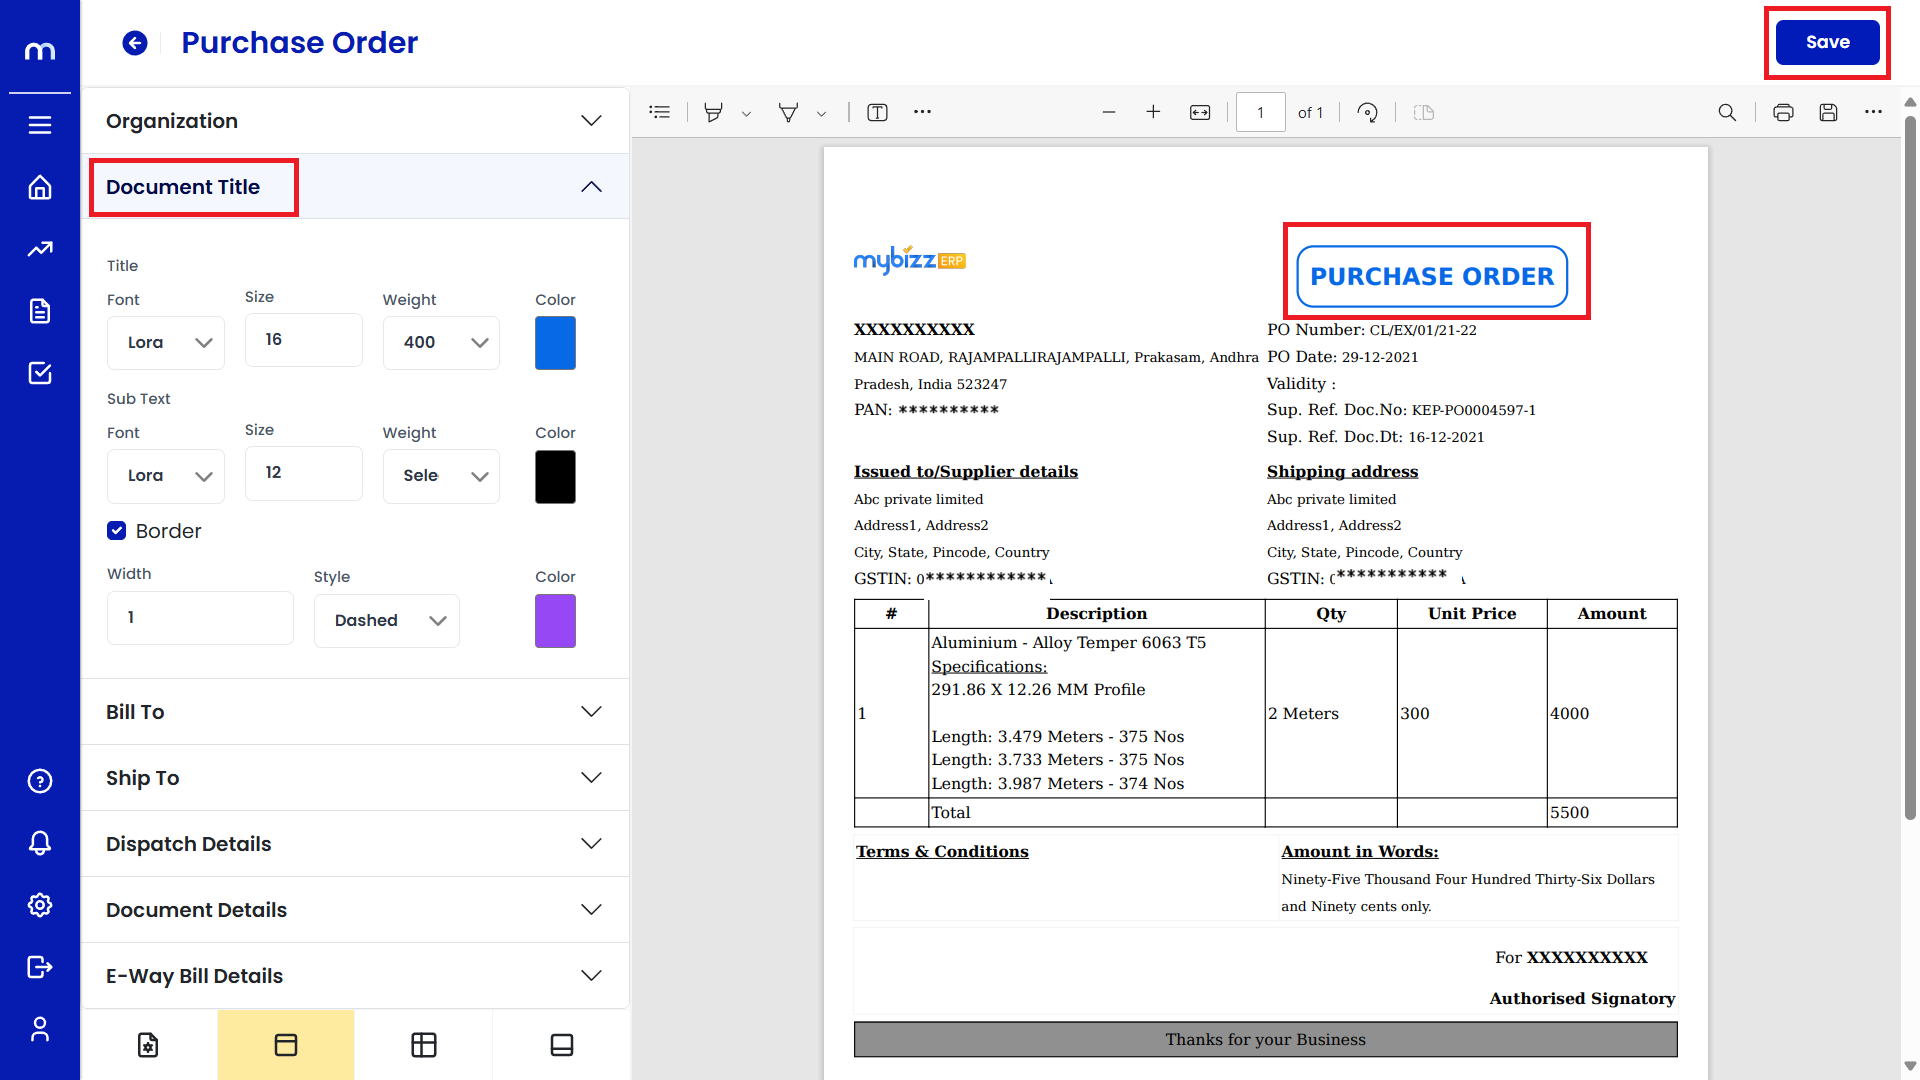
Document Title
Here, you can customize the main title text. Change the font, size, and styling to suit your brand identity. Click on the Save button.
Bill To / Ship To
Customize how the recipient and shipping information is displayed. Edit the fields to make sure they are clear and correctly formatted. Then click on the Save button.
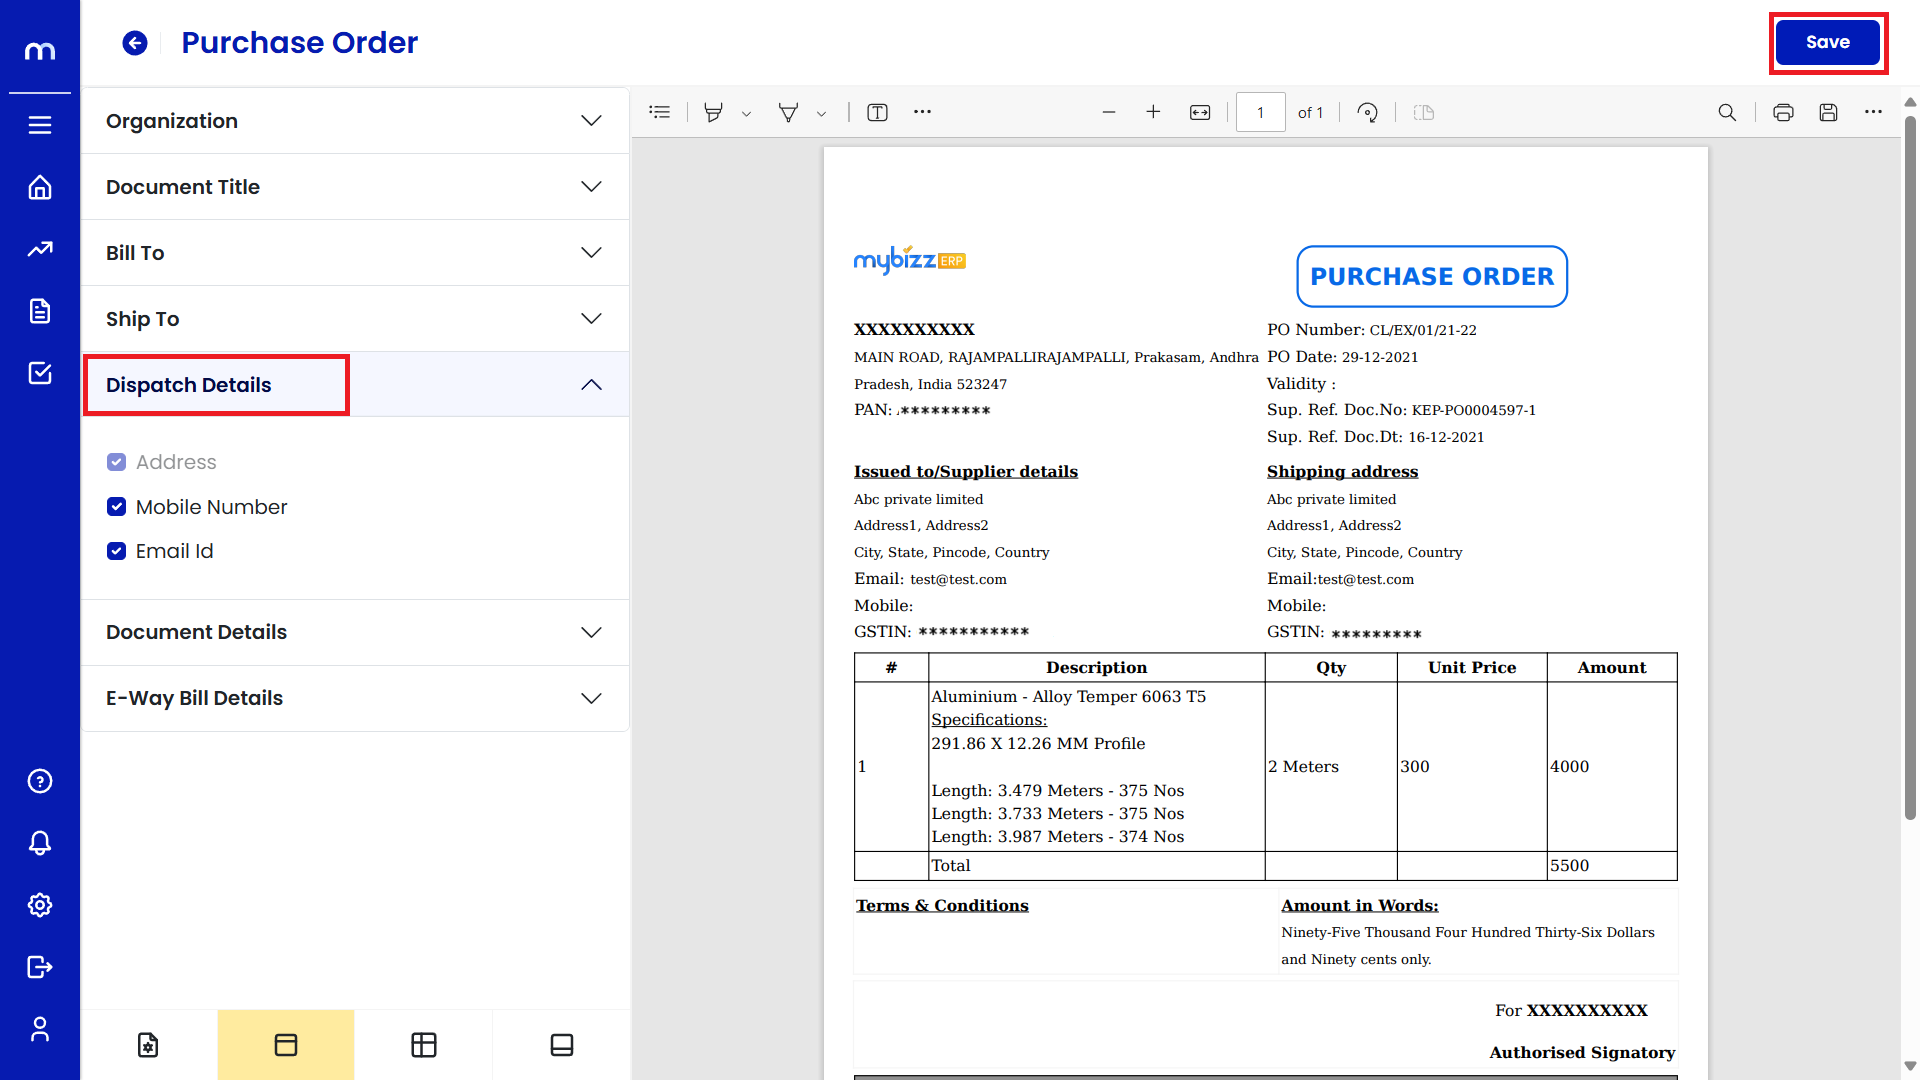
Dispatch Details
Add or Edit any dispatch or delivery information that should be included on the document, such as delivery instructions or courier information. Click on the Save button.
Document Details
Customize the layout of key details like PO Number, Date, and Reference numbers. Make sure everything is aligned and easy to read. Click on the Save button.

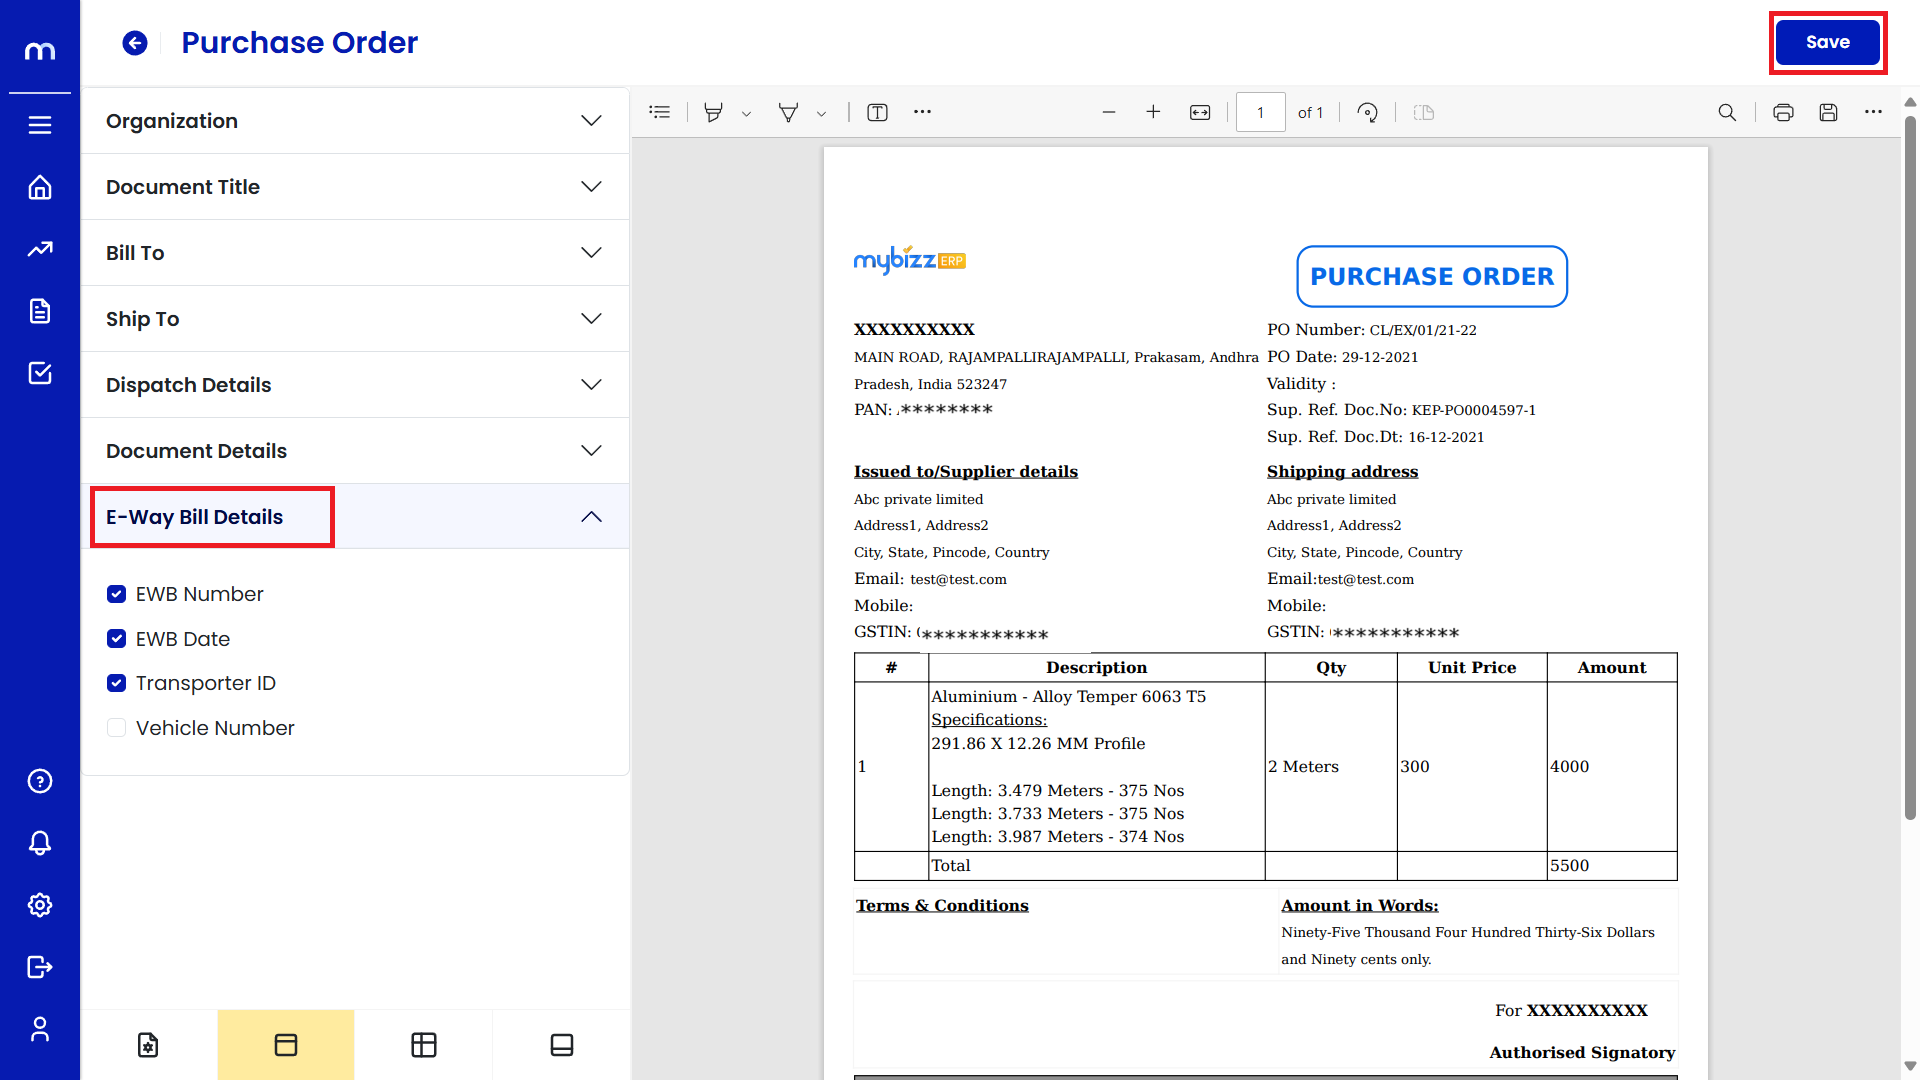
E-Way Bill Details
If your purchase orders need to include E-Way Bill details, customize this section. You can add fields or modify the existing ones based on your requirements. Click on the Save button.
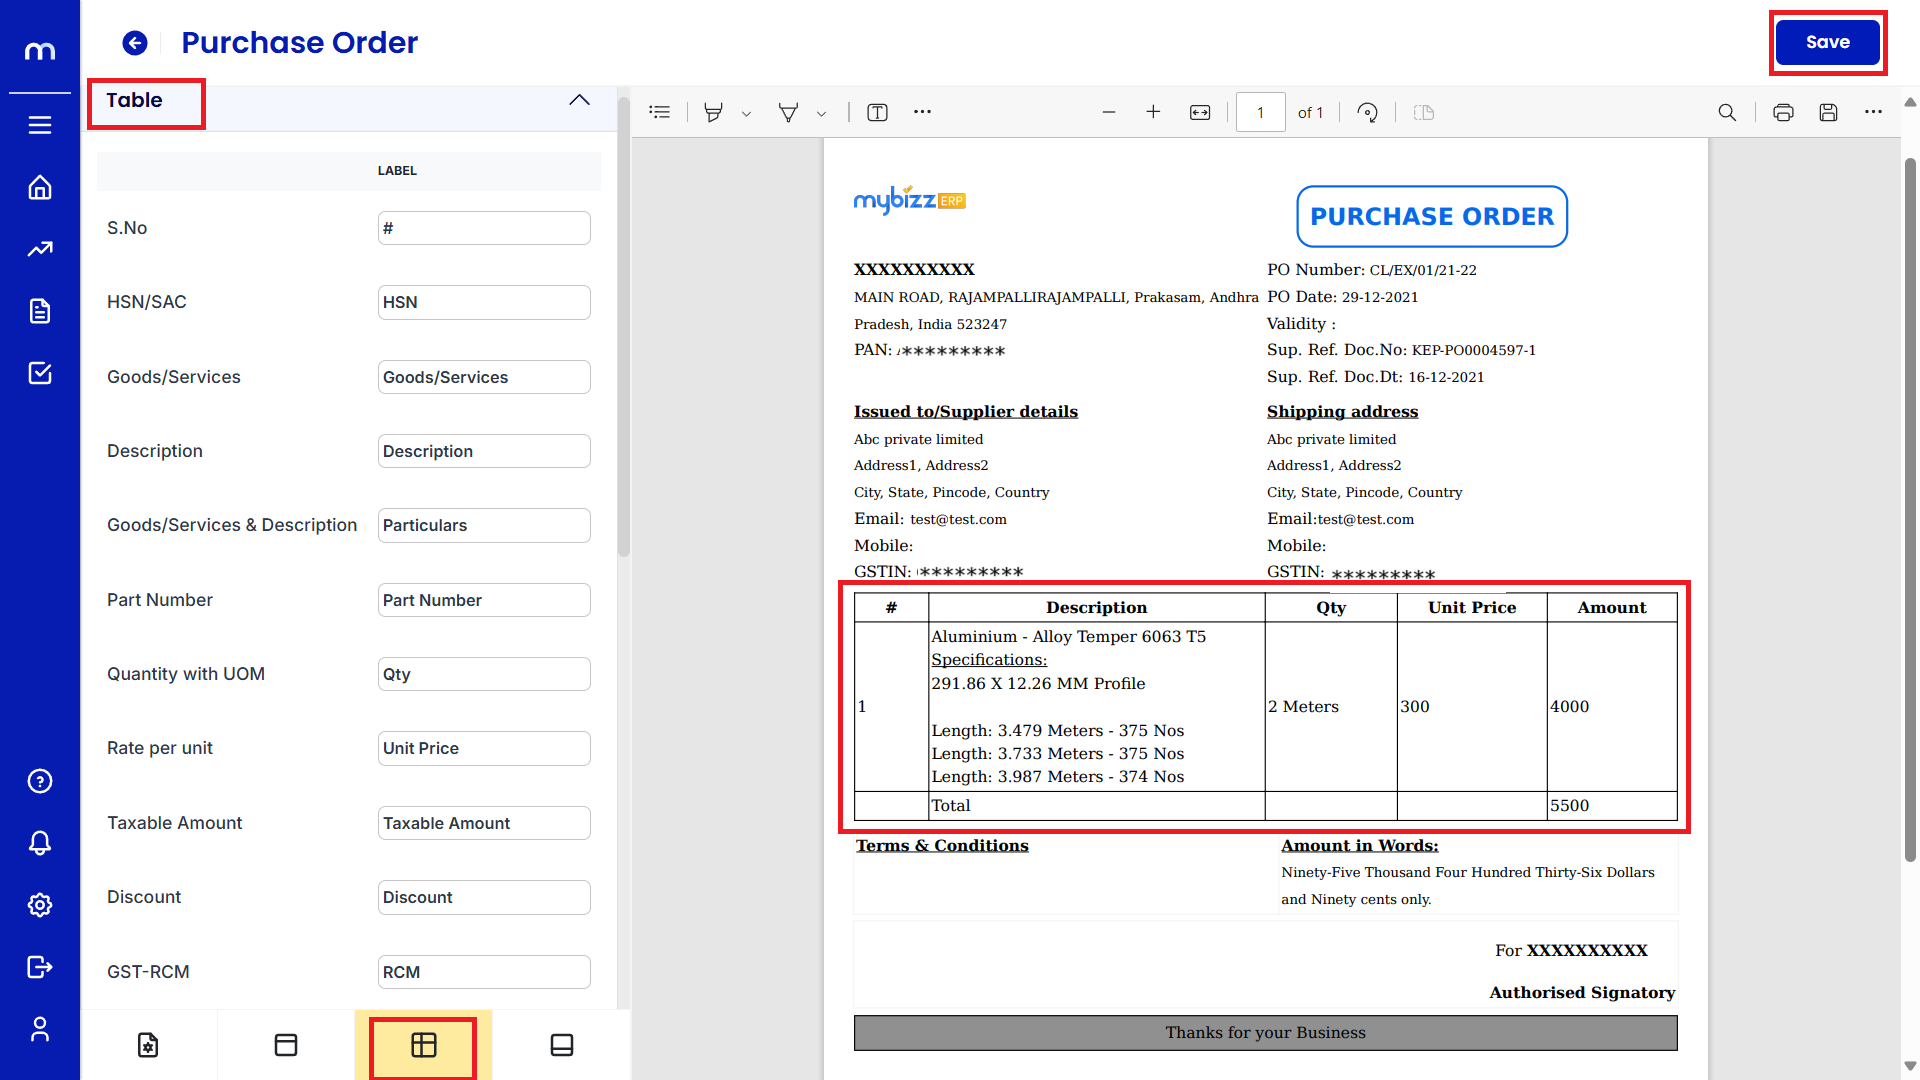
Edit Table
The Purchase Order PDF file will open. Go to Table and Edit all required details. Then click on the Save button.
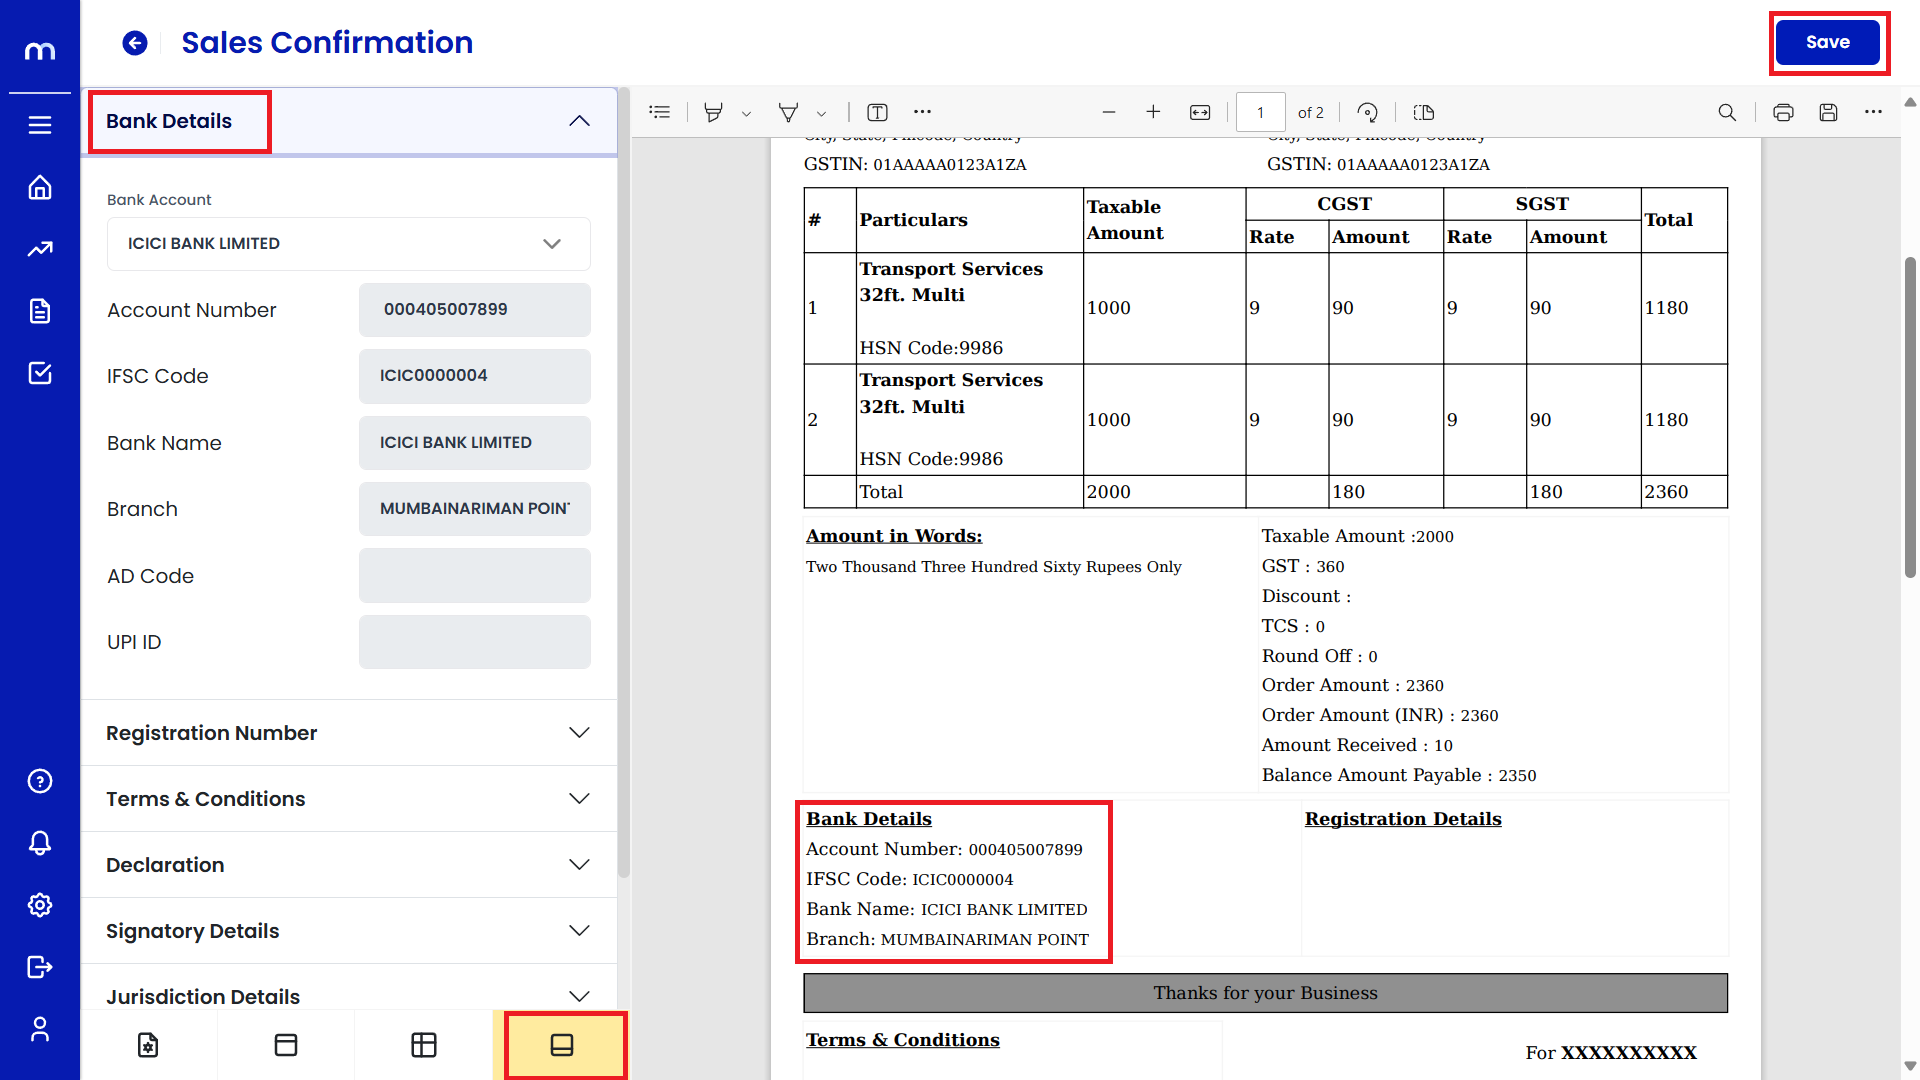
Bank Details
Click on the Bank Details option on the left panel. You can modify the bank account number, IFSC code, and other related information. Then click on the Save button.
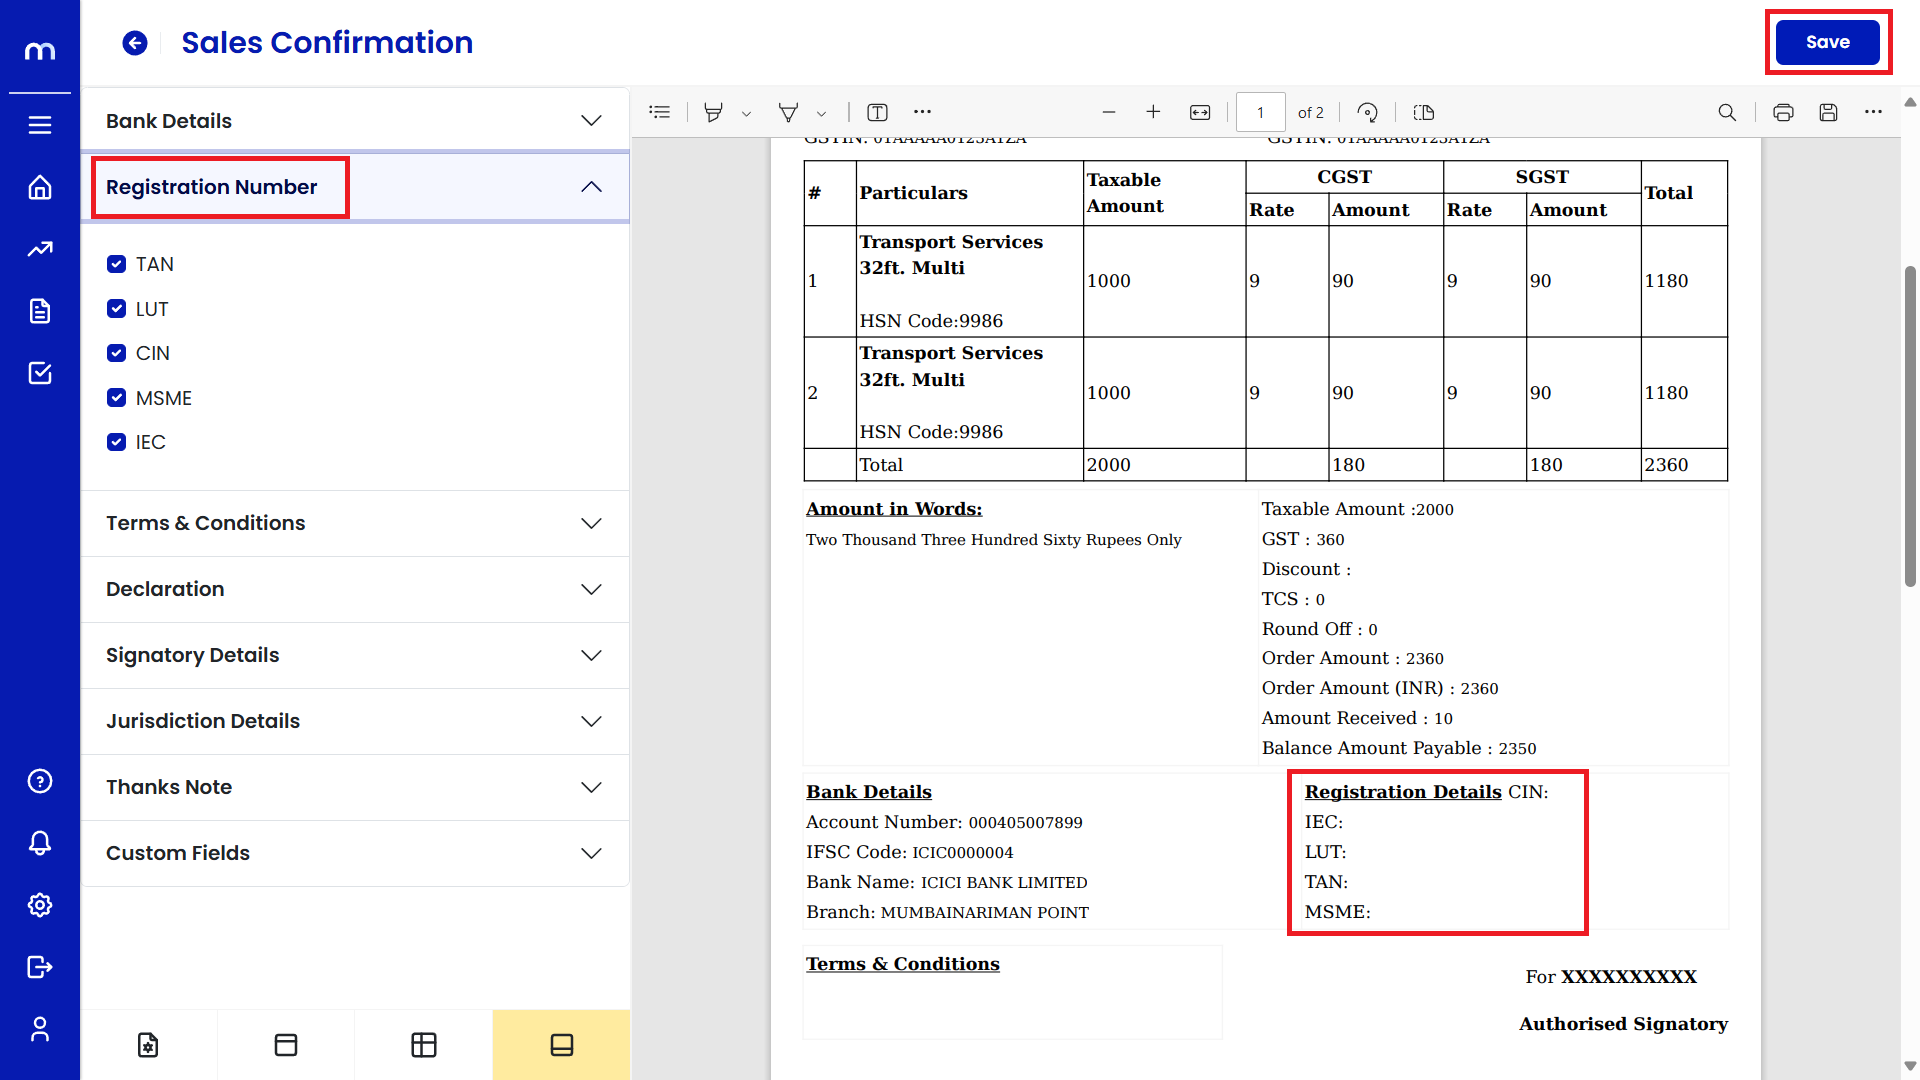
Registration Number
Click on Registration Number to add or modify registration-related information. You can add your GSTIN, VAT, or other registration numbers. Then click on the Save button.
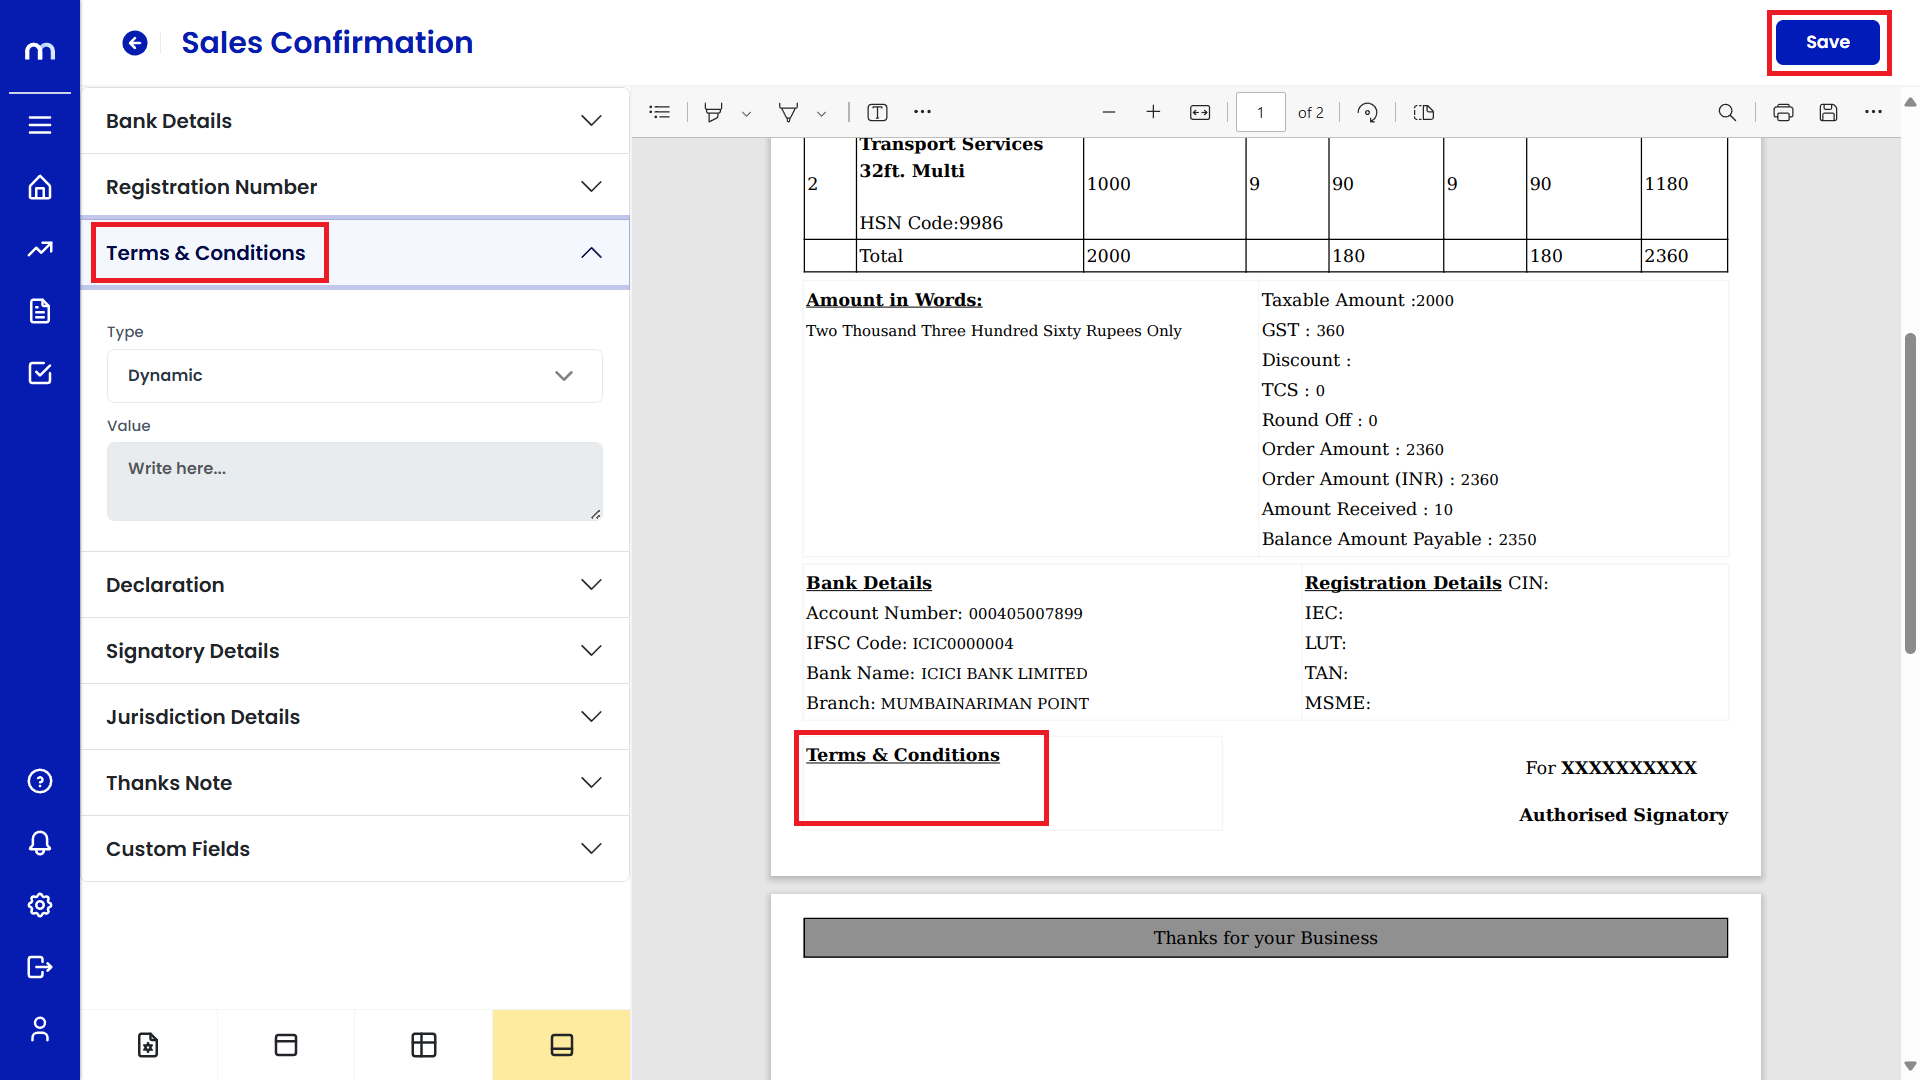
Terms & Conditions
Customize the Terms & Conditions section by clicking on it. Modify the terms to match your business requirements, including payment terms, delivery terms, return policies, etc. Then click on the Save button.
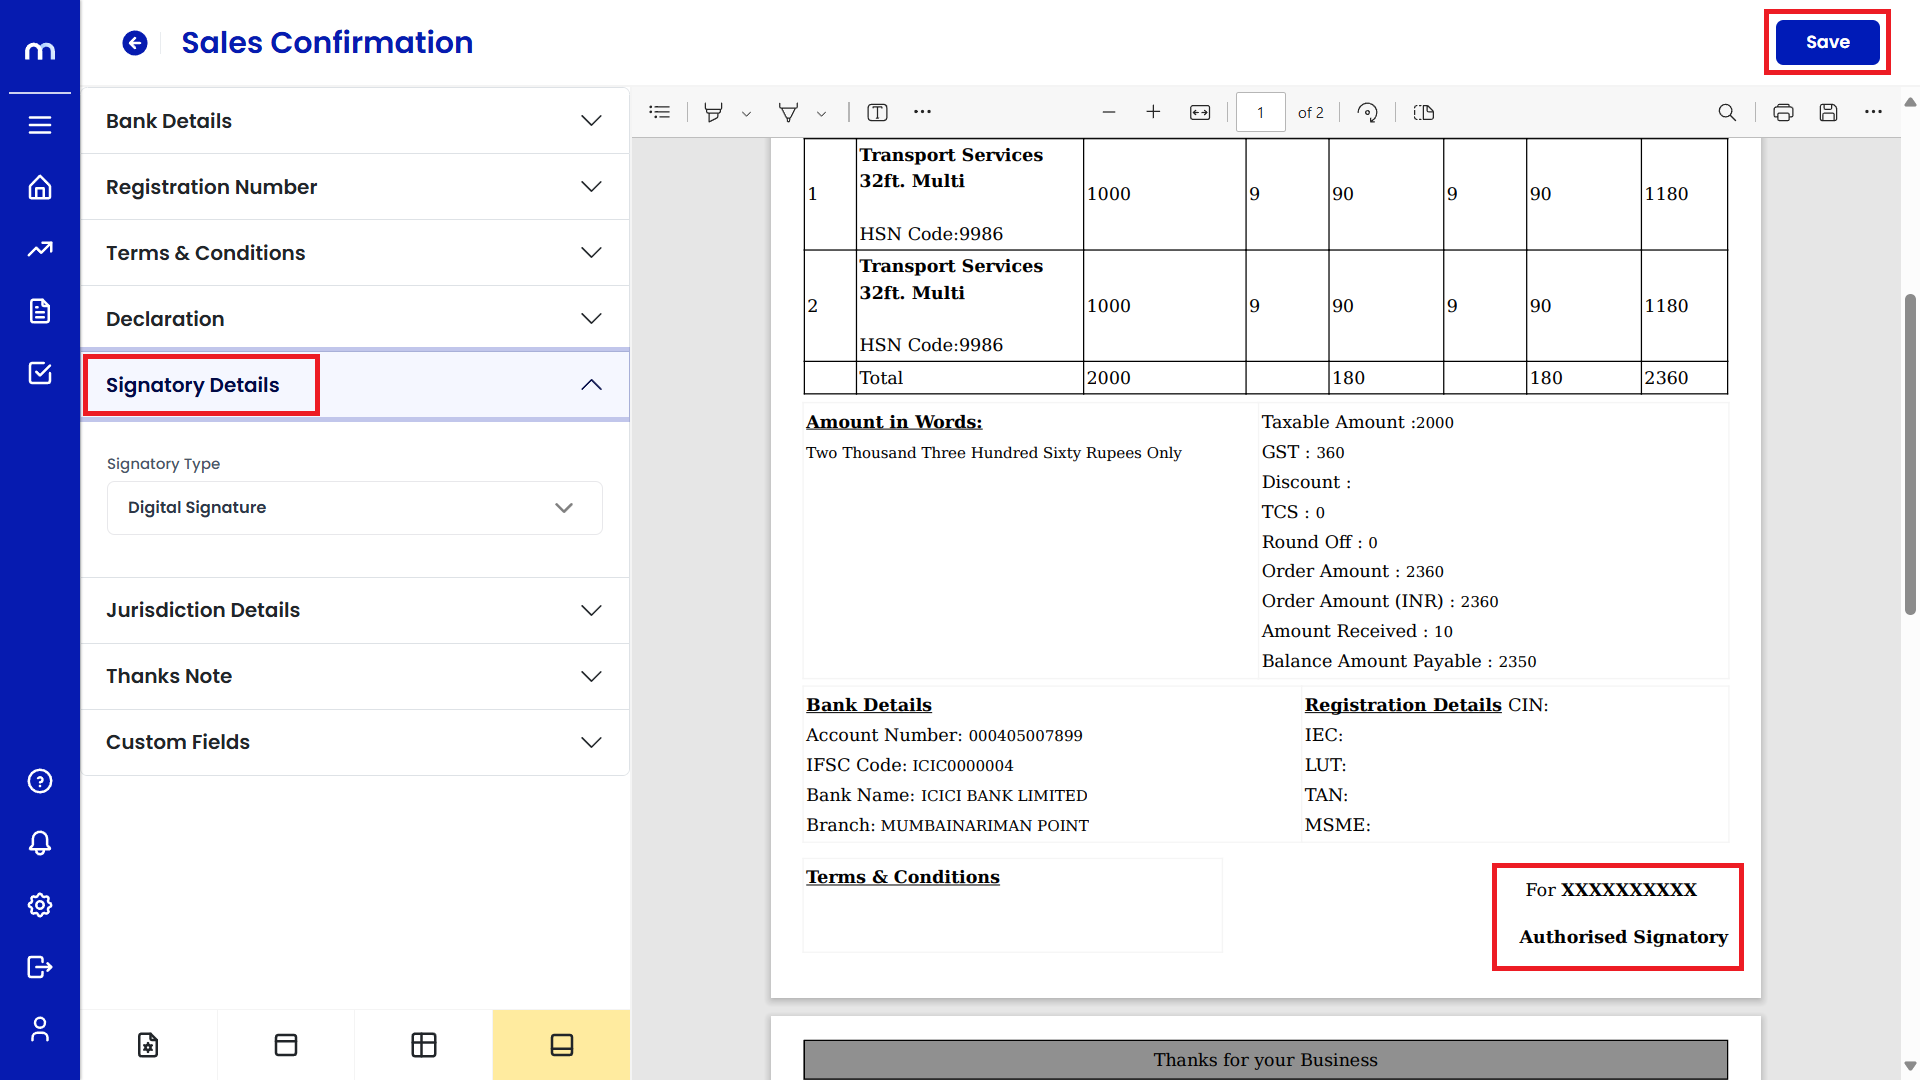
Signatory Details
Customize the Signatory Details to add or modify the person responsible for signing off on the Sales Confirmation. Add the name, designation, and any relevant details. Then click on the Save button.
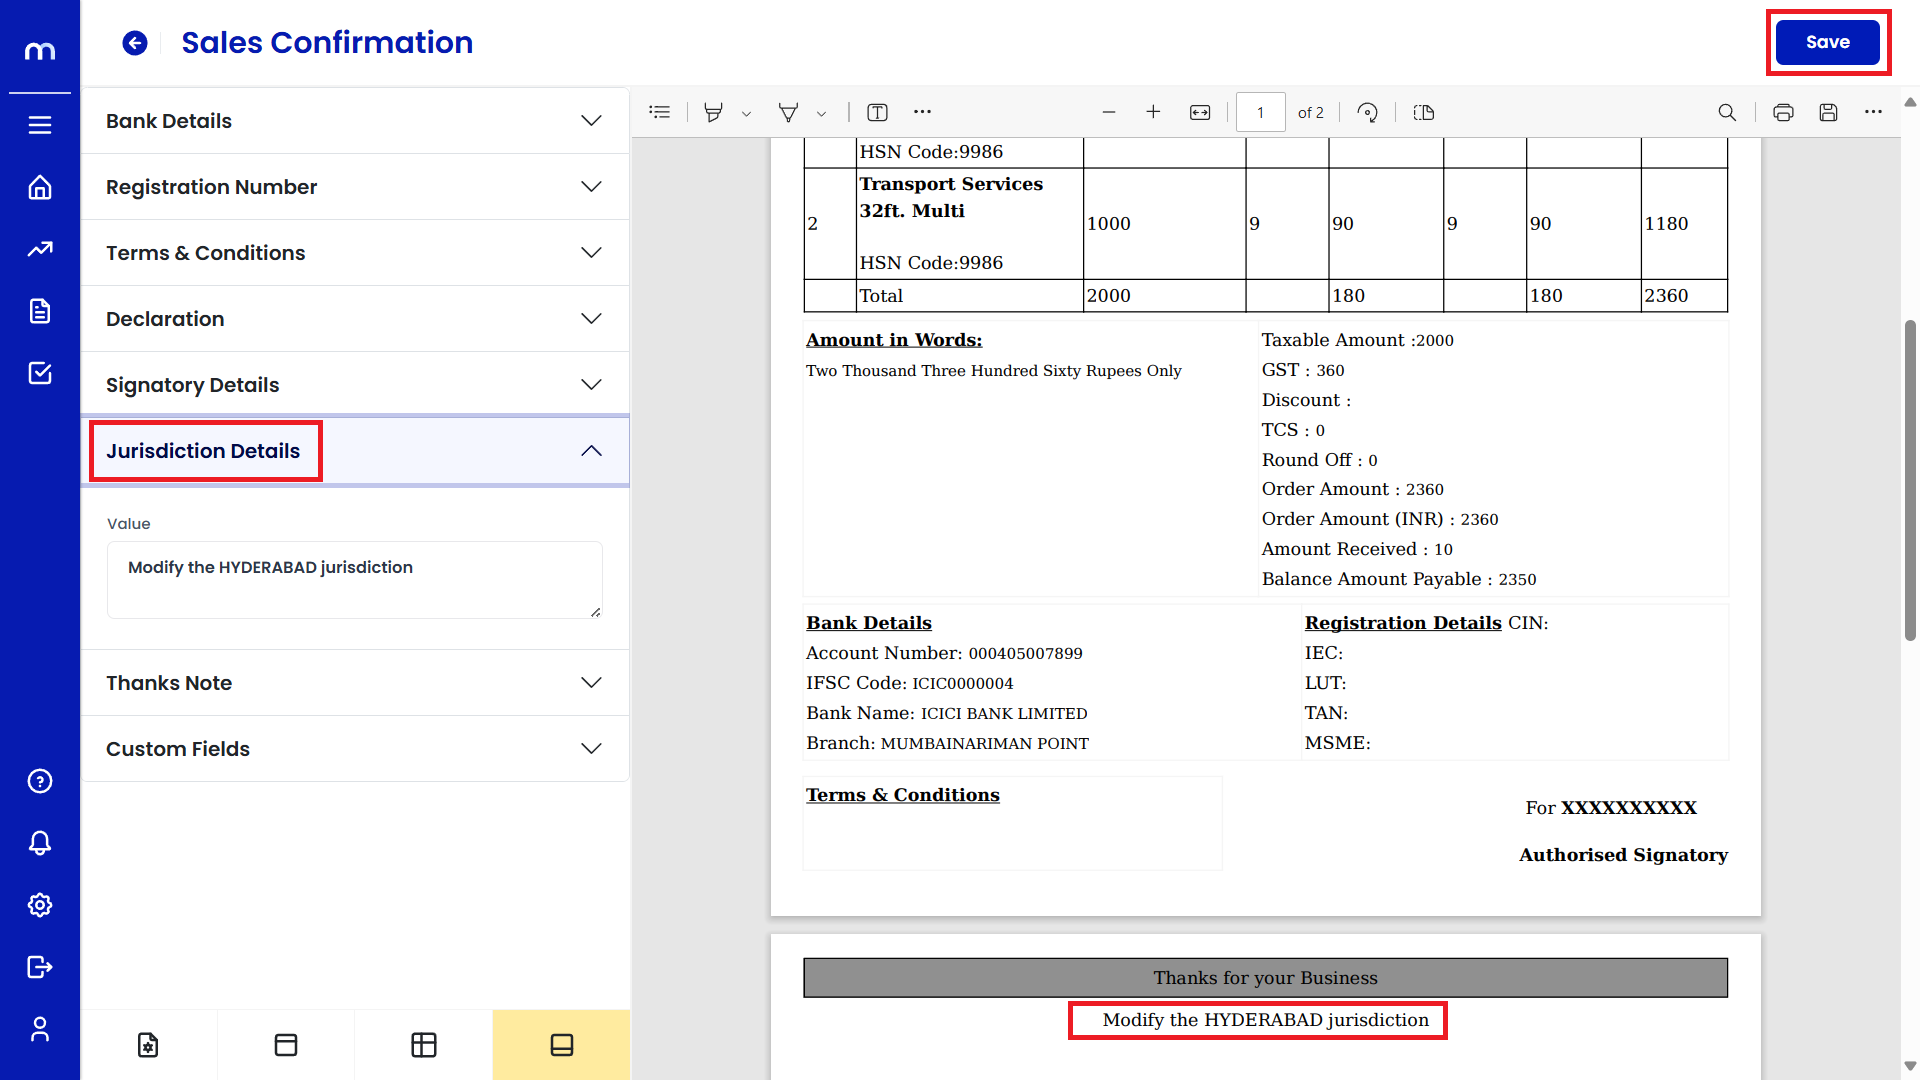
Jurisdiction Details
Add the jurisdictional information, such as the place of agreement or legal jurisdiction for disputes. Then click on the Save button.
Thanks Note
You can add a Thank You Note to personalize the document and express gratitude to your client. Modify or rephrase this note as needed. Then click on the Save button.

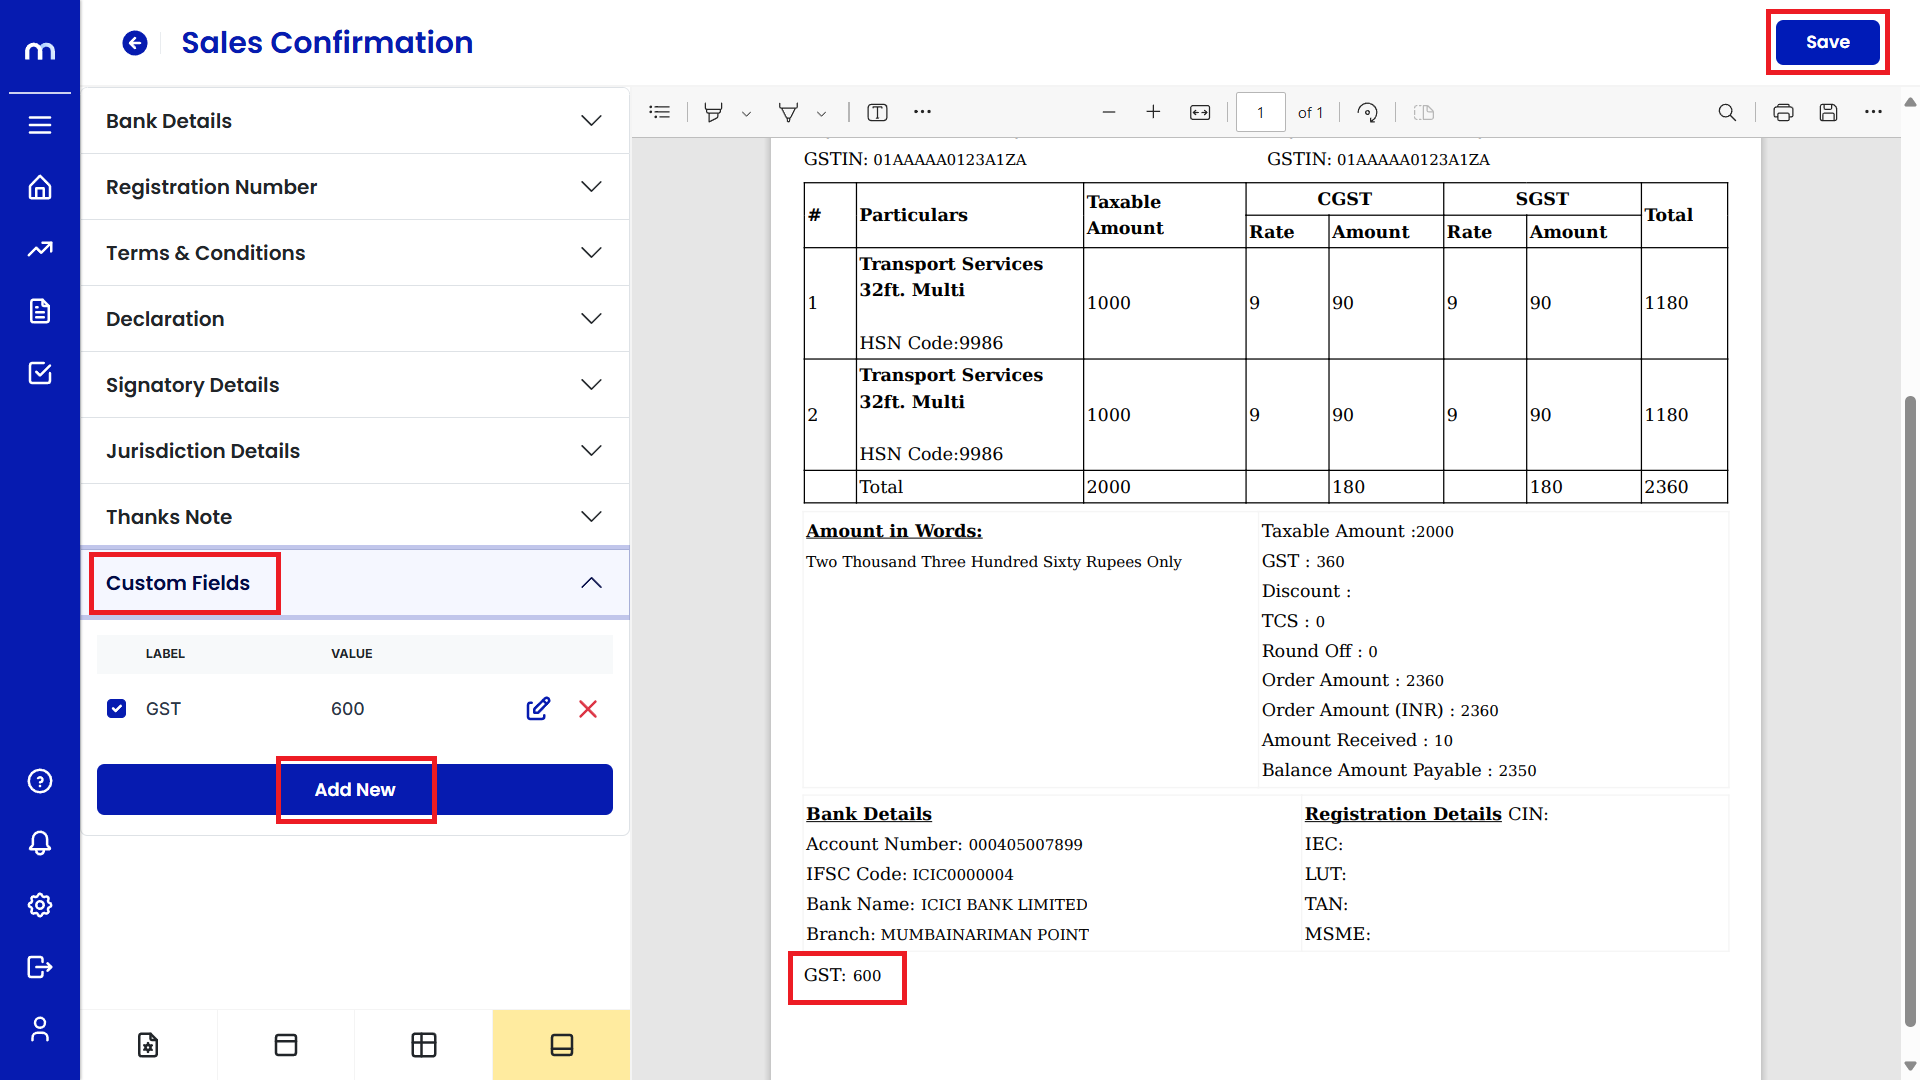
Custom Fields
If the default fields do not cover all your requirements, click on Custom Fields to add additional information that is specific to your business. Examples might include additional references, tracking numbers, or specific notes for certain customers. Then Next click on Save button.