Create Workflows in Company Details
Navigation
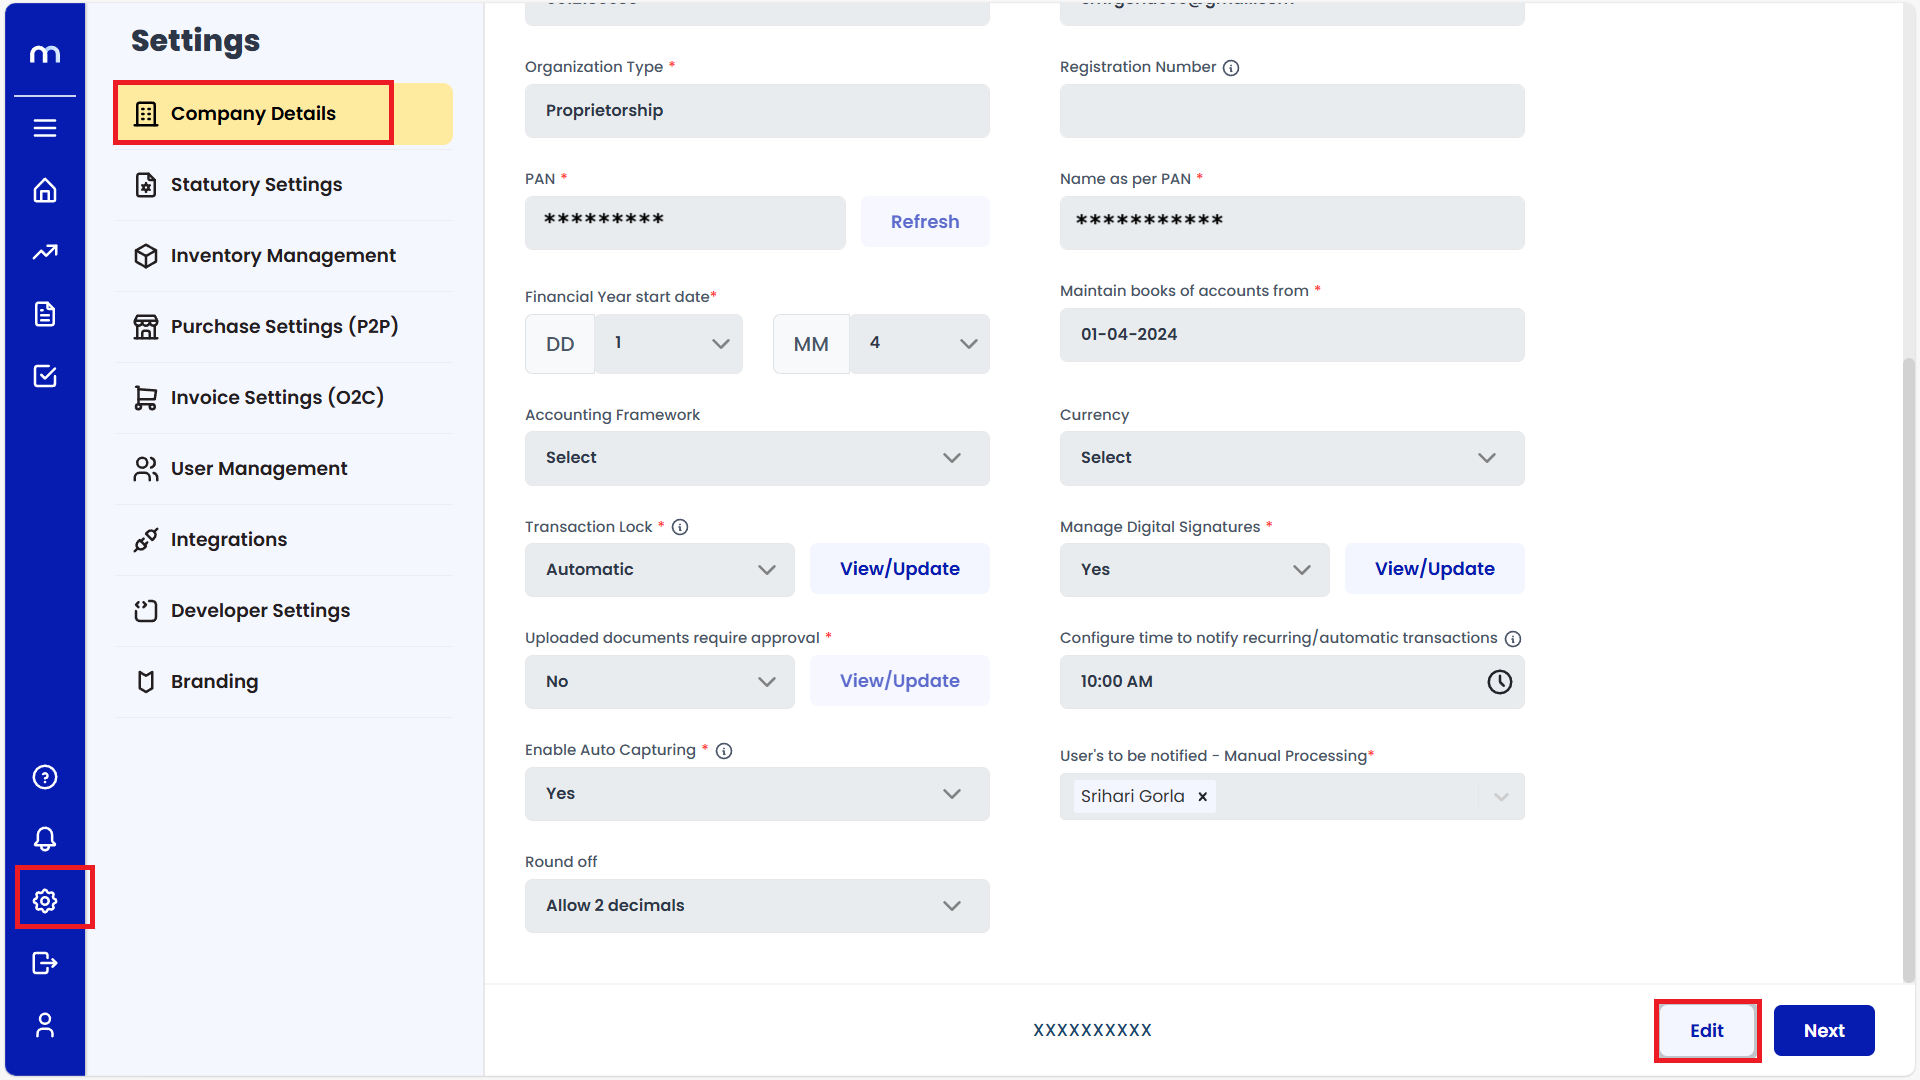
Go to Home > Settings > Company Details > Edit.
Select Yes
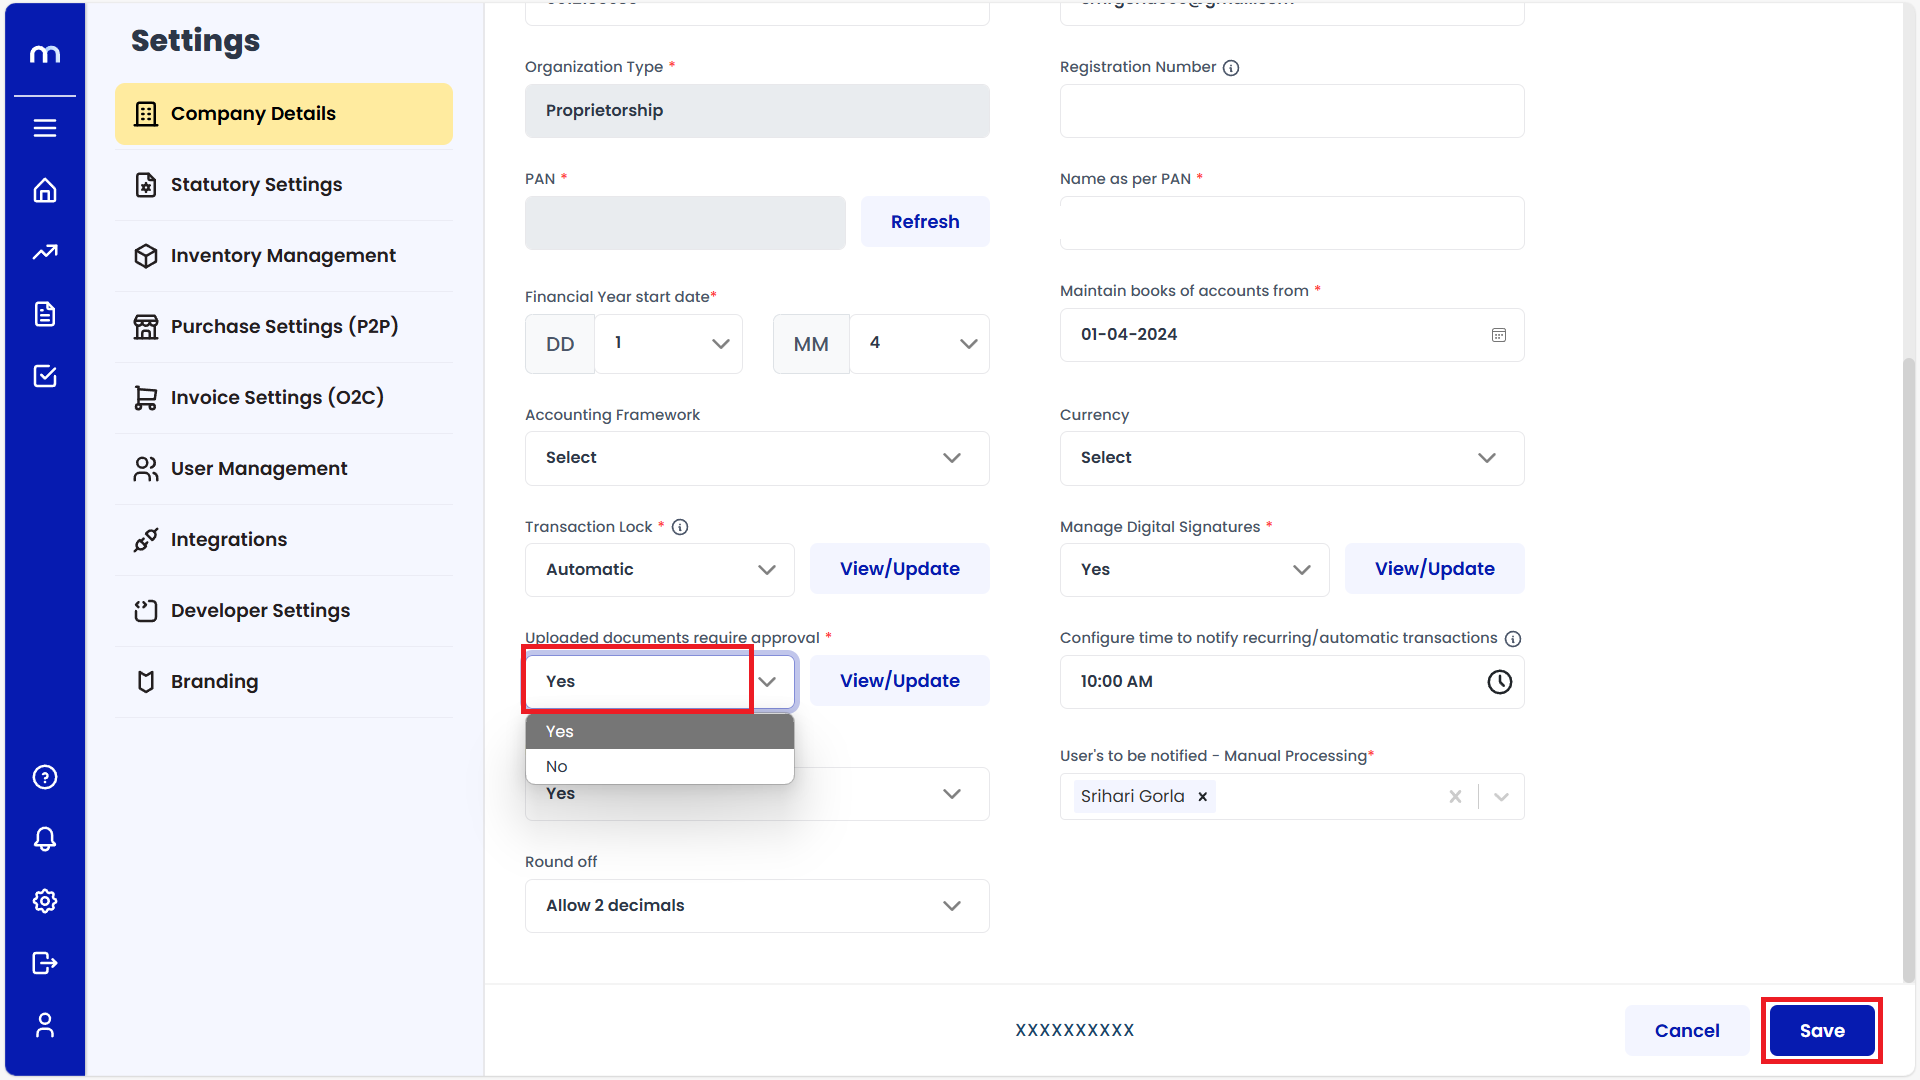
Click on the dropdown menu next to Enable Uploaded Documents Settings and select Yes to enable Uploaded Documents. Then click on the Save button.
Click on View/Update
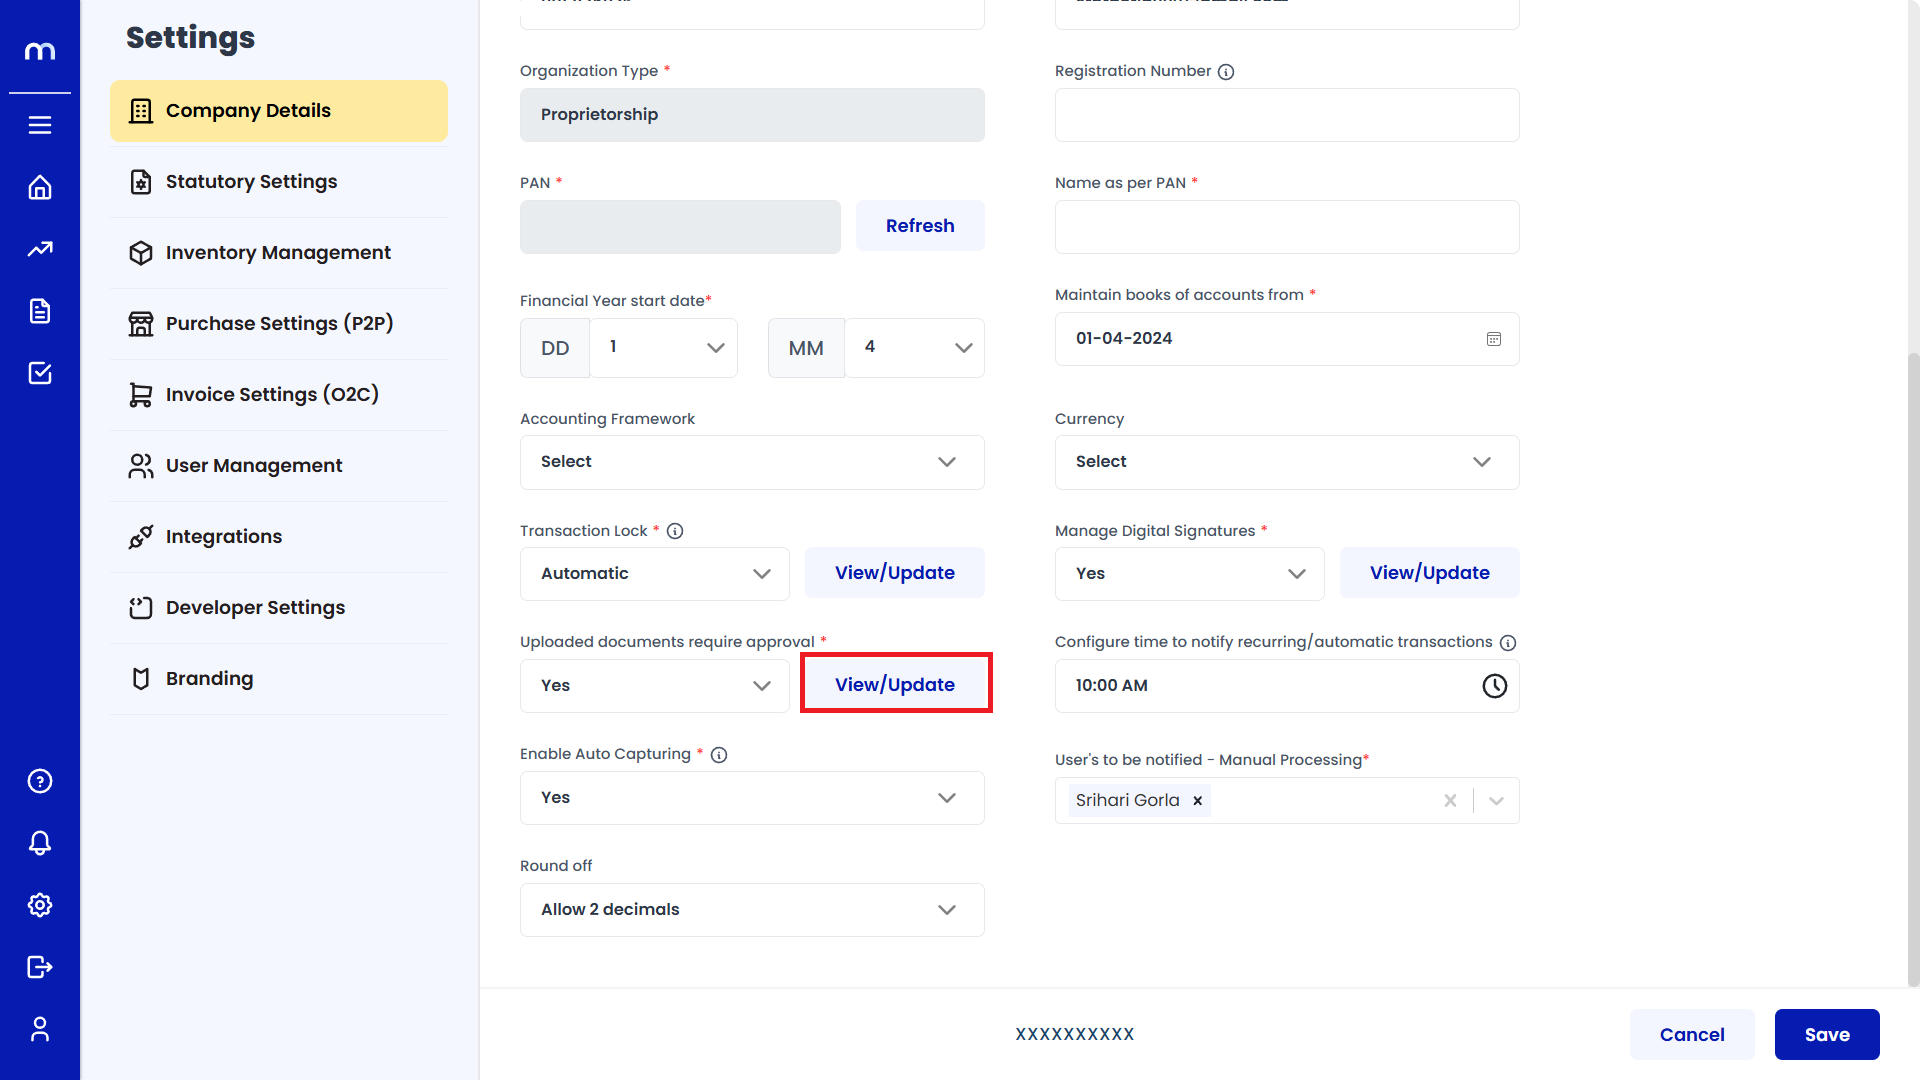
Click on View/Update to configure or customize the workflow settings.
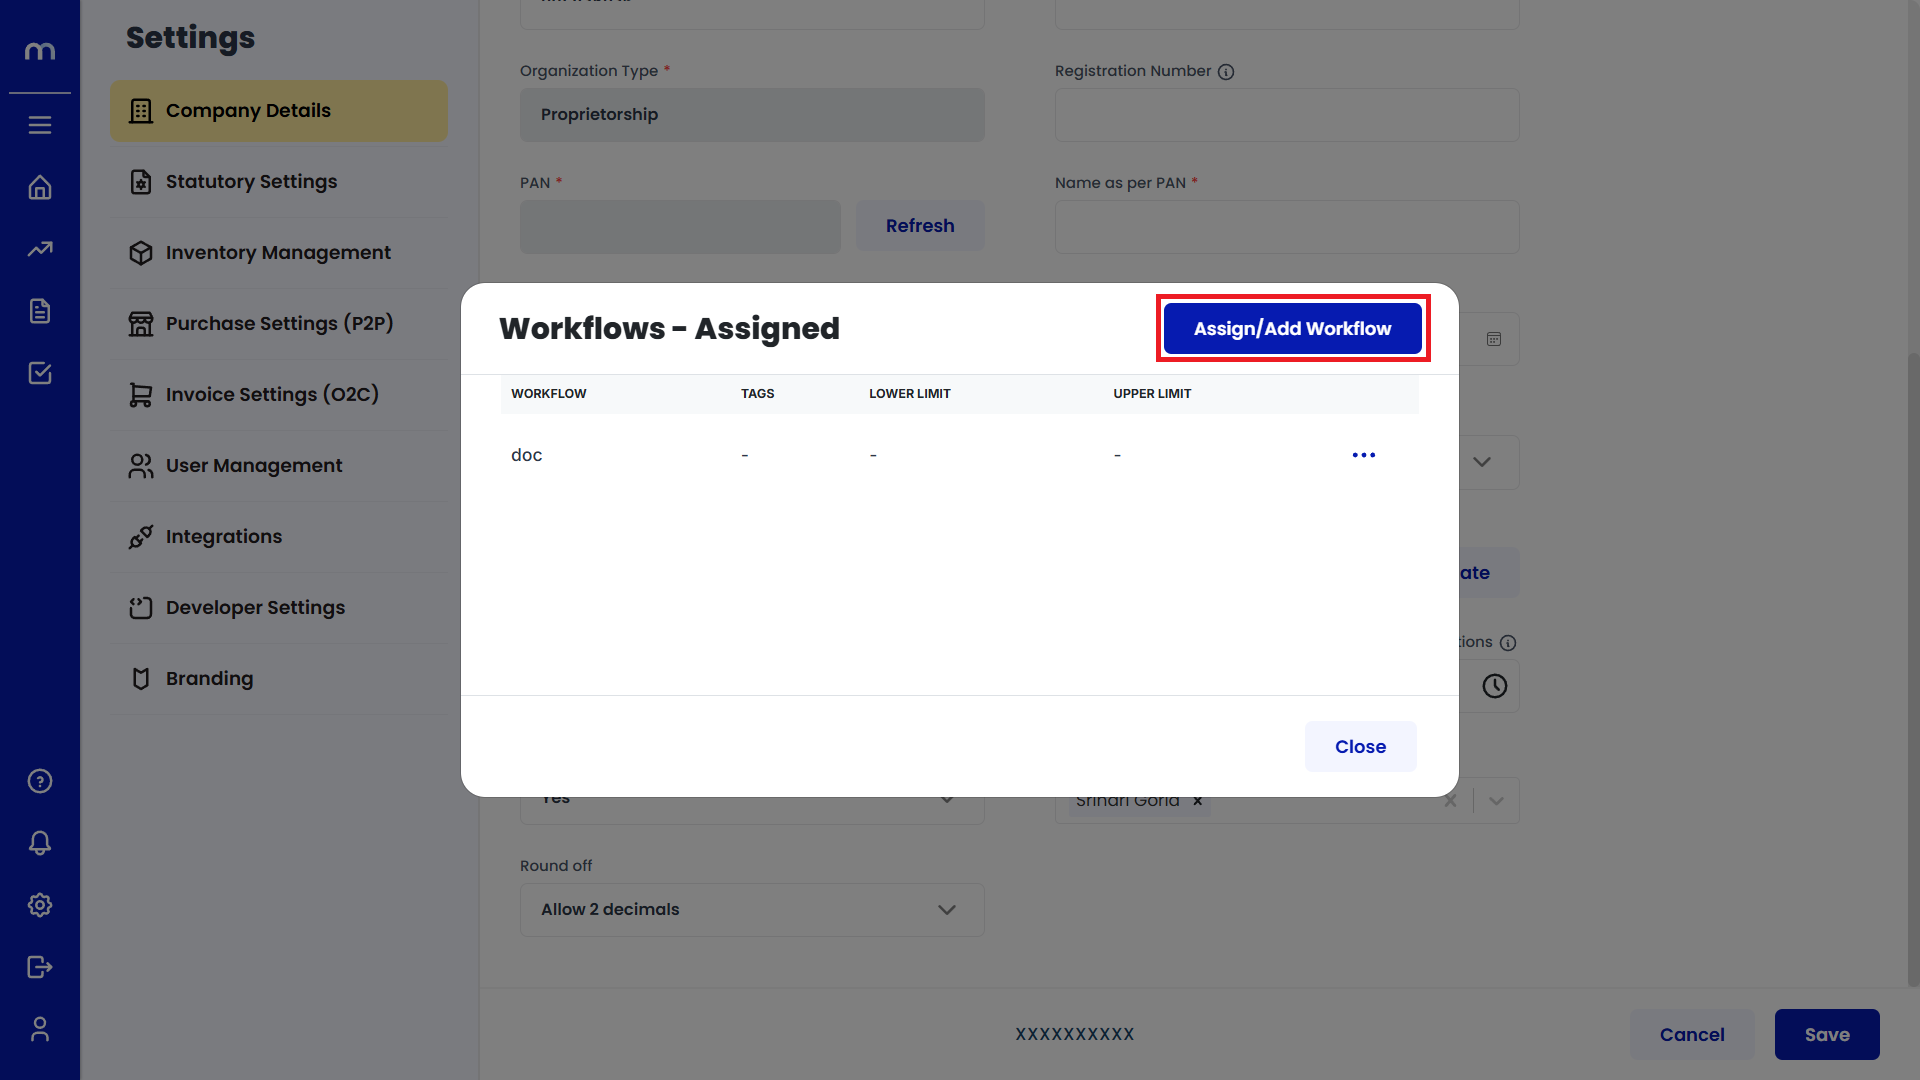
Click on Assign/Add Workflow
The Workflows-Assigned page will open. Click on the Assign/Add Workflow button.
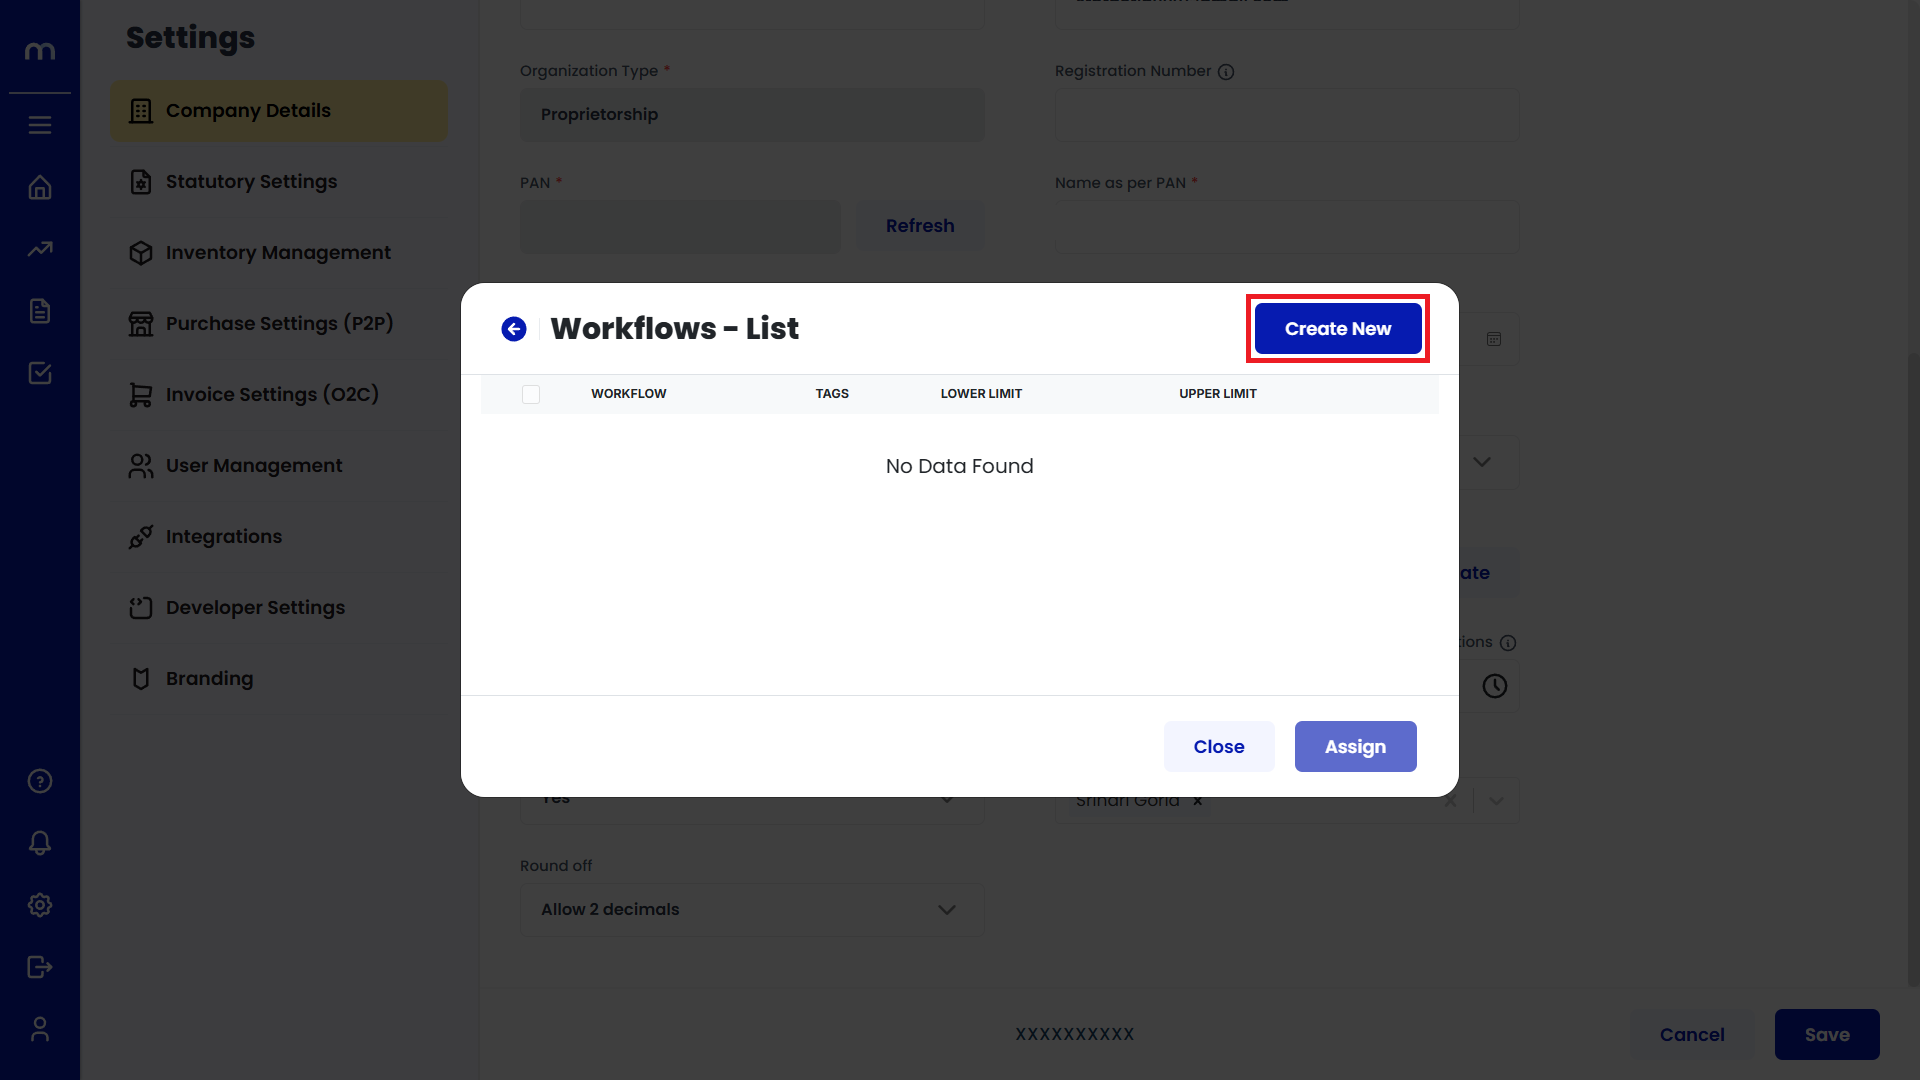
Click on Create New
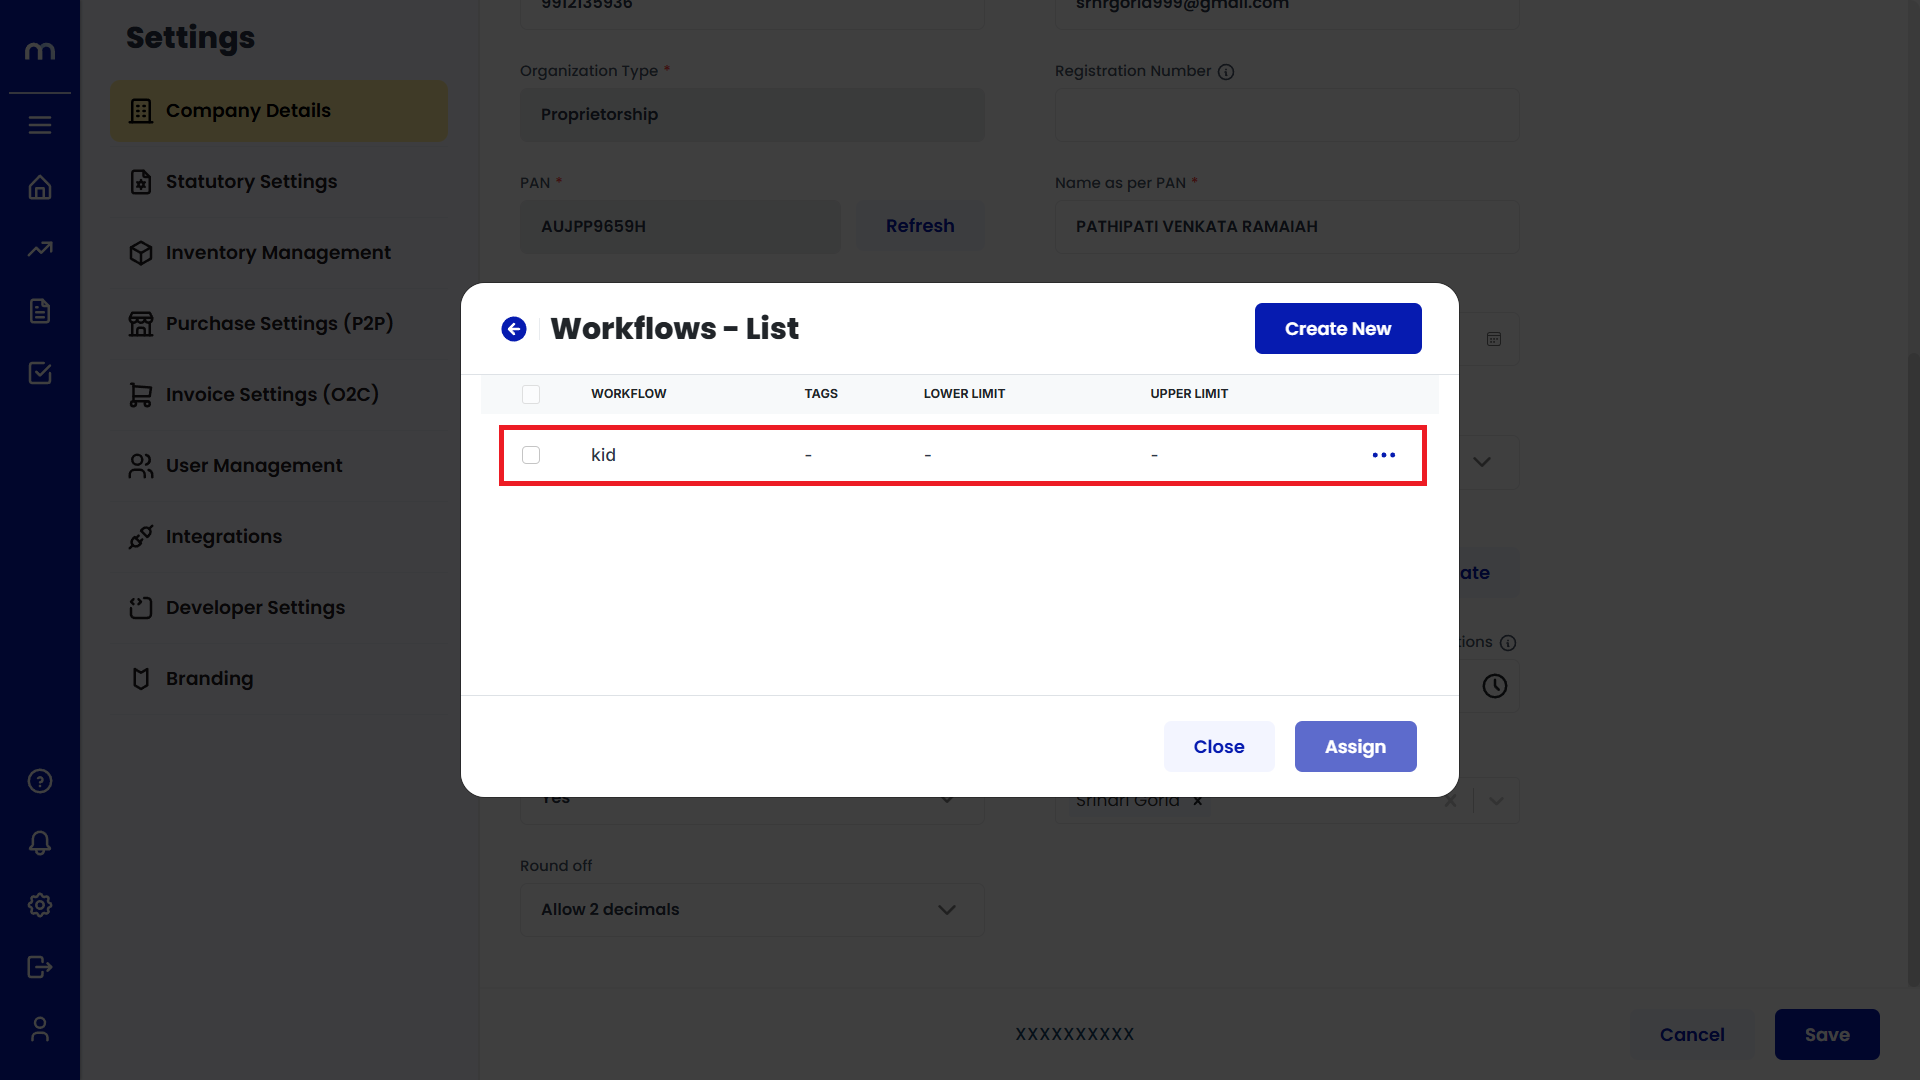
The Workflows-List page will open. Click on the Create New button.
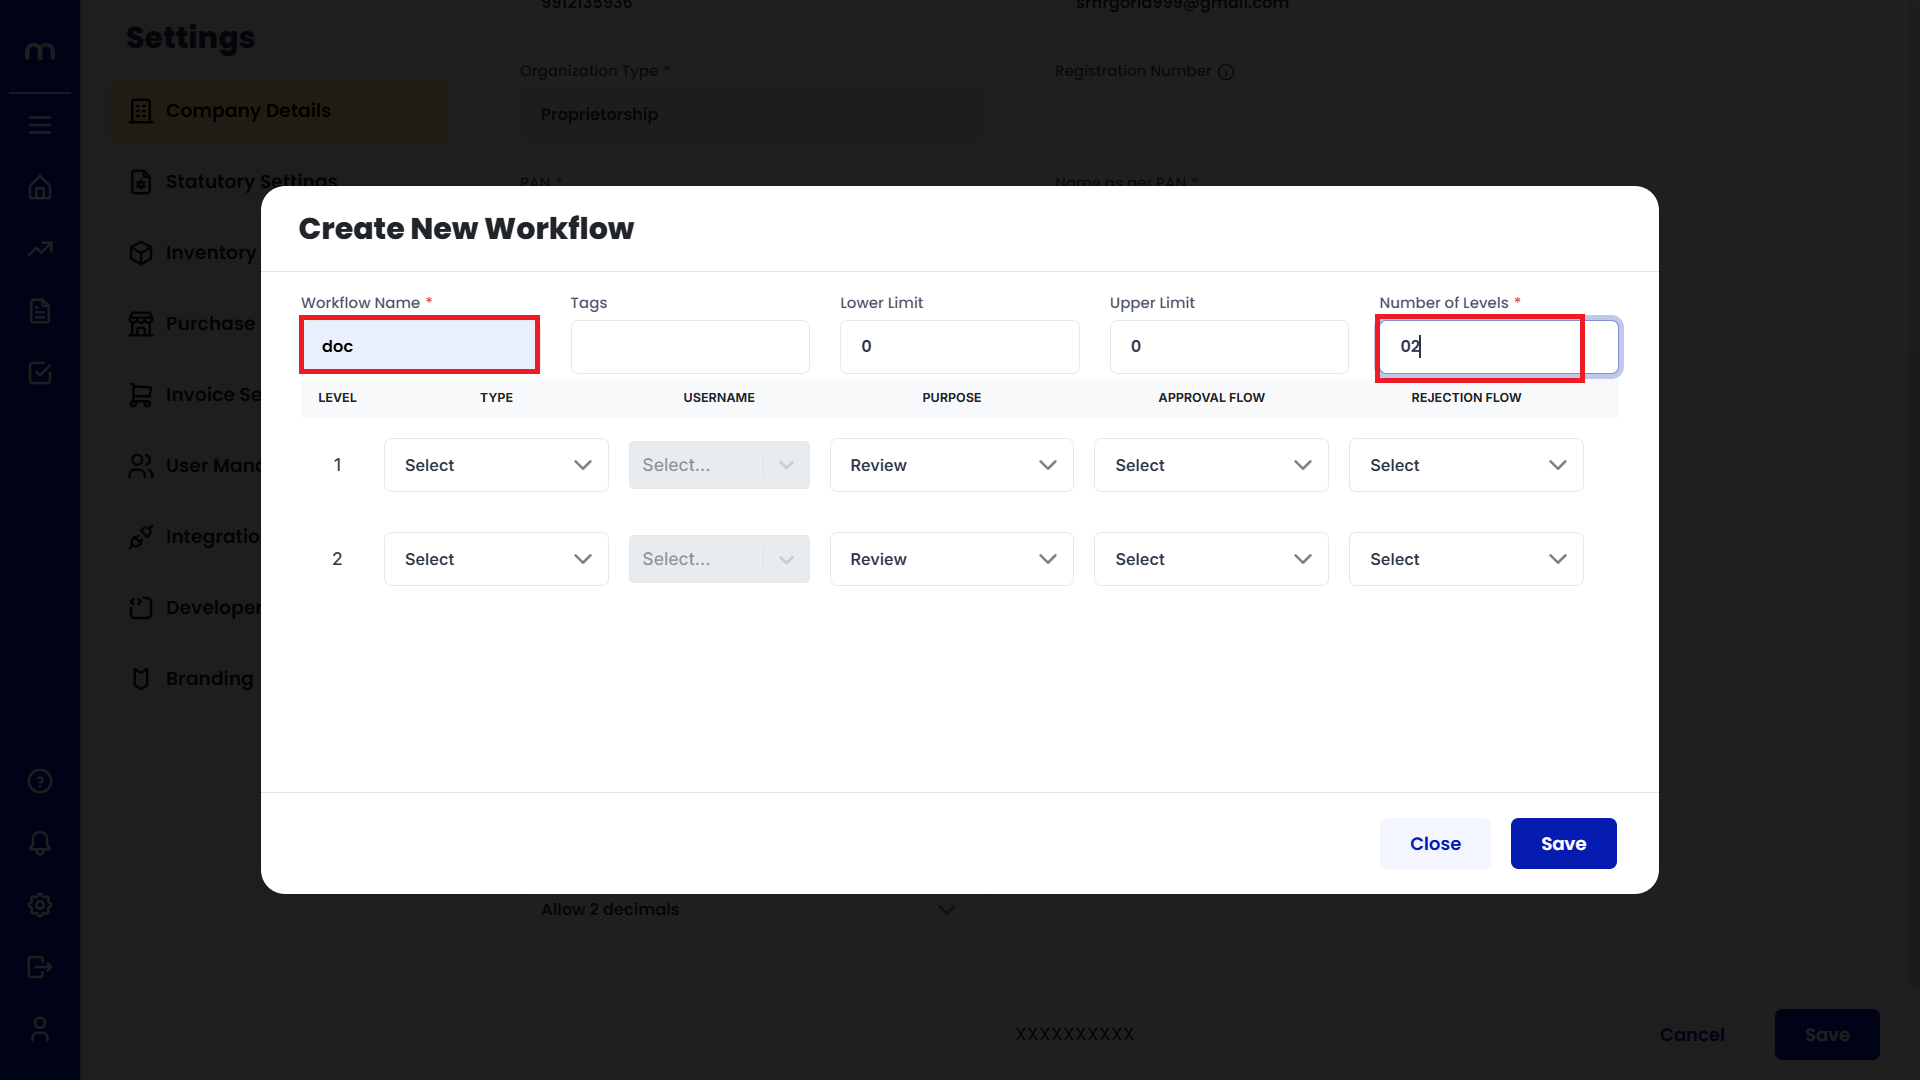
Enter Workflow Name and Number of Levels
The Create New Workflow page will open. Enter the workflow name and the number of approval levels.
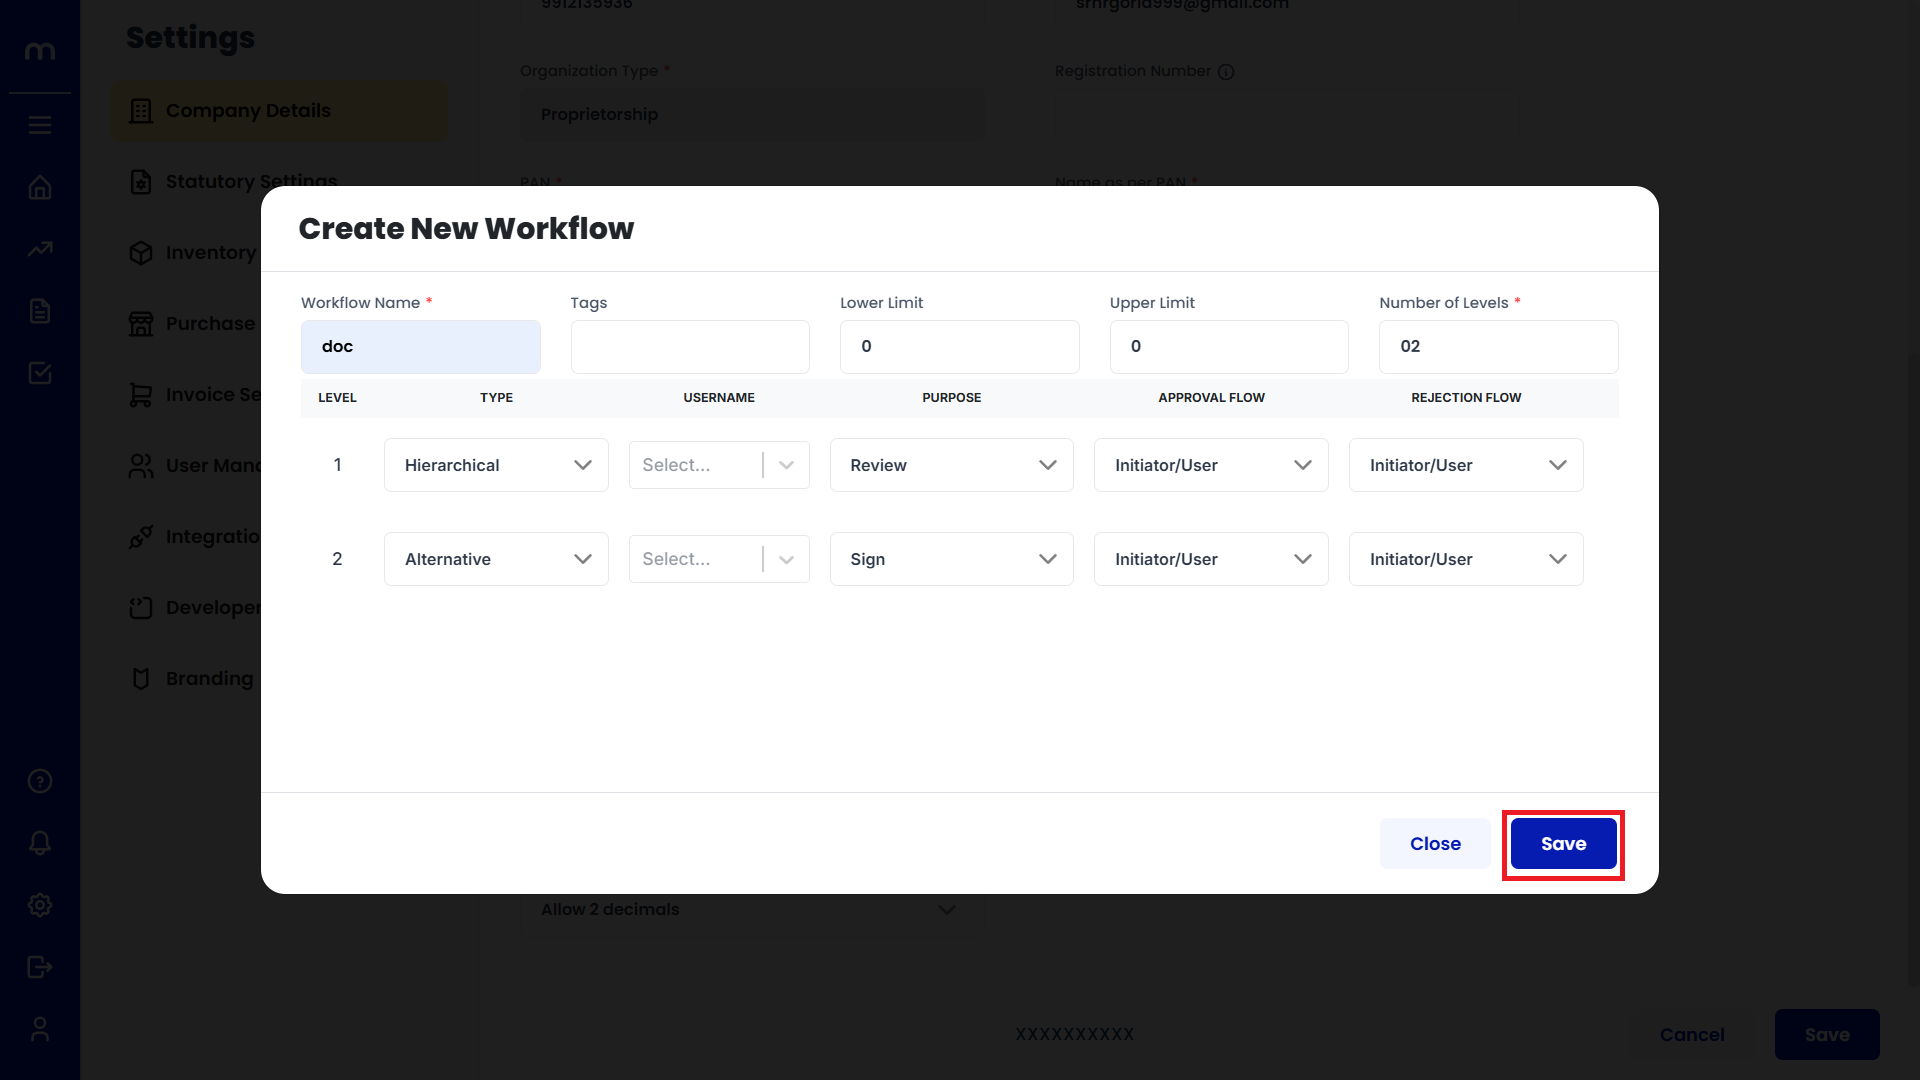
Click on Save
You can define multiple levels of approval for different types of transactions:
- Level 1 Approver: Basic approval for standard actions.
- Level 2 Approver: Higher-level approval for more significant actions.
Once all settings are configured, click Save to activate the workflow.
Assigned Workflow-List
The Workflow-List page will now display the newly assigned workflow.