How to create Sales Invoice/Register?
Navigation
Sales Register can be created in two ways.
Flow-1:
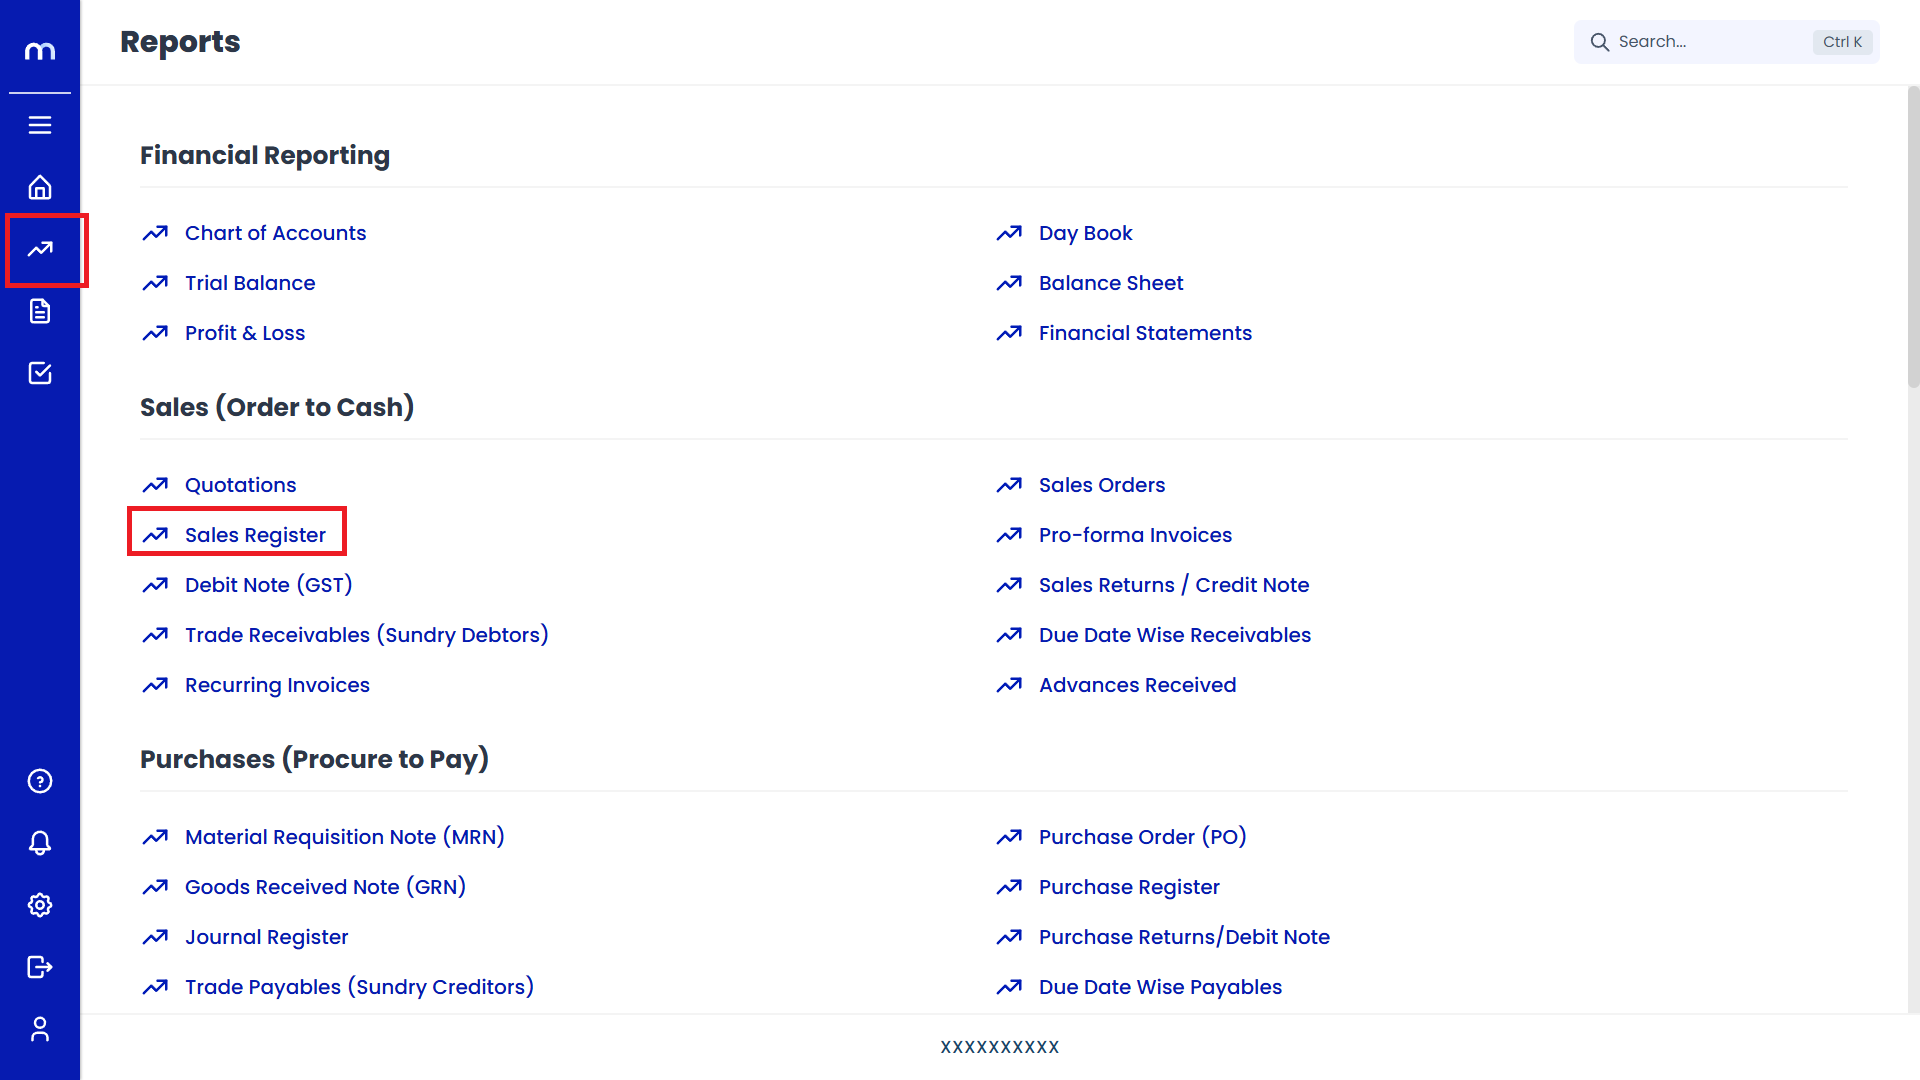
Go to Home > Reports > Sales (Order to Cash) > Sales Register. Under Sales (Order to Cash), click on Sales Register.
Flow-2:
Go to Dashboard > Add New > Sales Invoice.
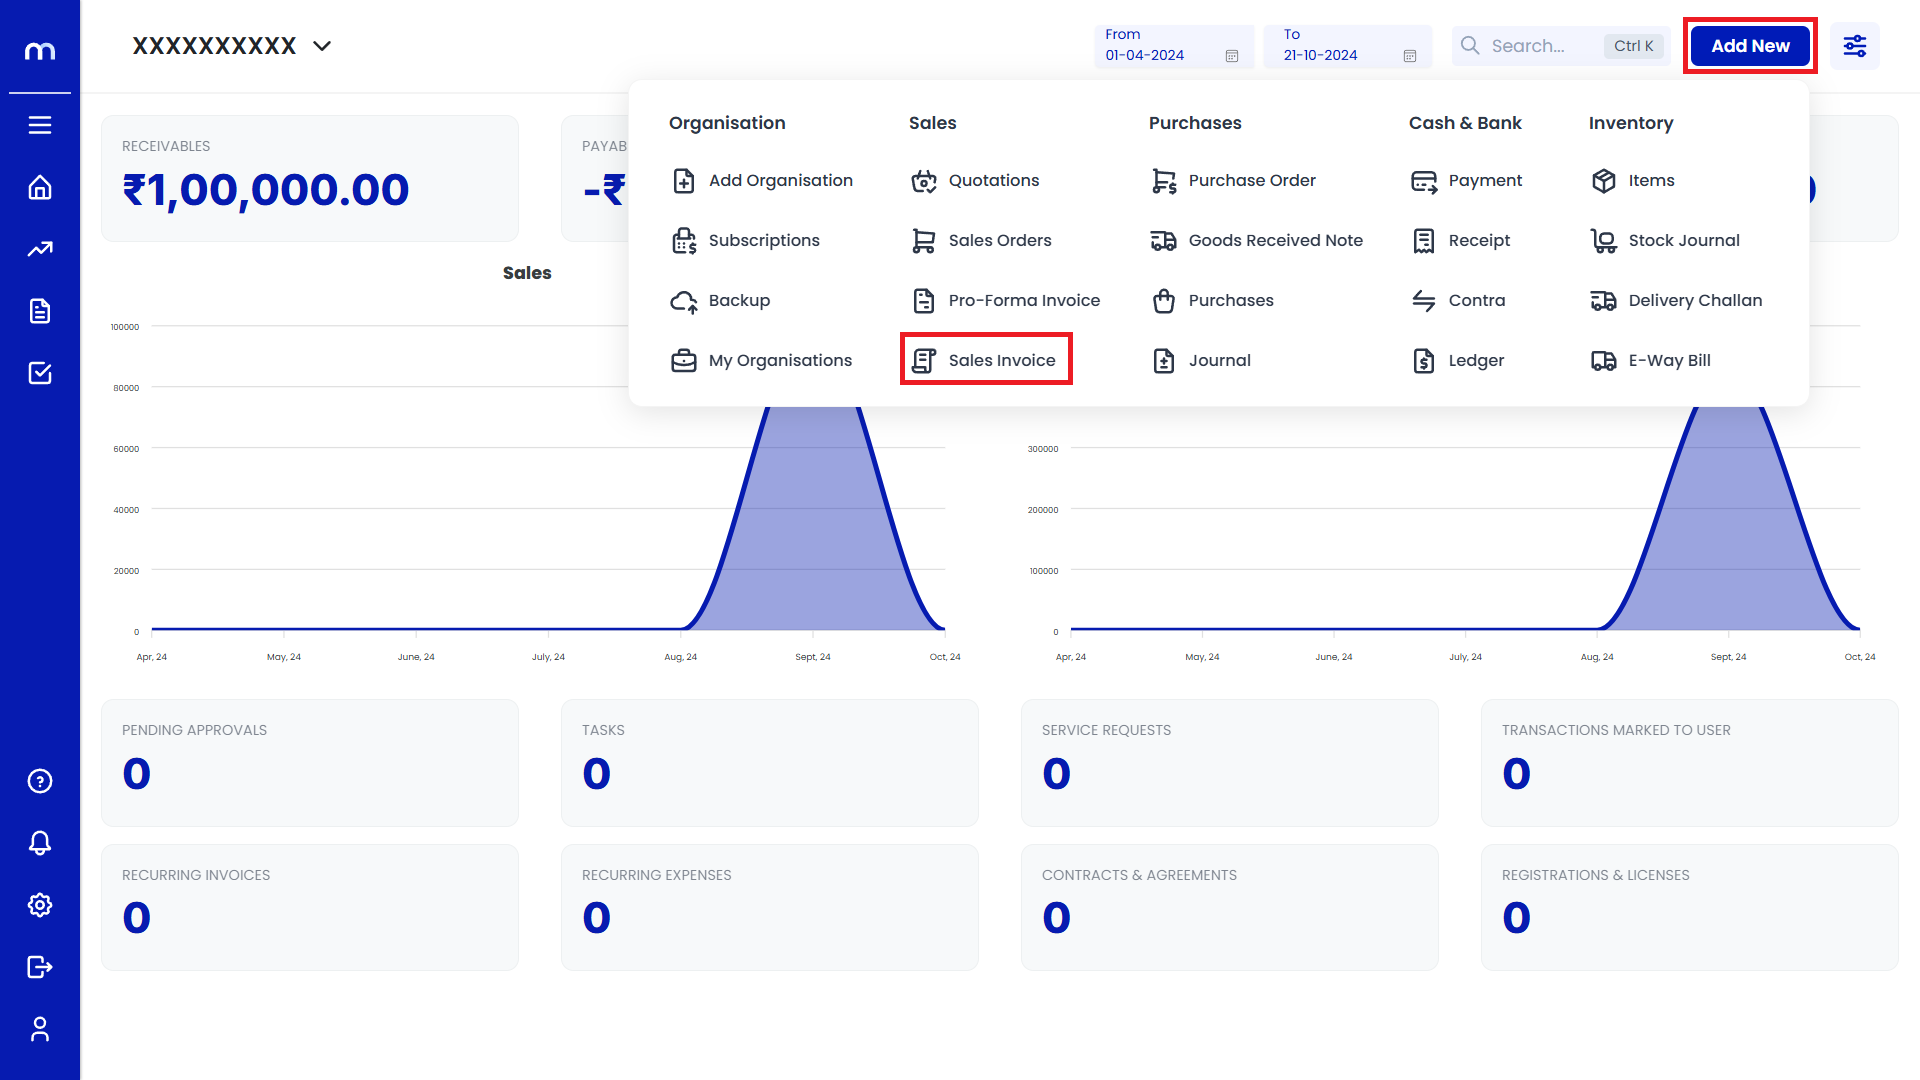
Click on Add New.
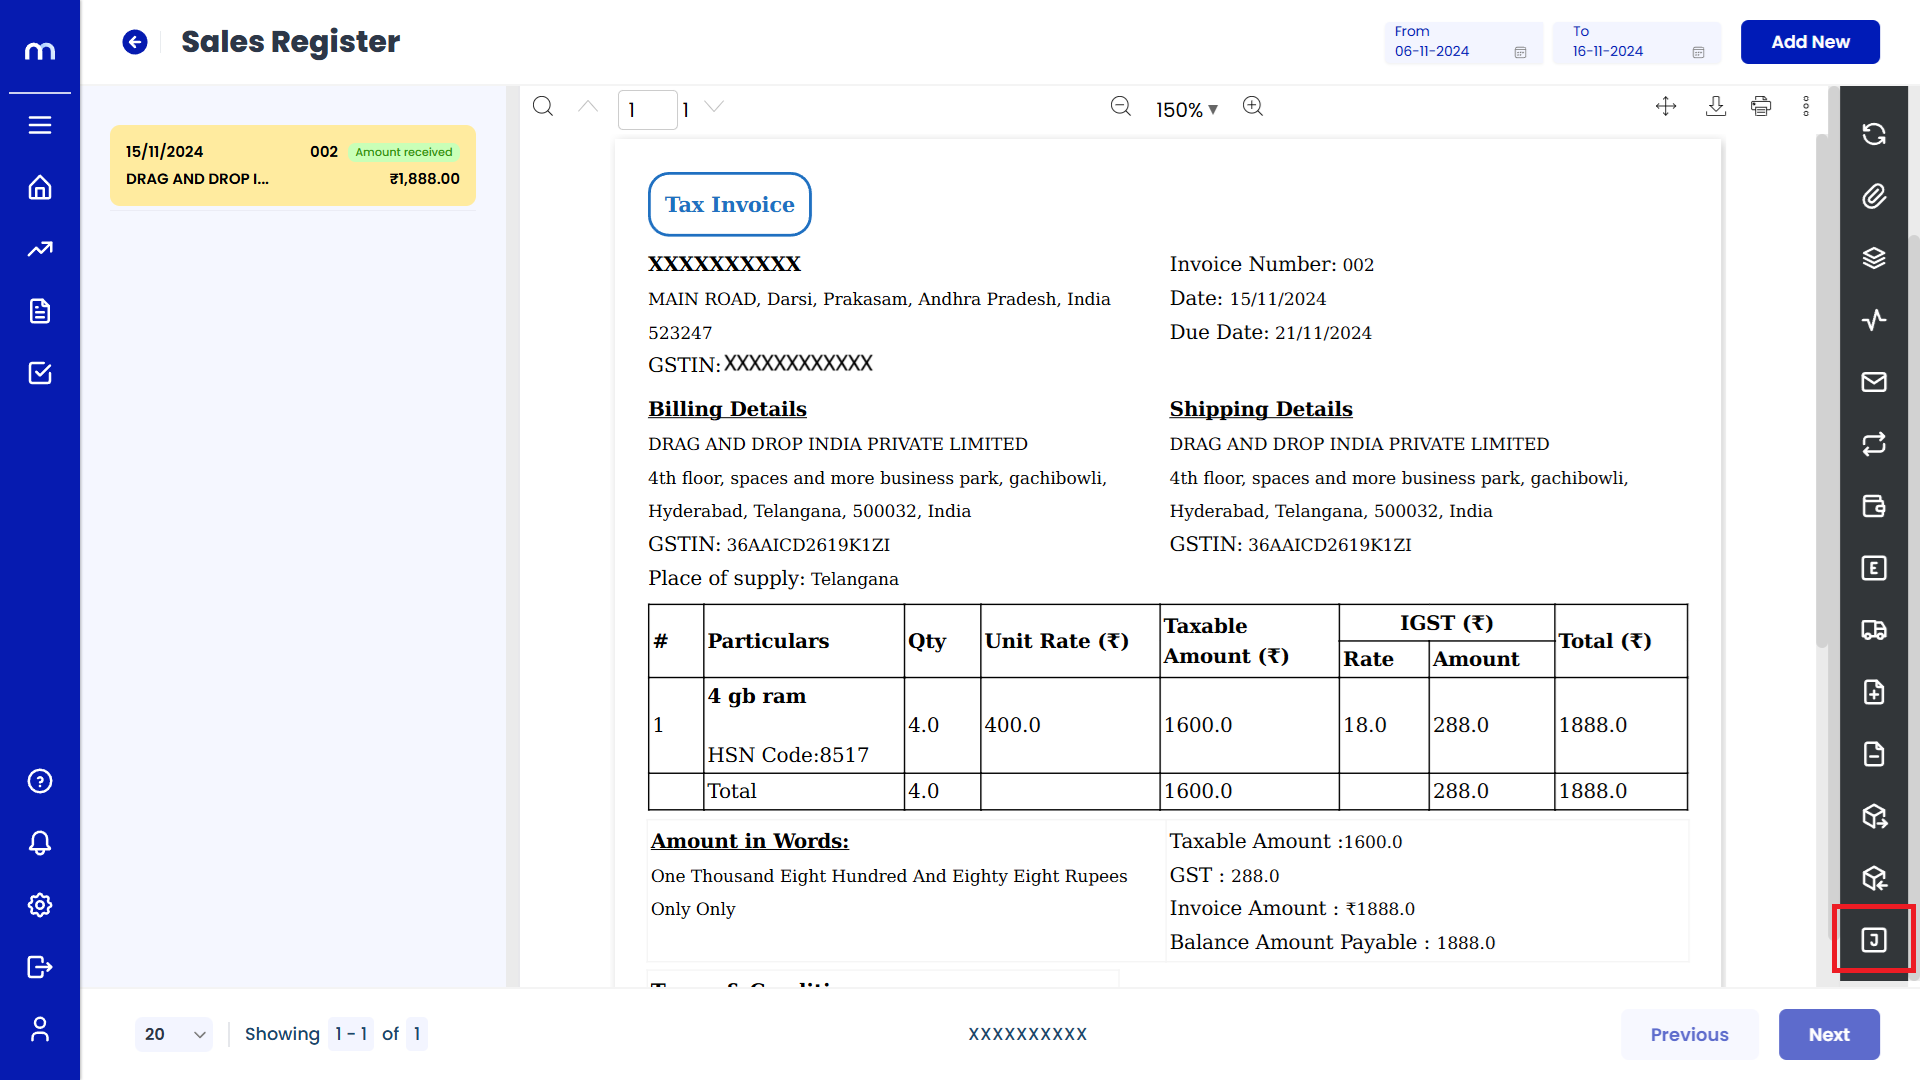
Sales Register Page will be displayed as follows and Click on Add New Button.

Click on Contact Details
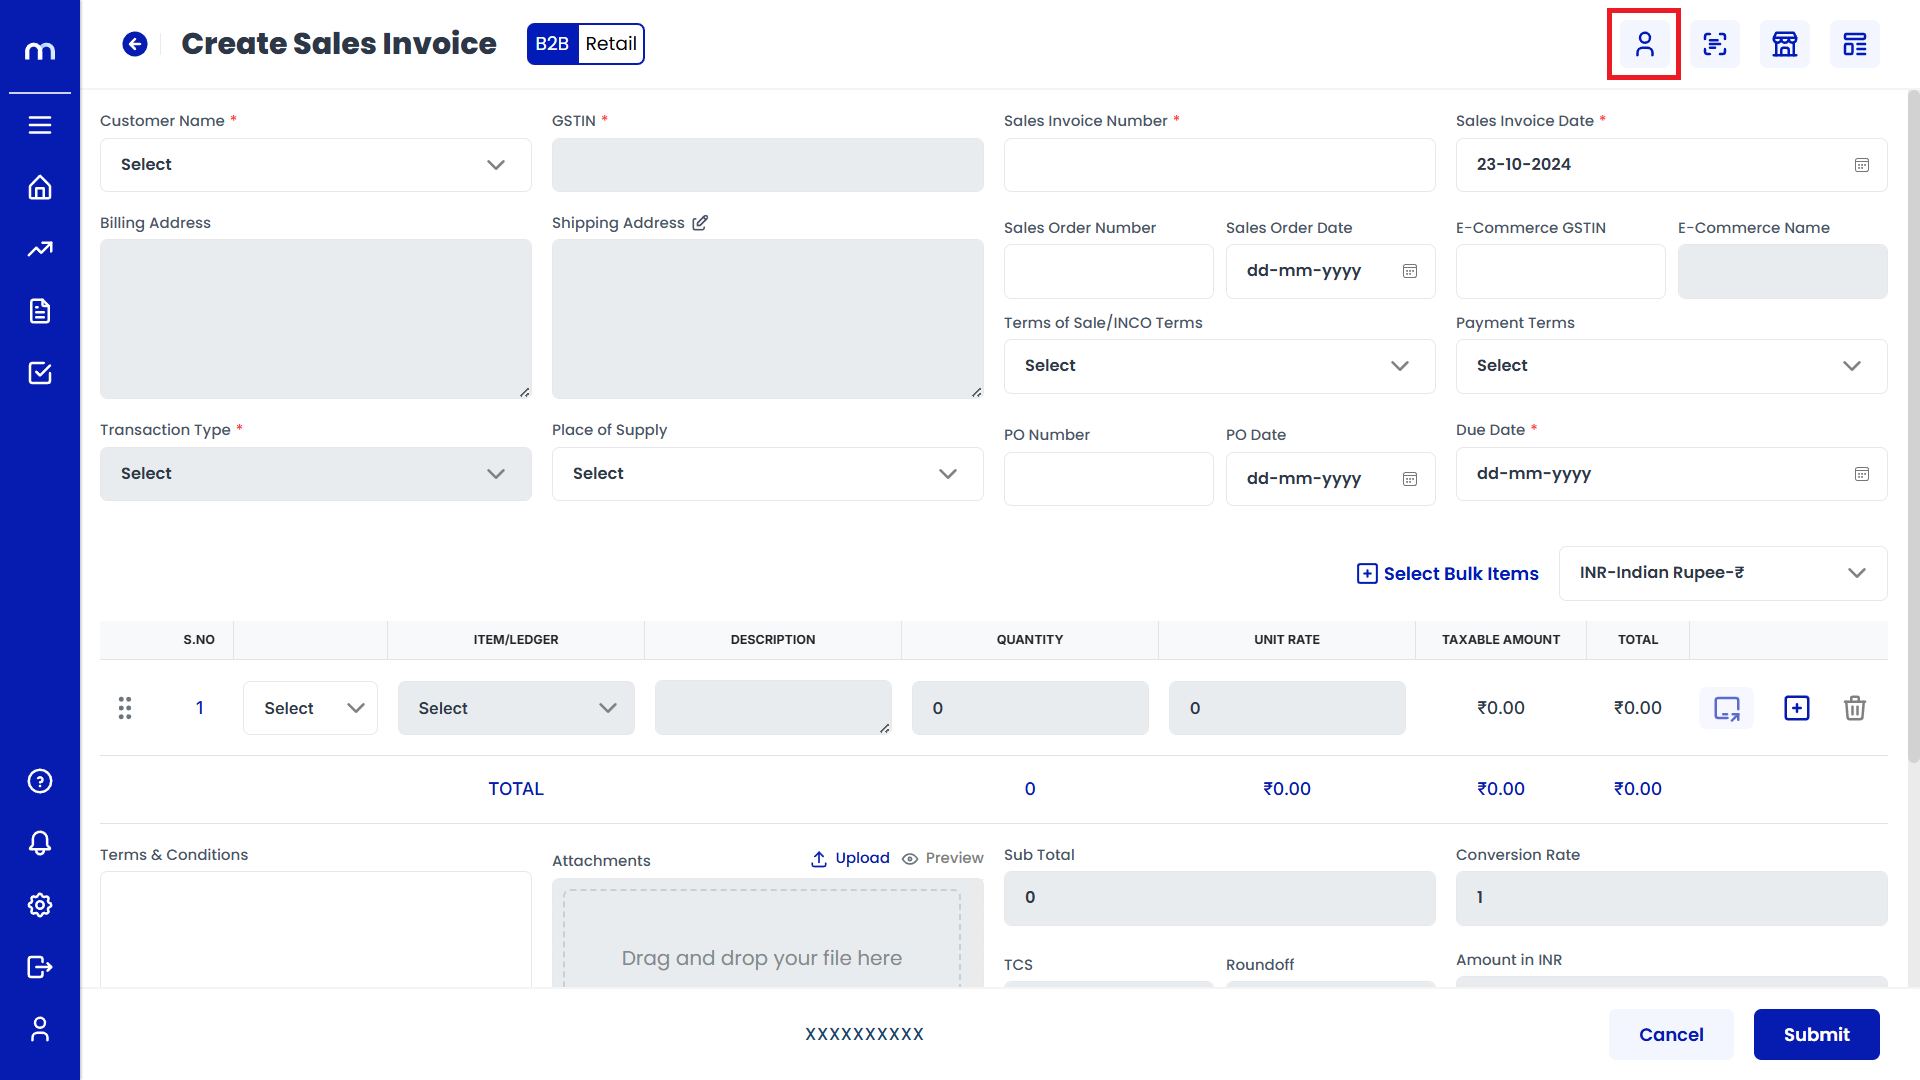
Create Sales Invoice page will be displayed as Follows and click on Contact Details button.
Click on Save
Contact Details page will be displayed as Follows, Fill in all required detail and click on Save button.

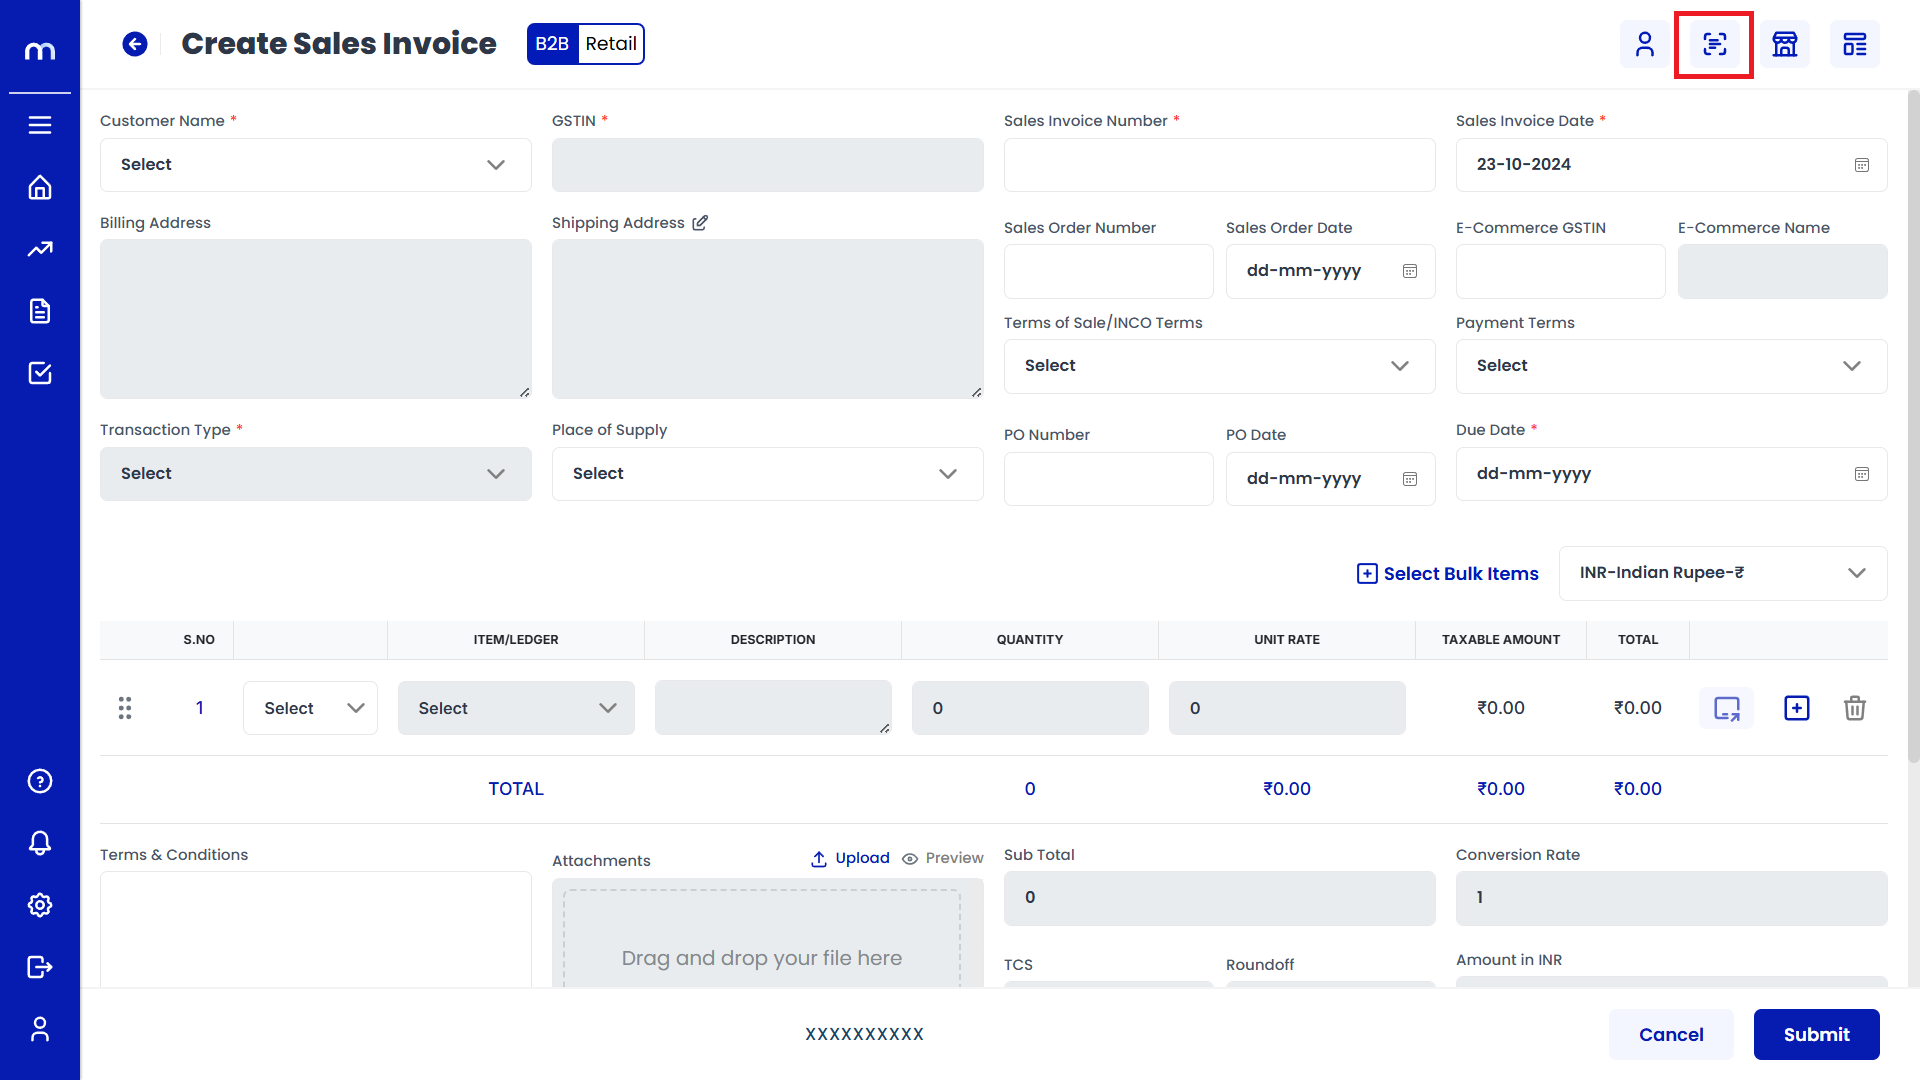
Click on Auto Scan
Create Sales Invoice page will be displayed as Follows and click on Auto Scan button.
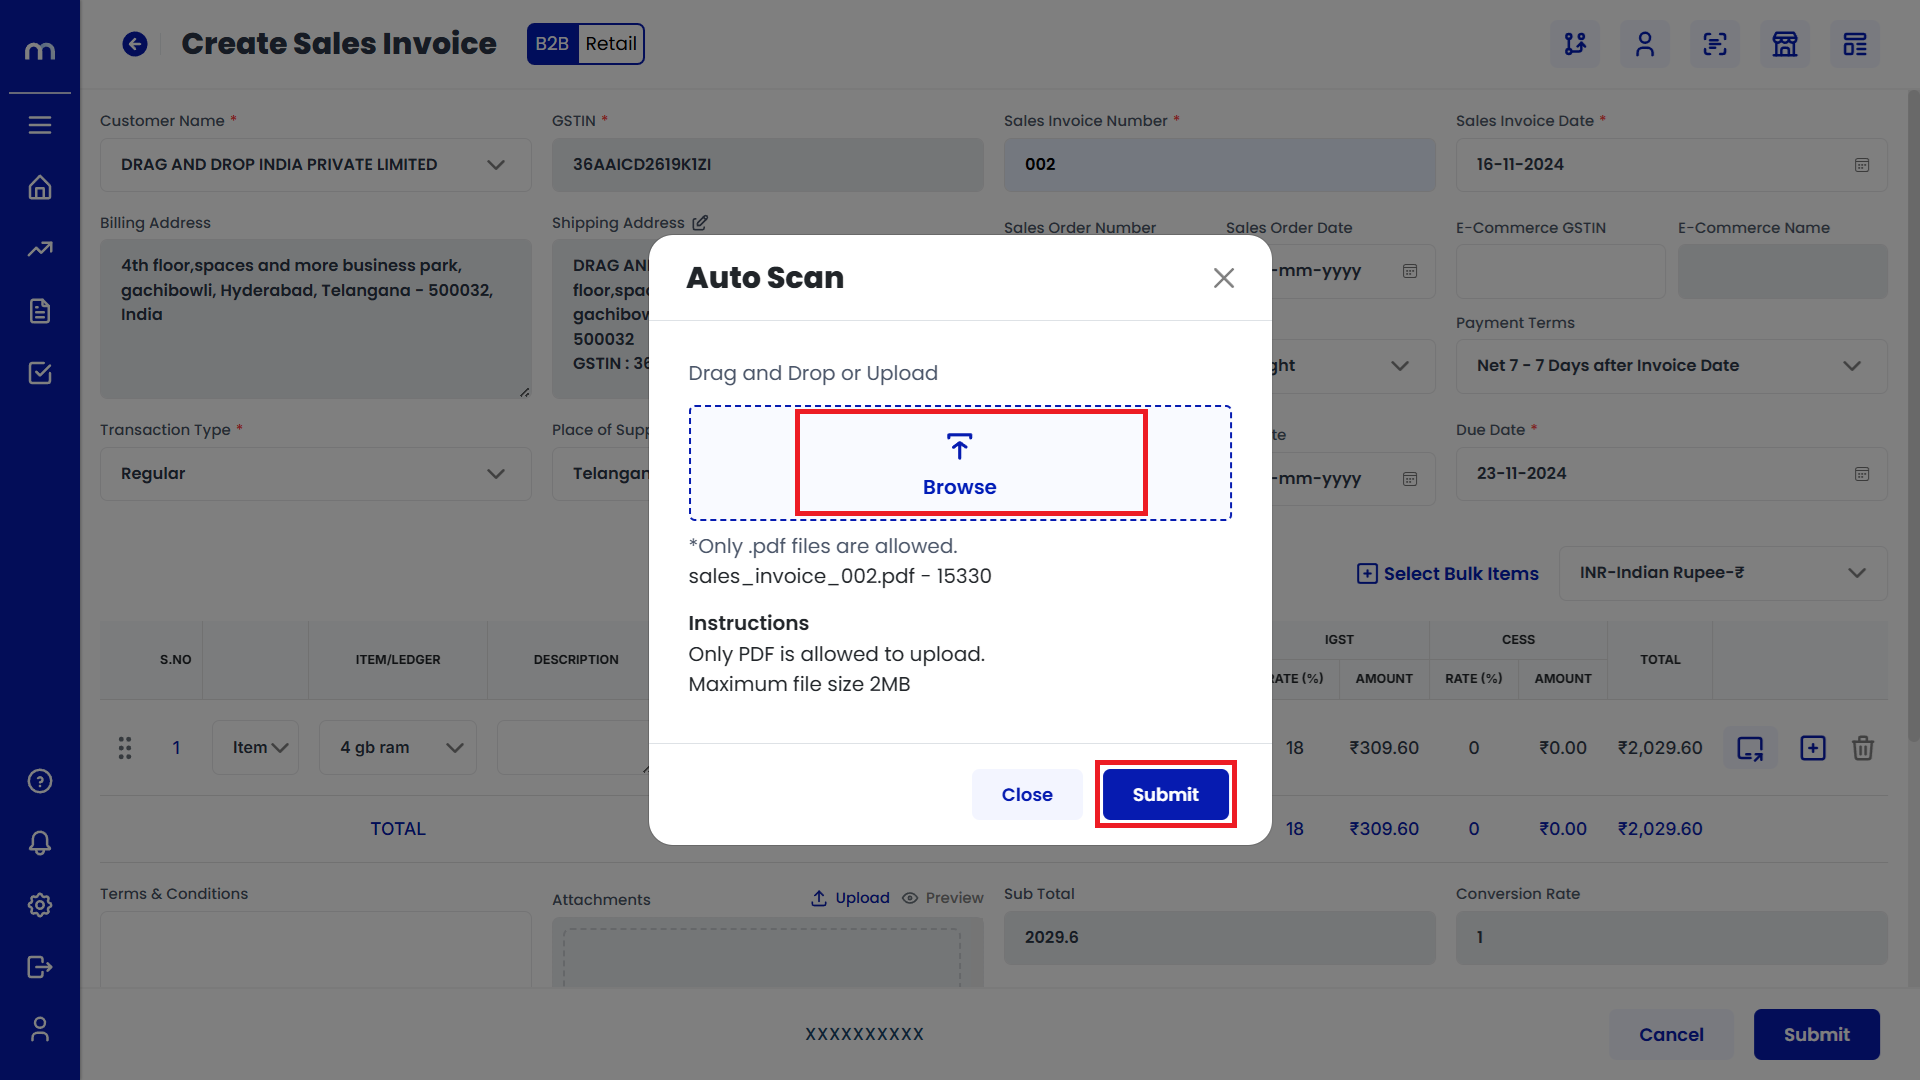
Click on Submit
Auto-Scan page will be displayed as Follows, click on Upload File or Browse to select the file you've prepared and Click on Submit button.
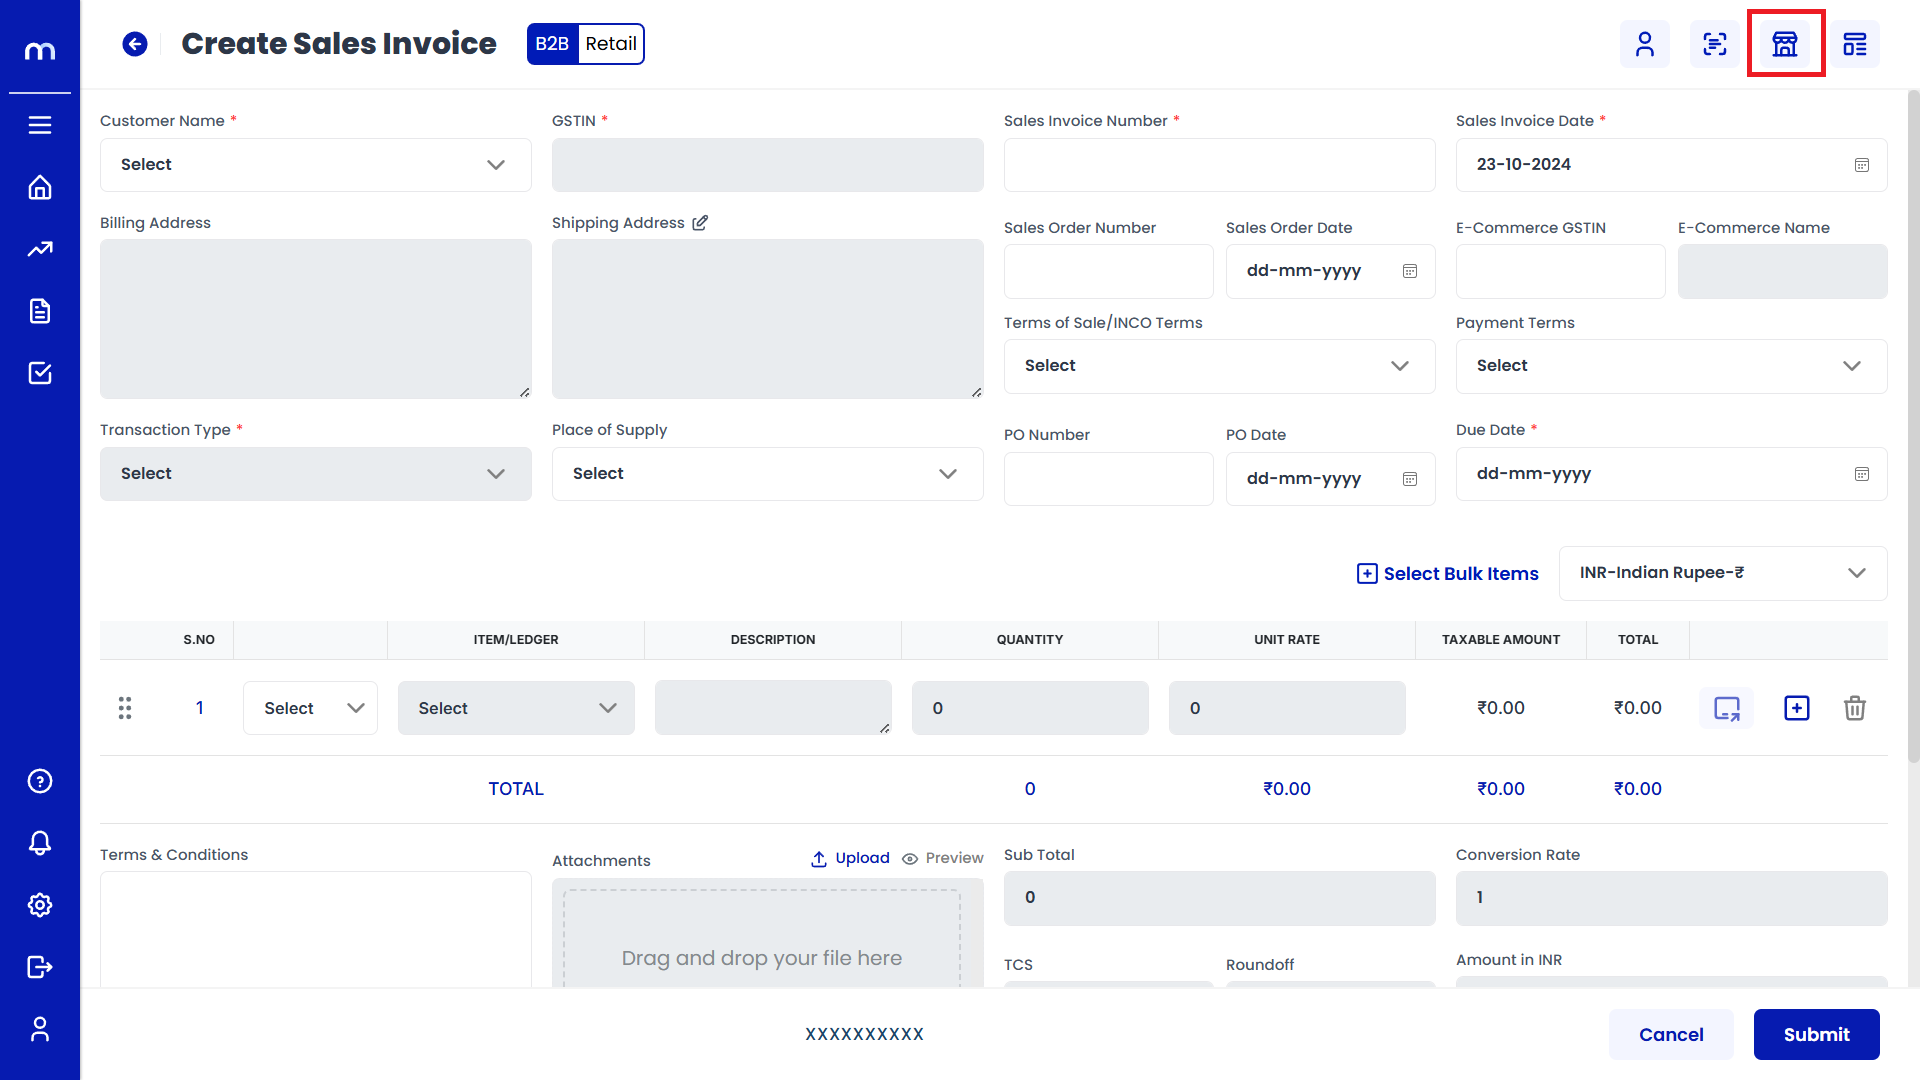
Click on Dispatch Details
Create Sales Invoice page will be displayed as Follows and click on Dispatch Details button.
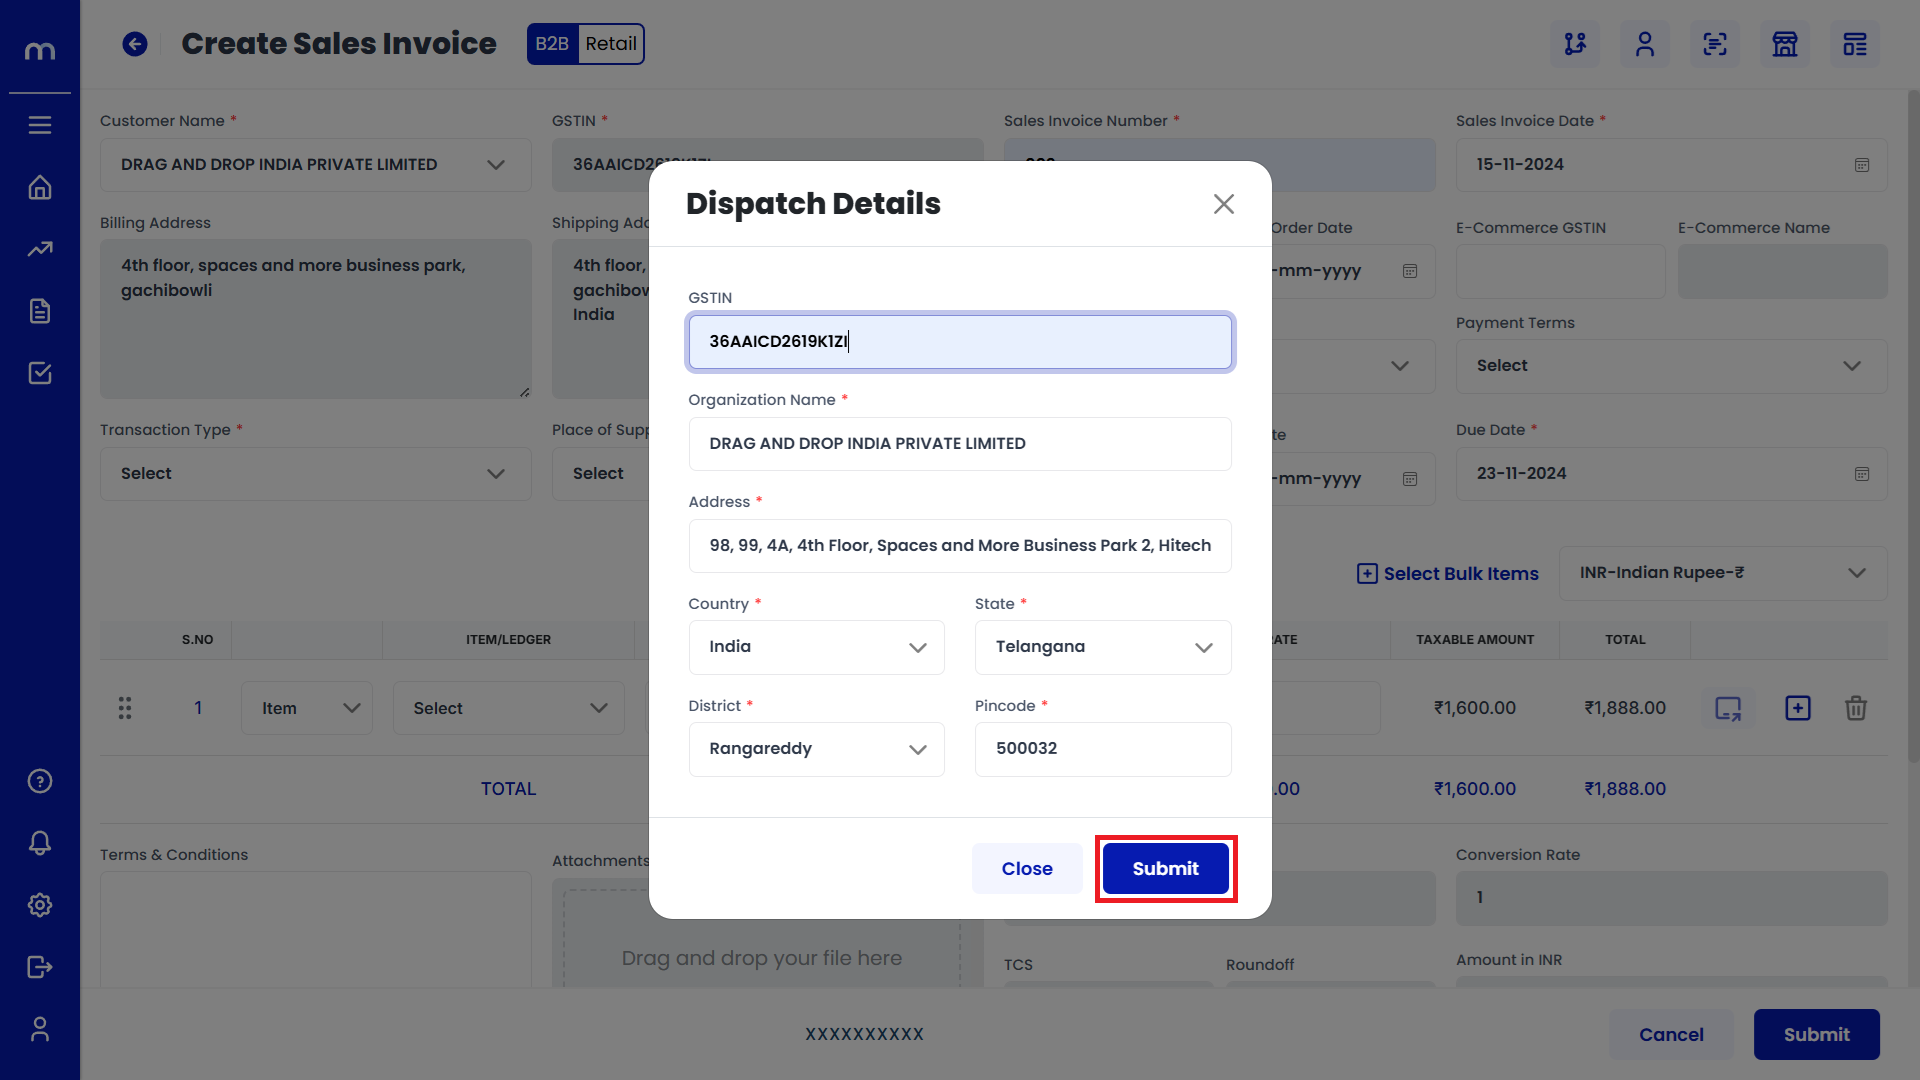
Click on Submit
Dispatch Details page will be displayed as Follows, Fill in all required detail and click on Submit button.
Click on Template
Create Sales Invoice page will be displayed as Follows and click on Template button.

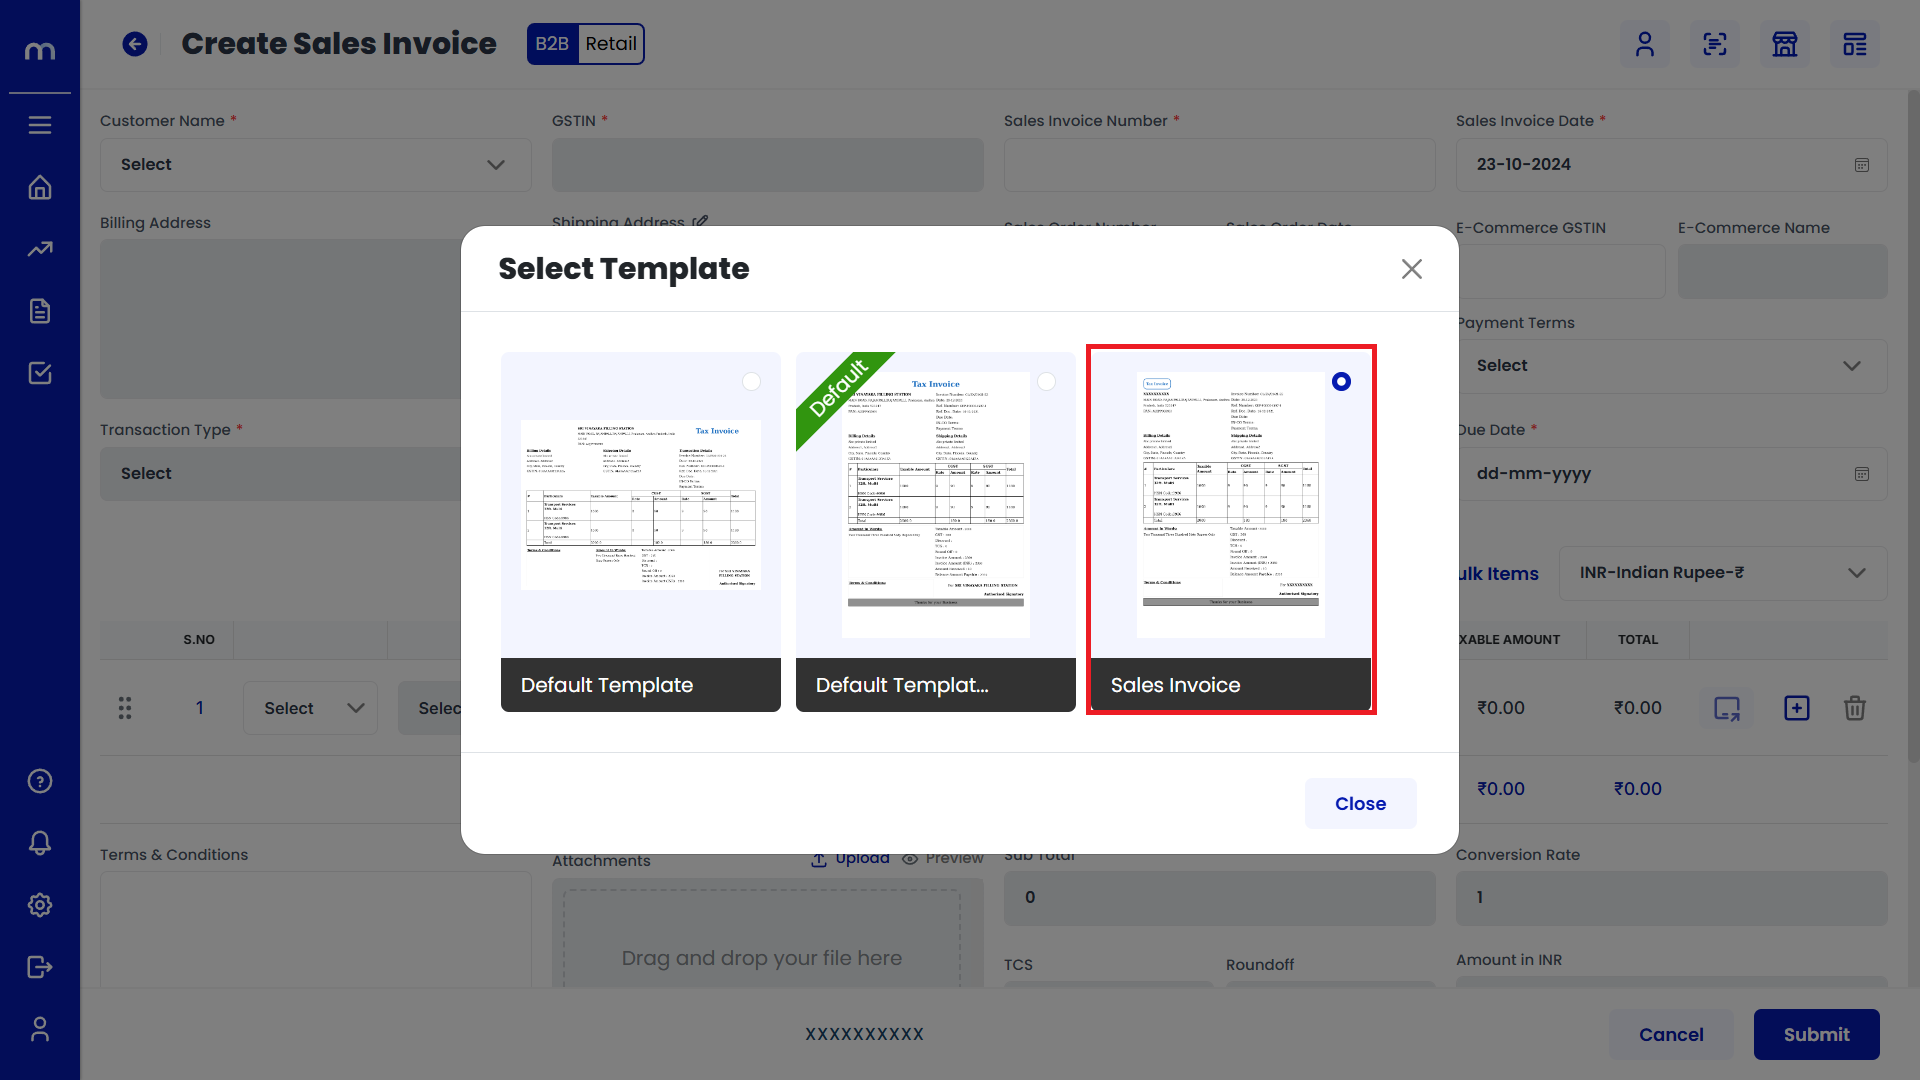
Select on Template
Select Template page will be displayed as Follows and select on new Sales Invoice Template.
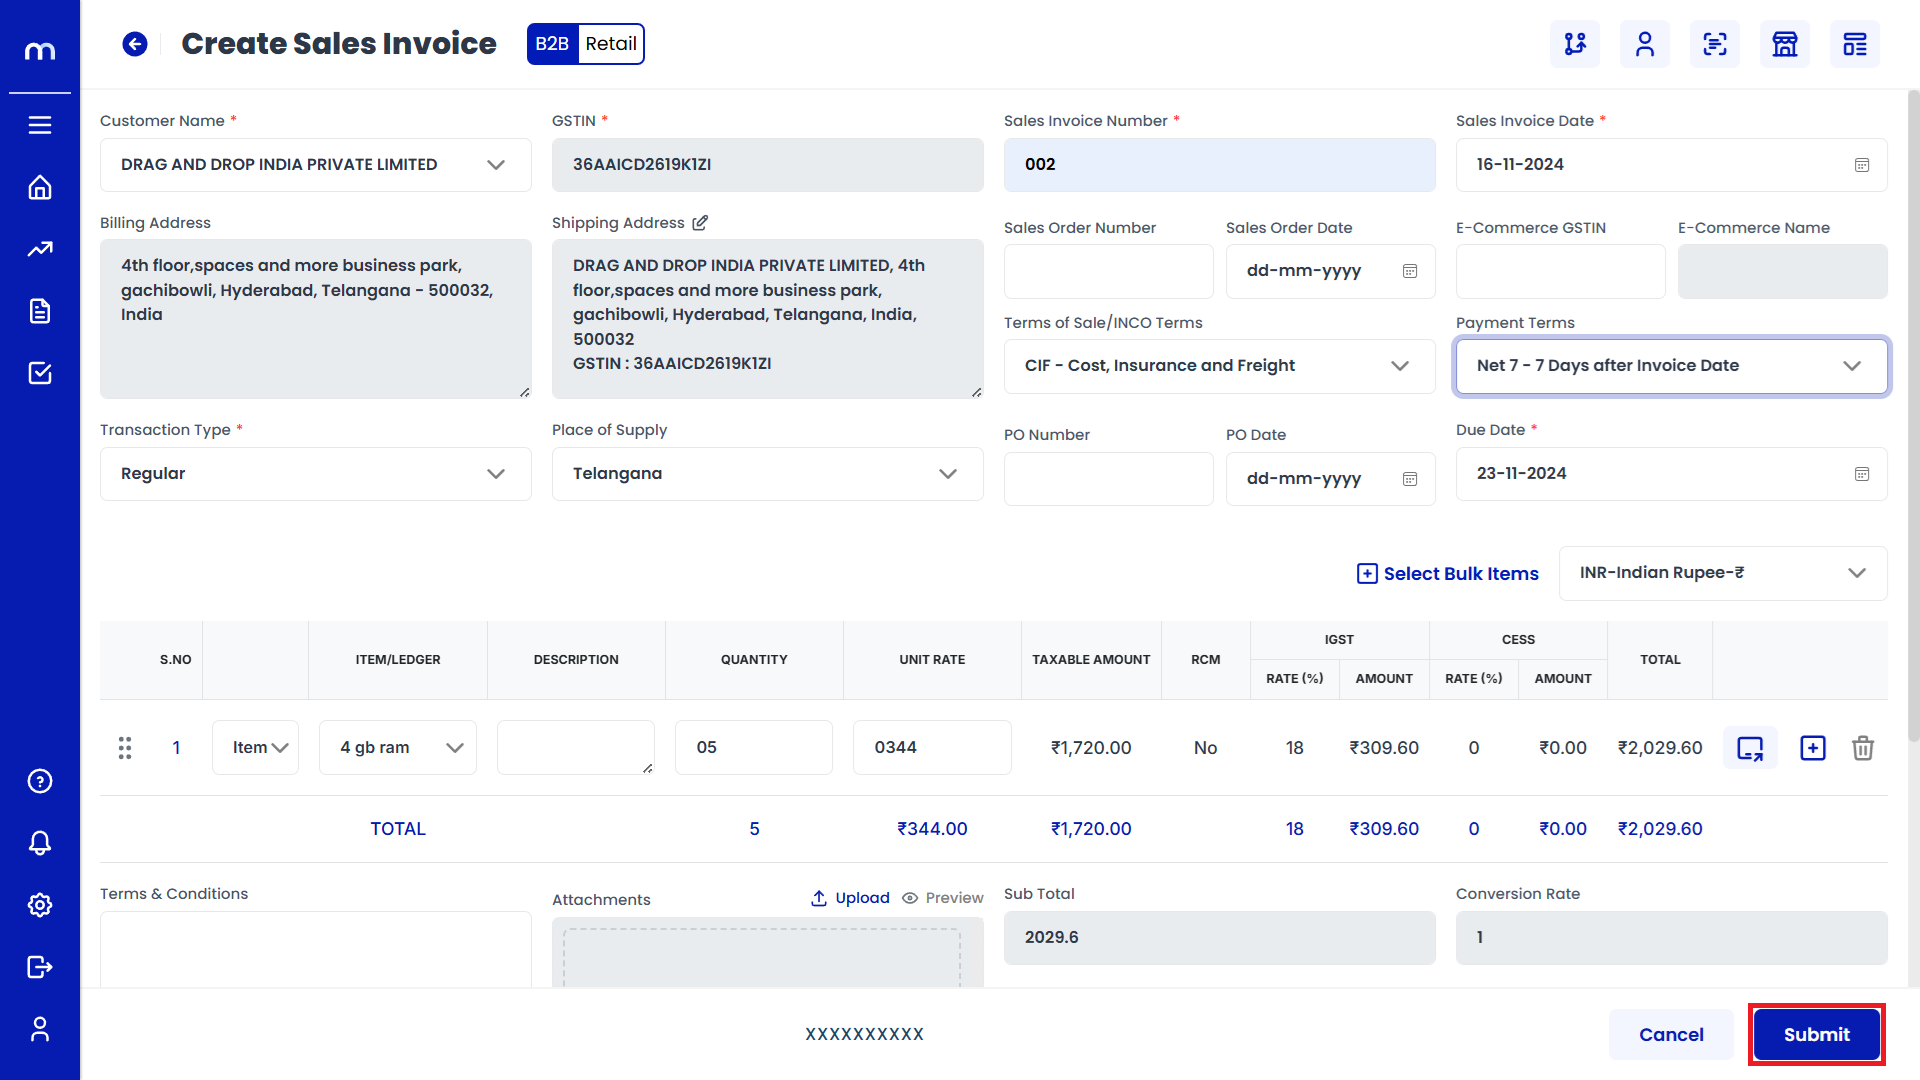
Click on Submit
Create Sales Invoice page will be displayed as Follows, Fill in all required details and click on Submit button.
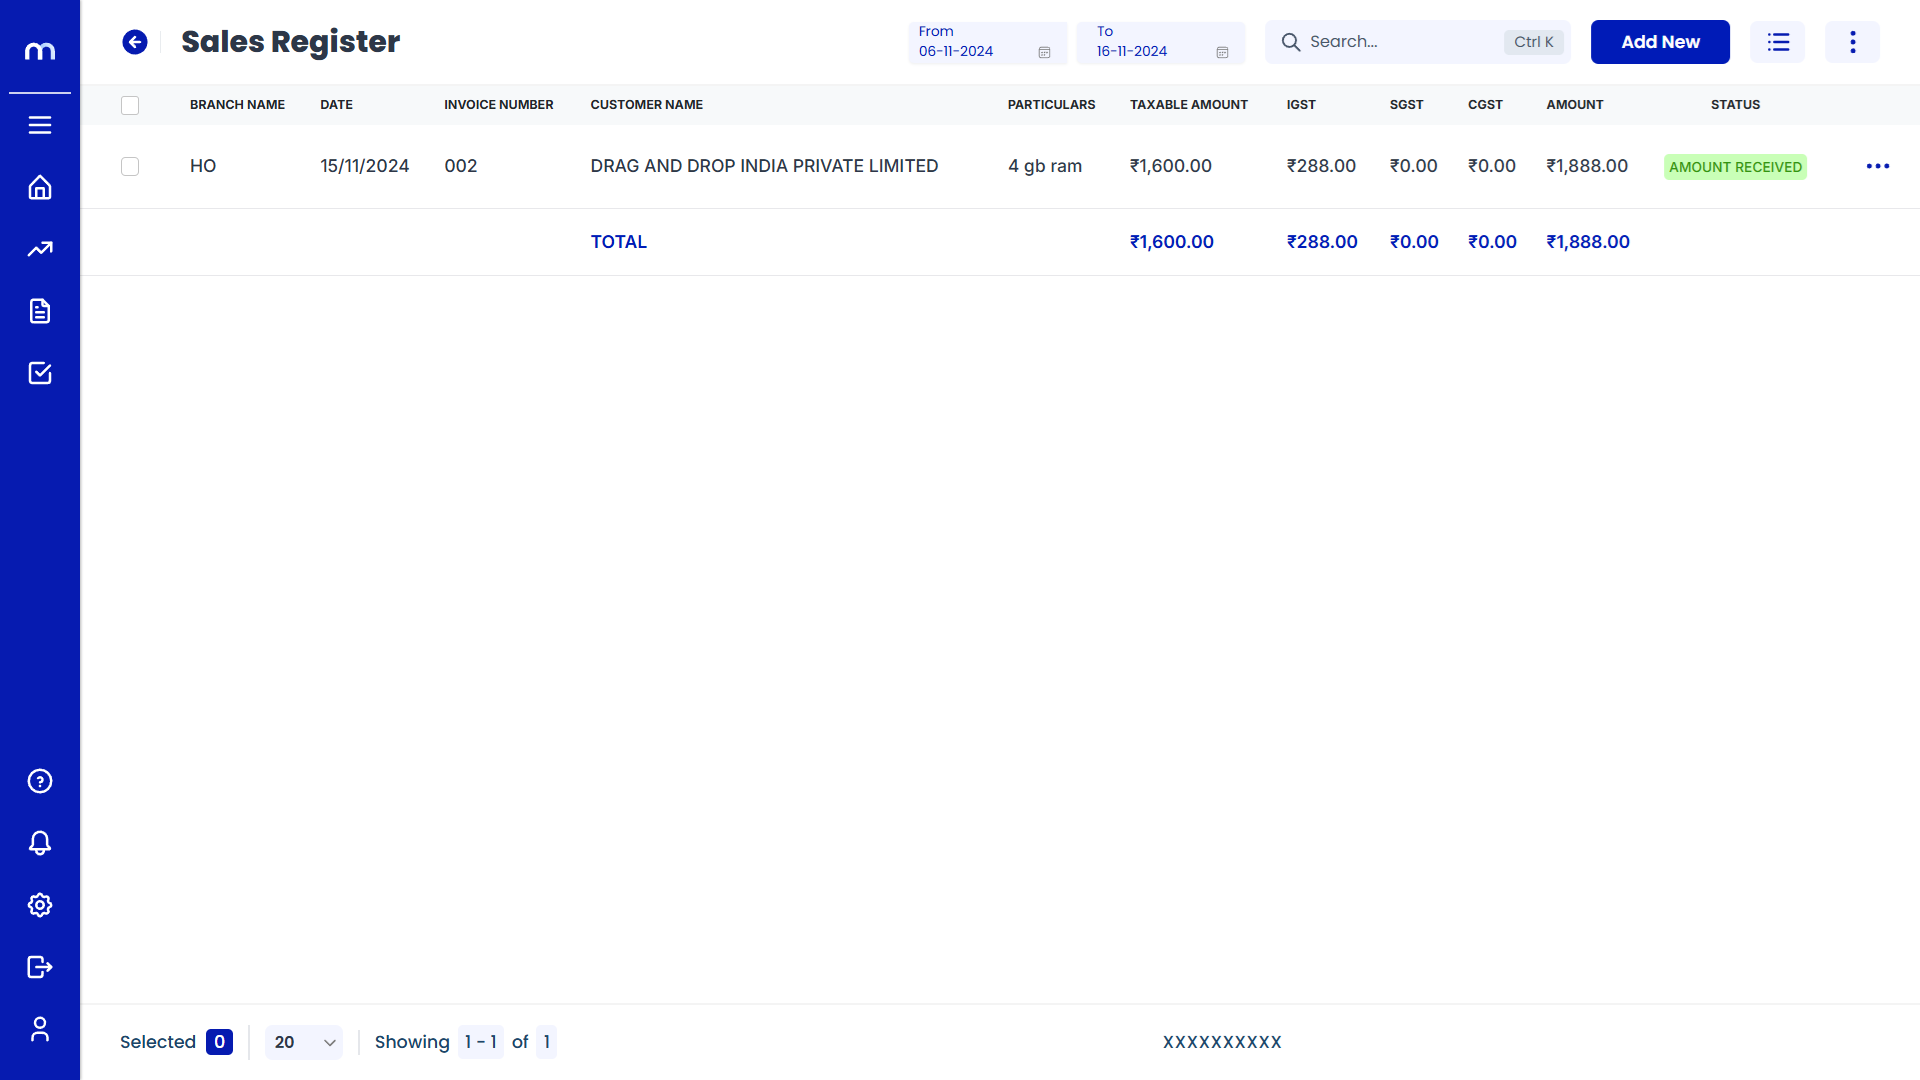
Select on Sales Register
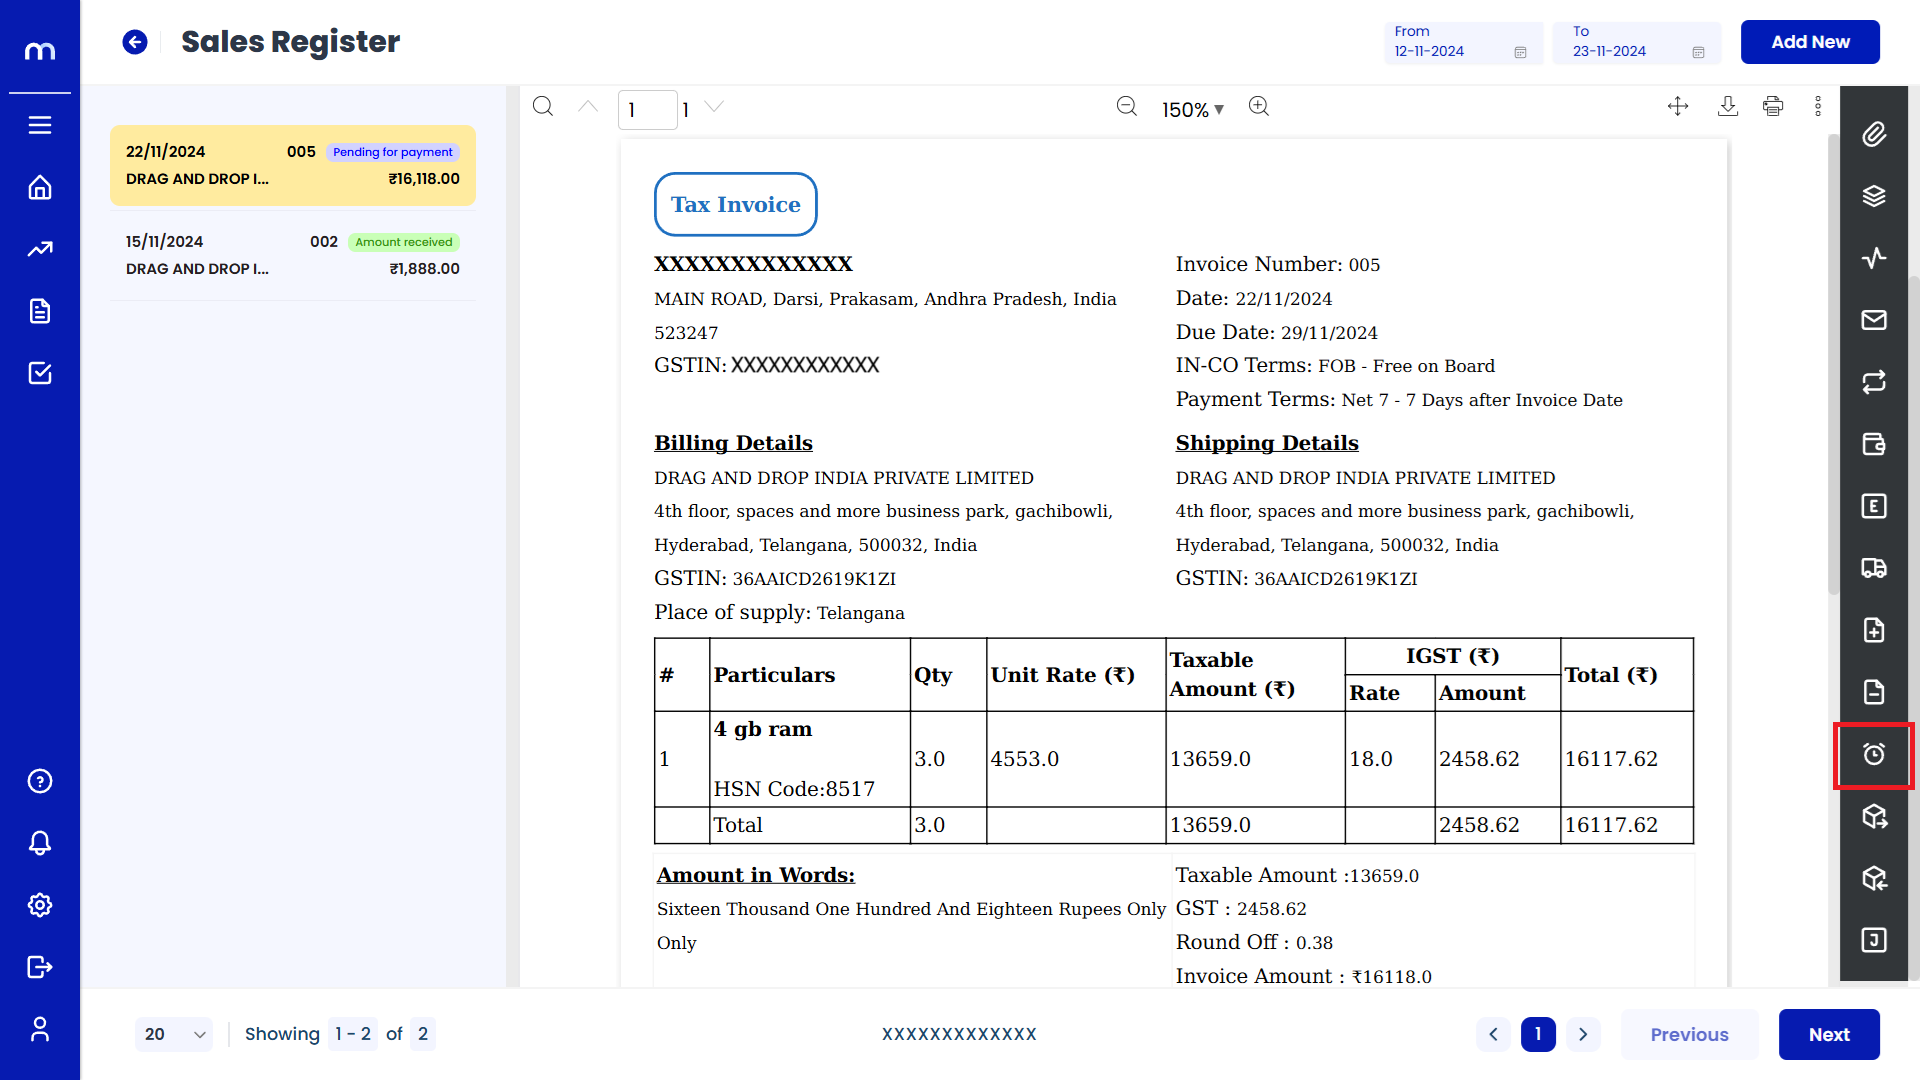
Sales Register page will be created successfully and Select on Sales Register
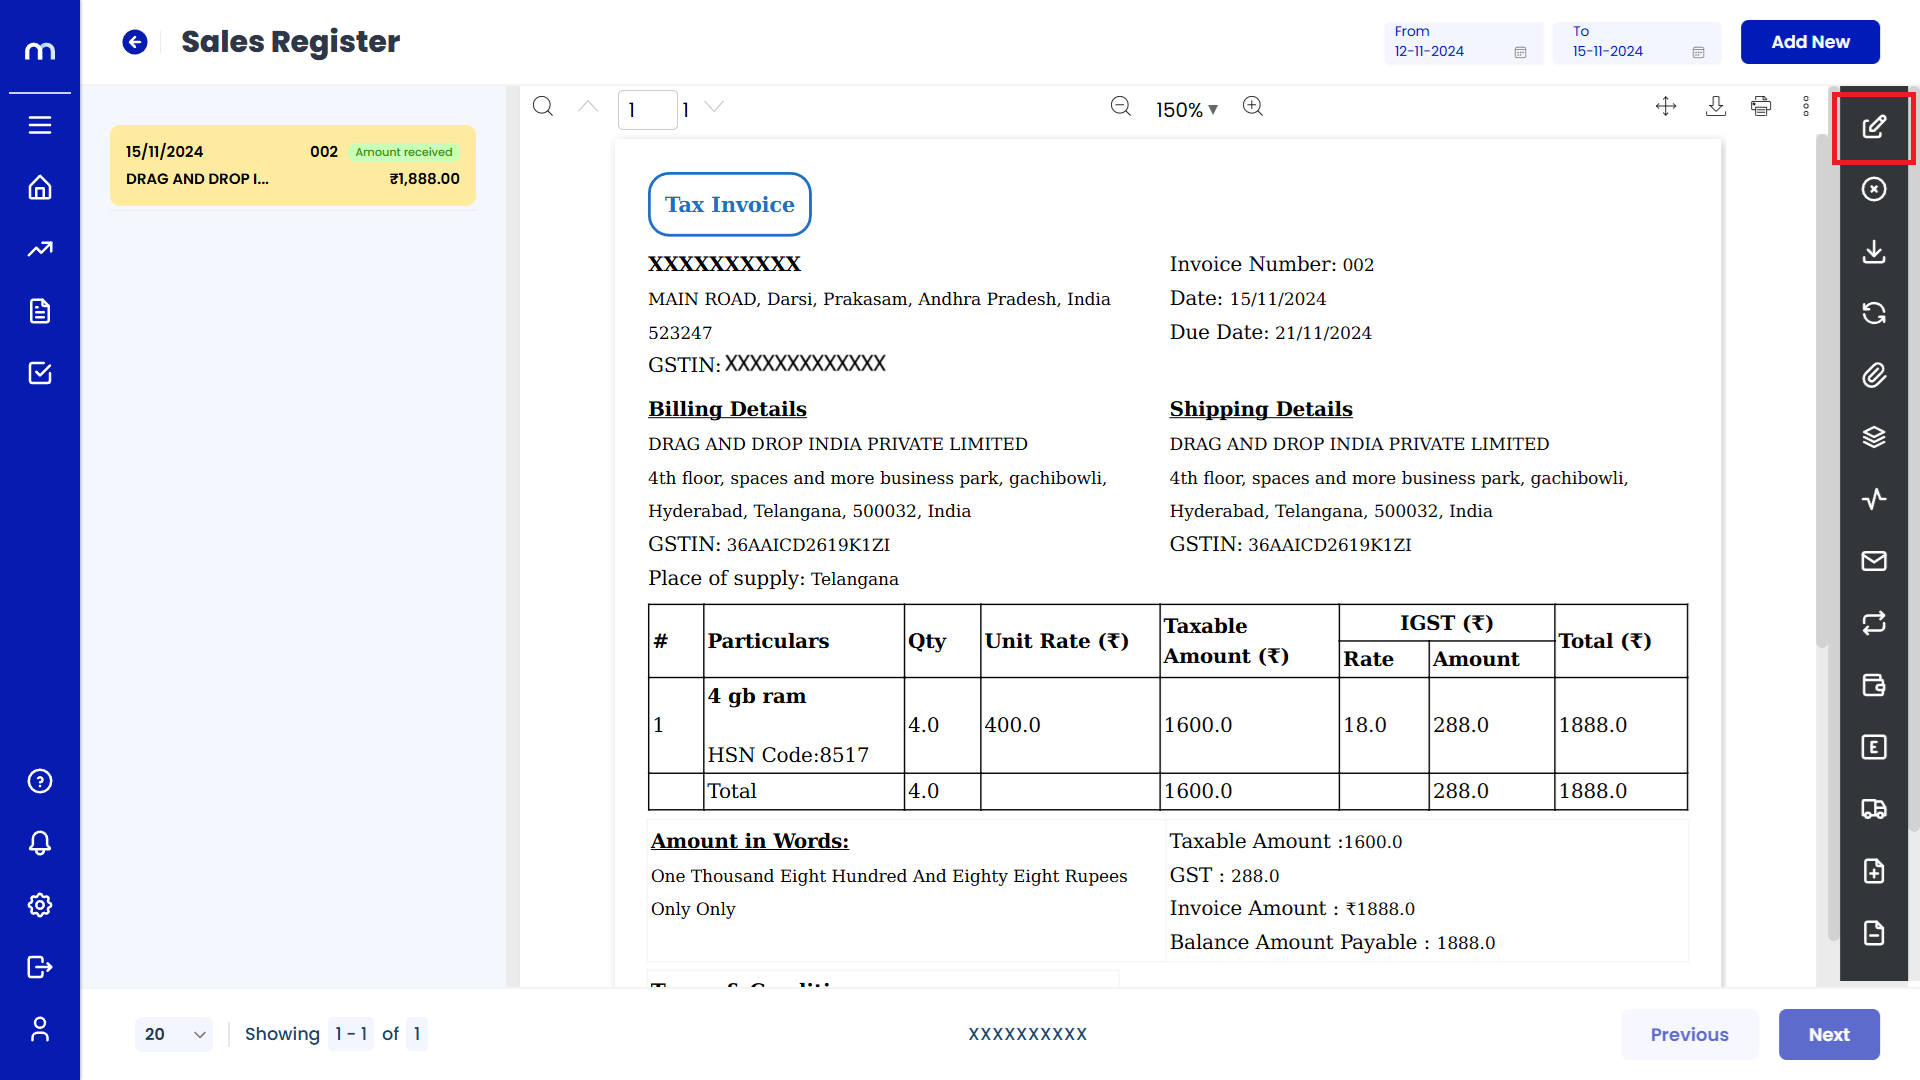
Click on Edit
Sales Register Template page will be displayed as fallows and Click on Edit button.
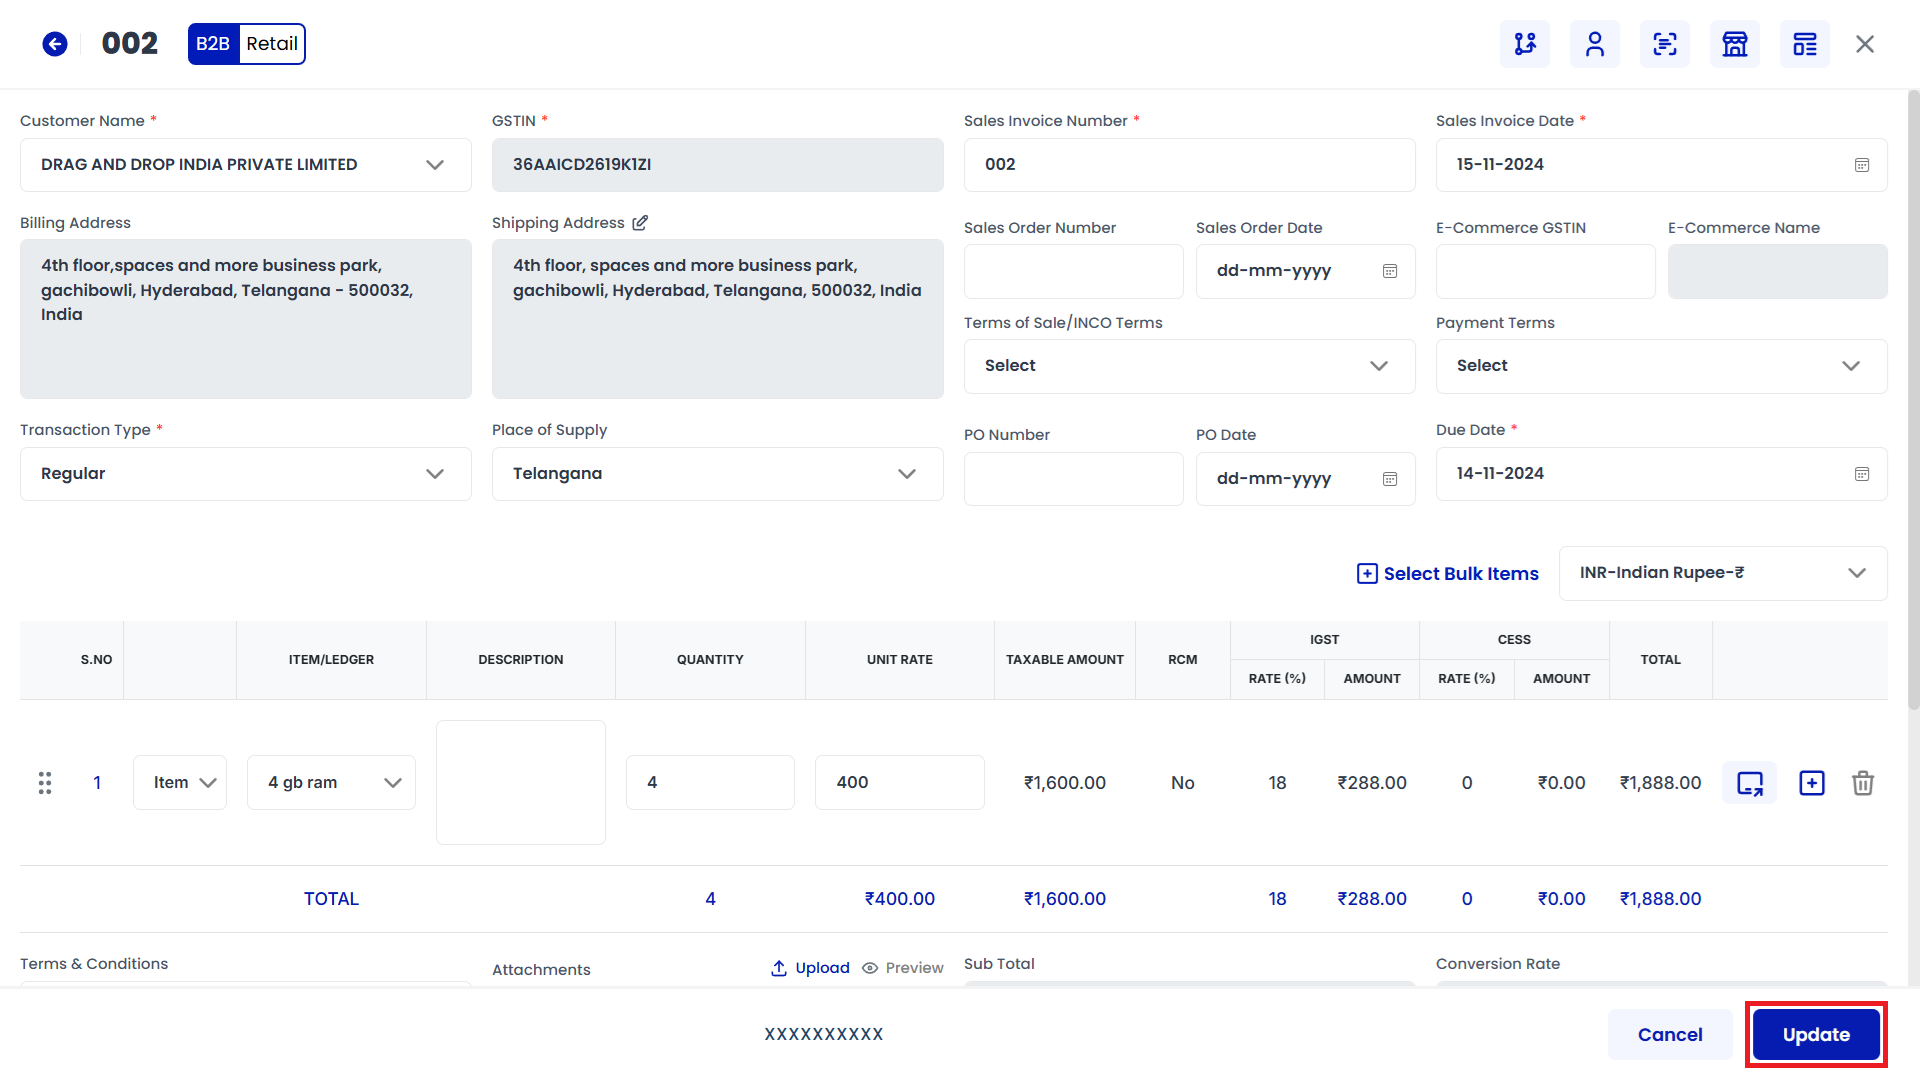
Click on Update
Create Sales Register page will be displayed as Follows, Change the mandatory fields and click Update button.
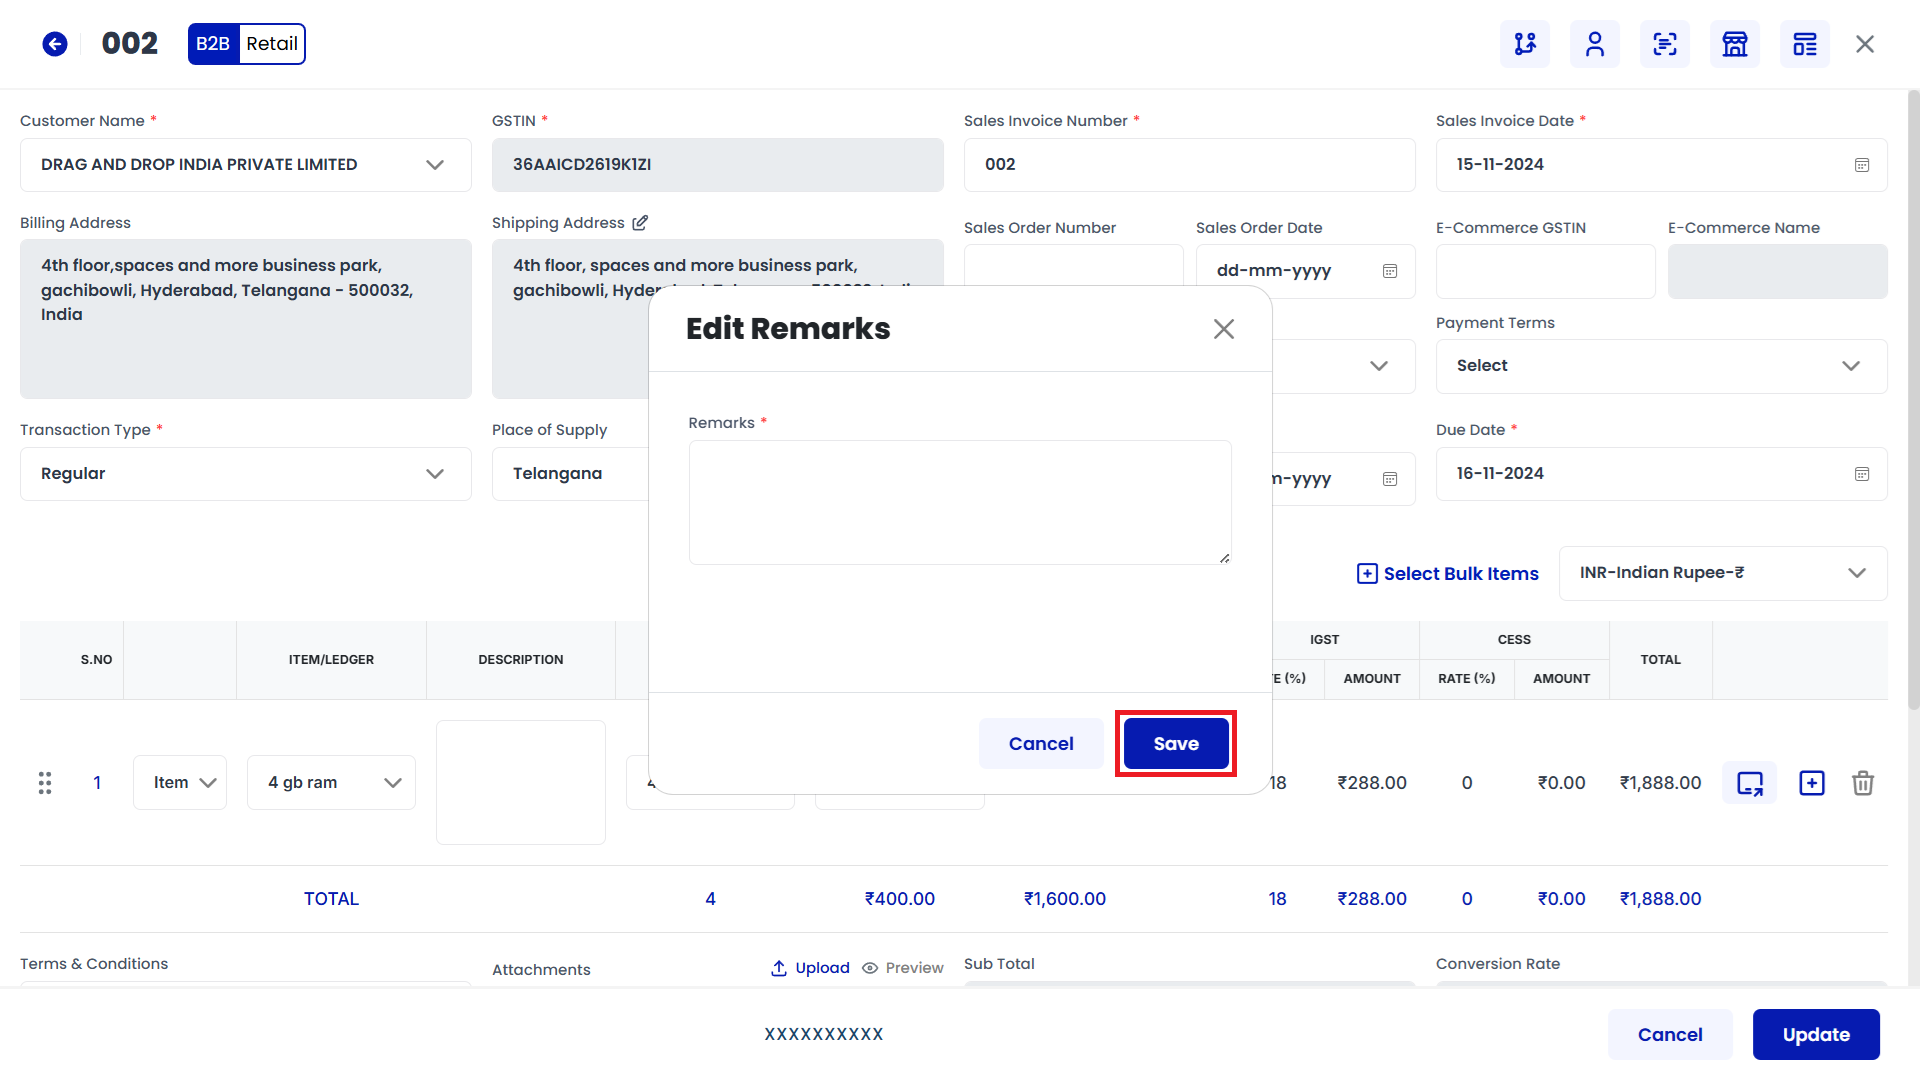
Click on Save
Edit Remarks page will be displayed as Follows, Enter the Remarks and click Save button.
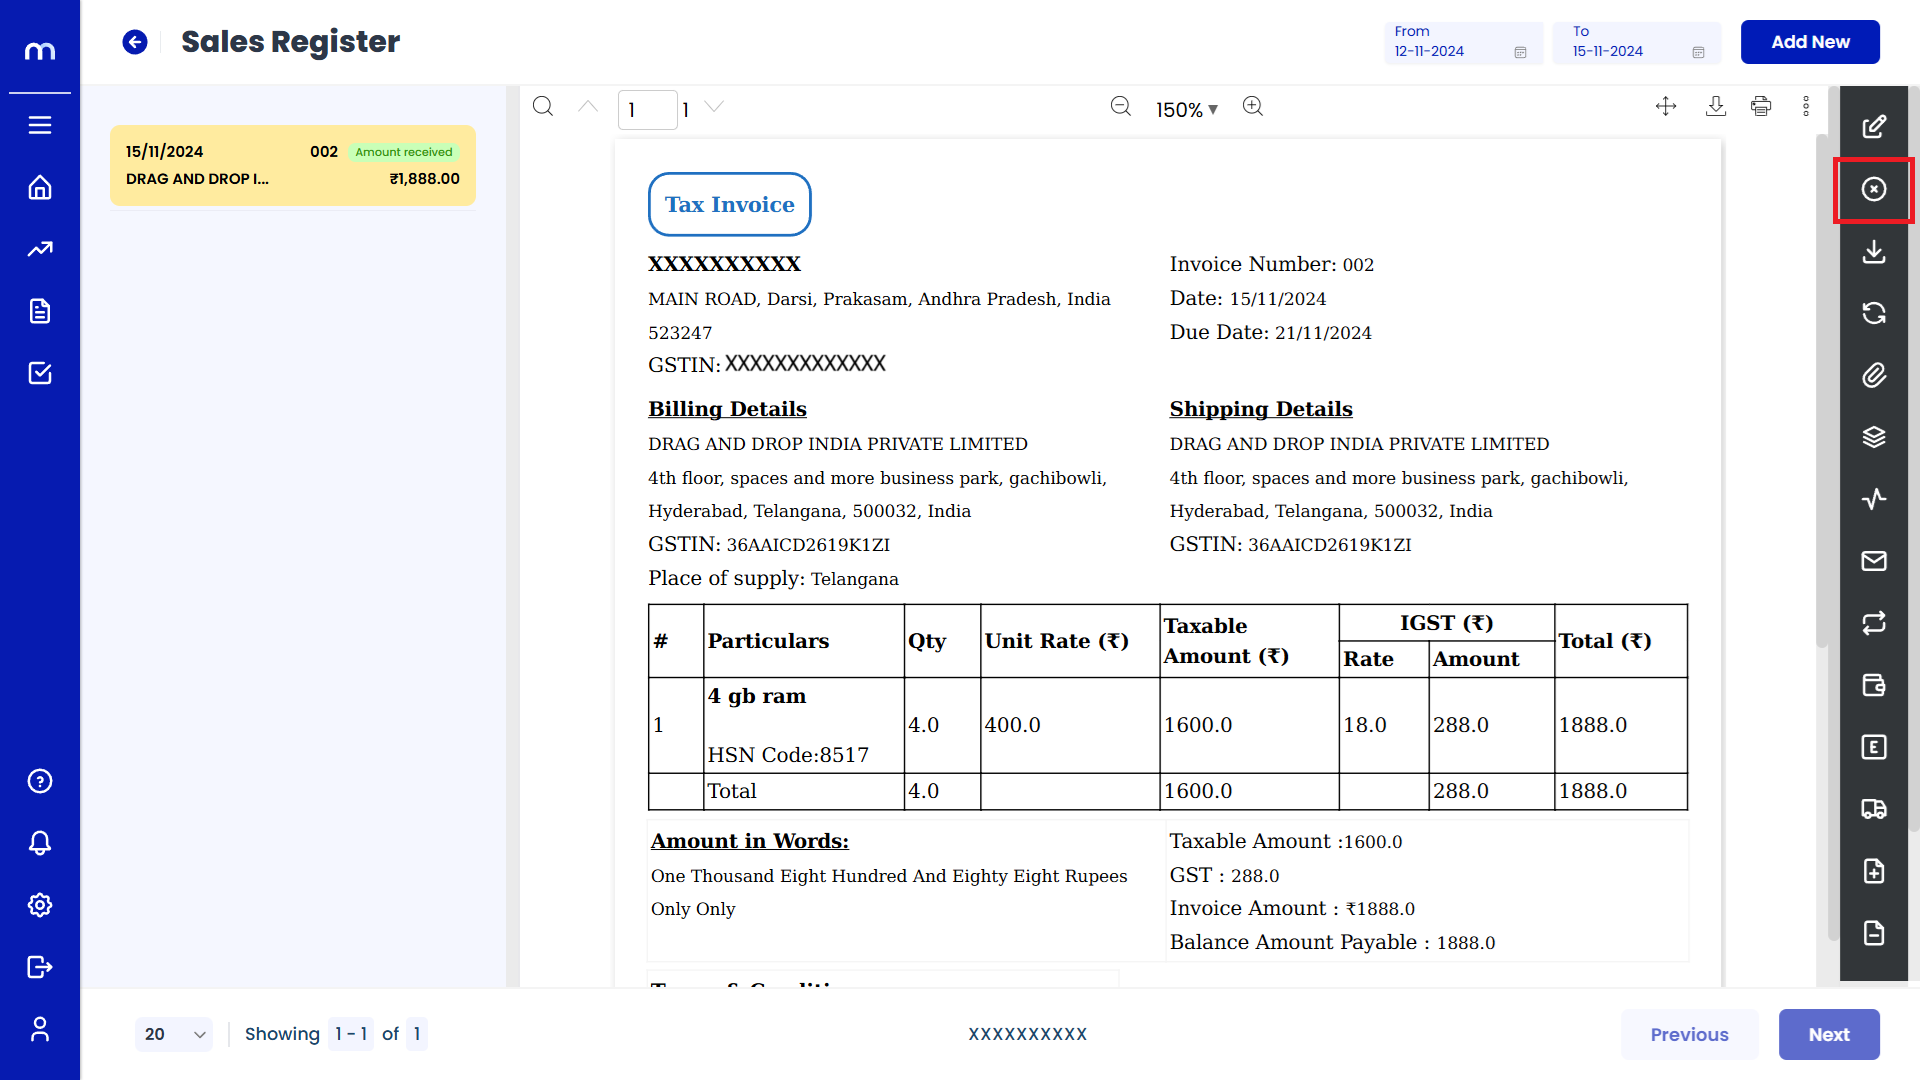
Click on Cancel
Sales Register Template page will be displayed as fallows and Click on Cancel button.
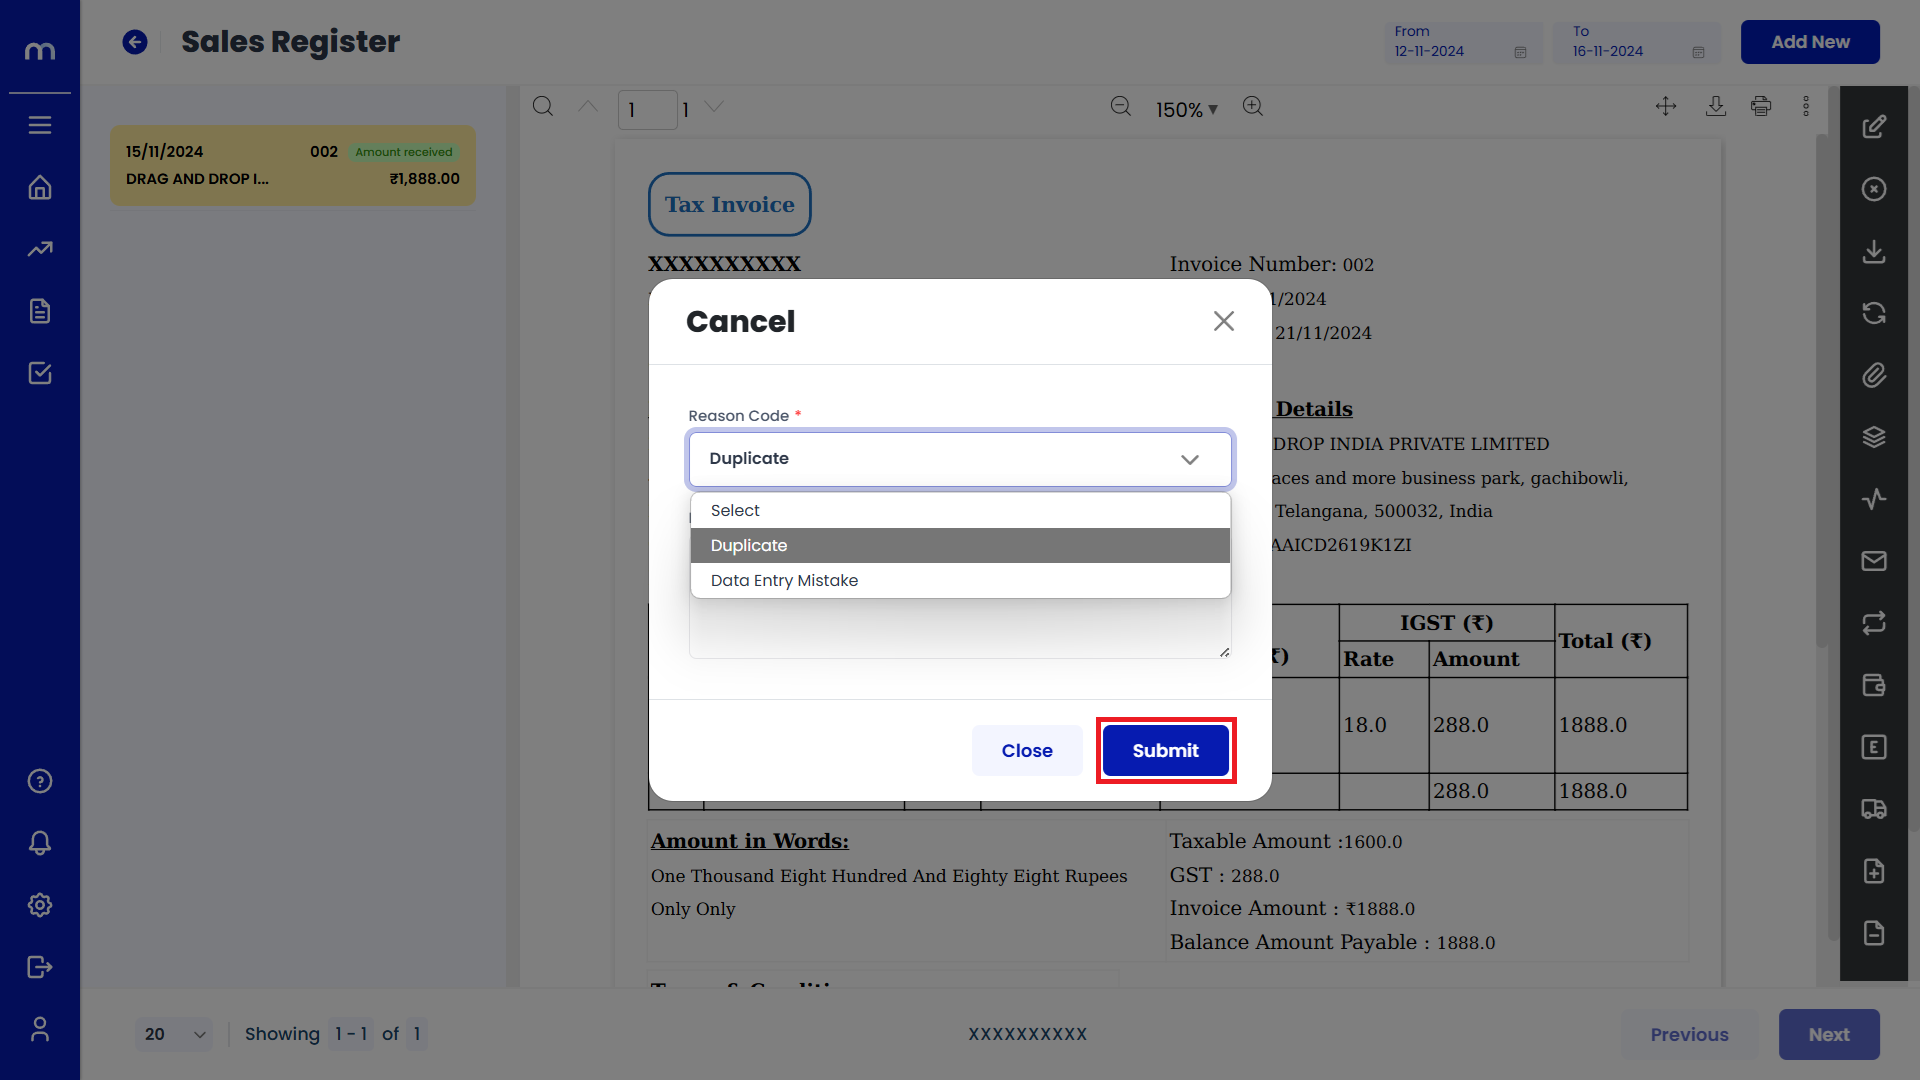
Click on Submit
Cancel page will be displayed as Follows, Enter the Reason code and Remarks and click Submit button.
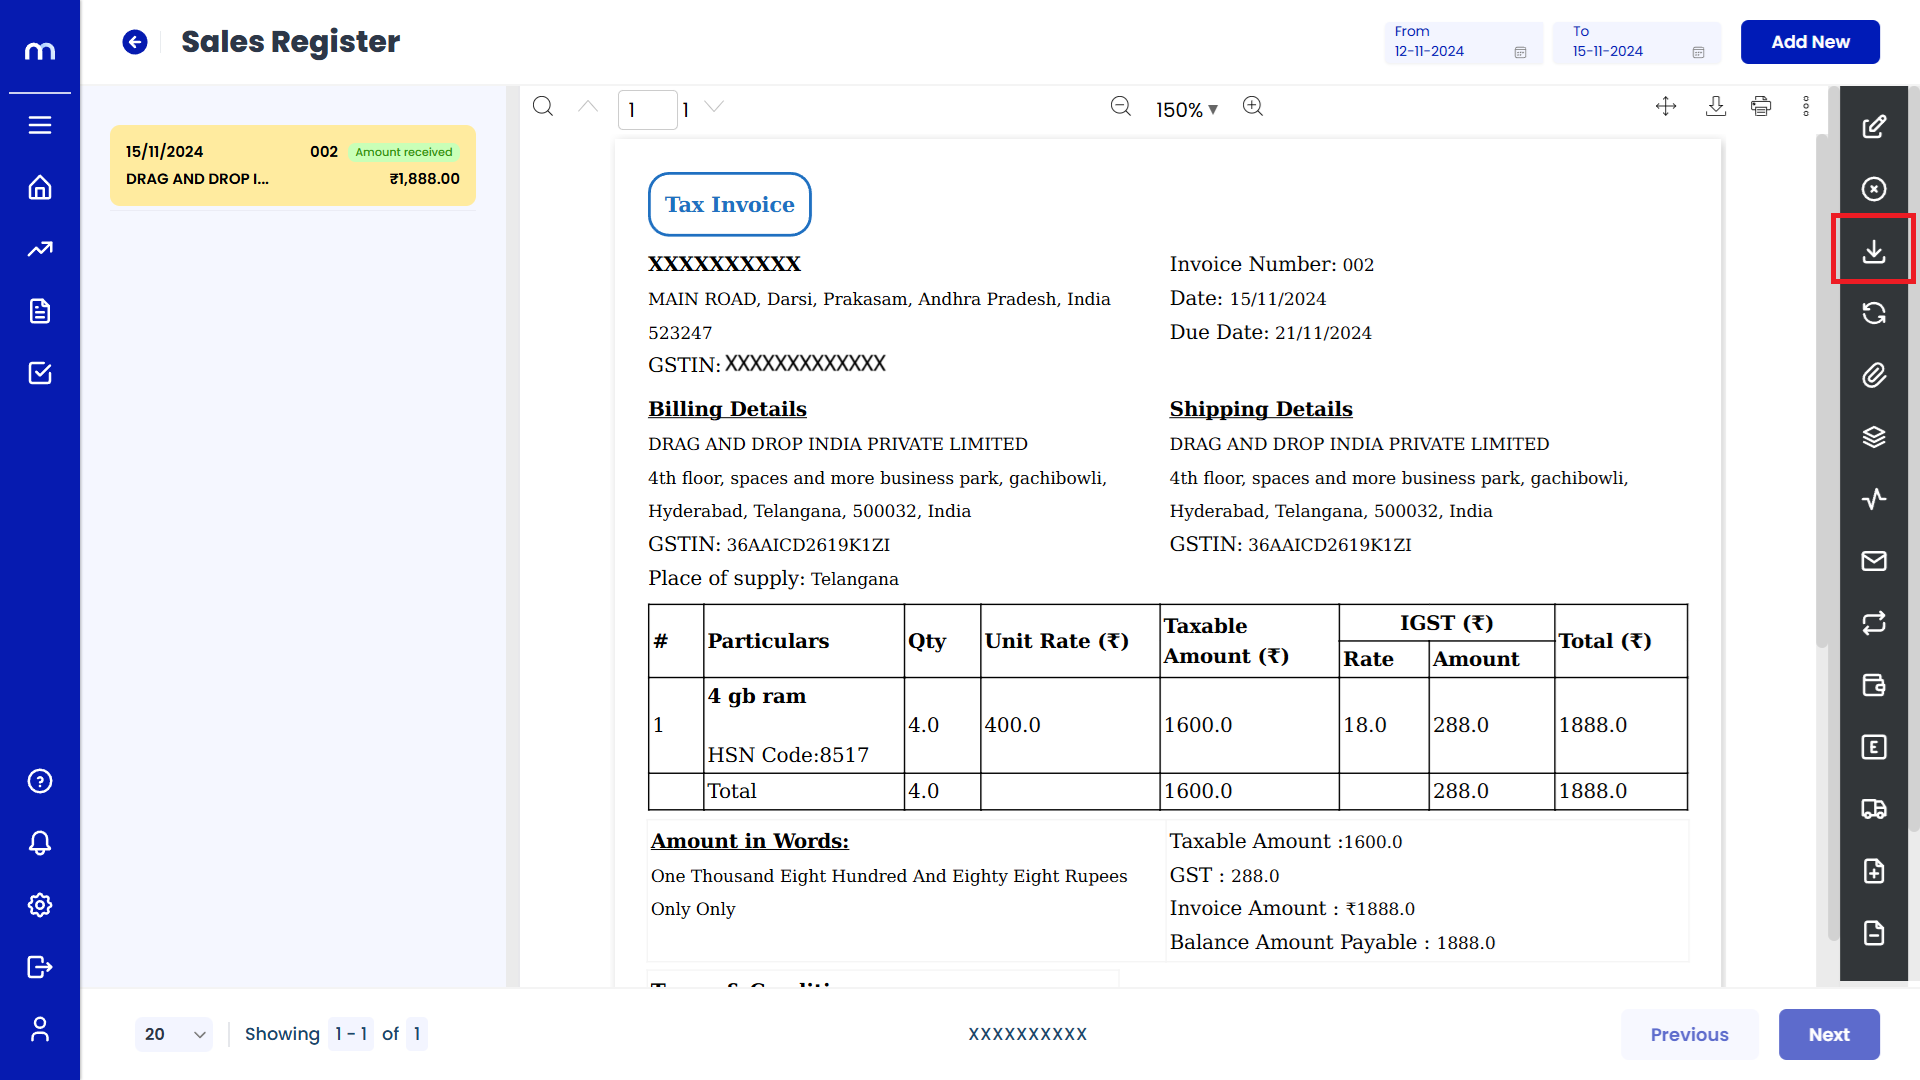
Click on Download
Sales Register Template page will be displayed as fallows and Click on Download button. Download the provided Template file.
Click on Transaction Flow
Sales Register Template page will be displayed as fallows and Click on Transaction Flow button.

Click on Attachments
Sales Register Template page will be displayed as fallows and Click on Attachments button.

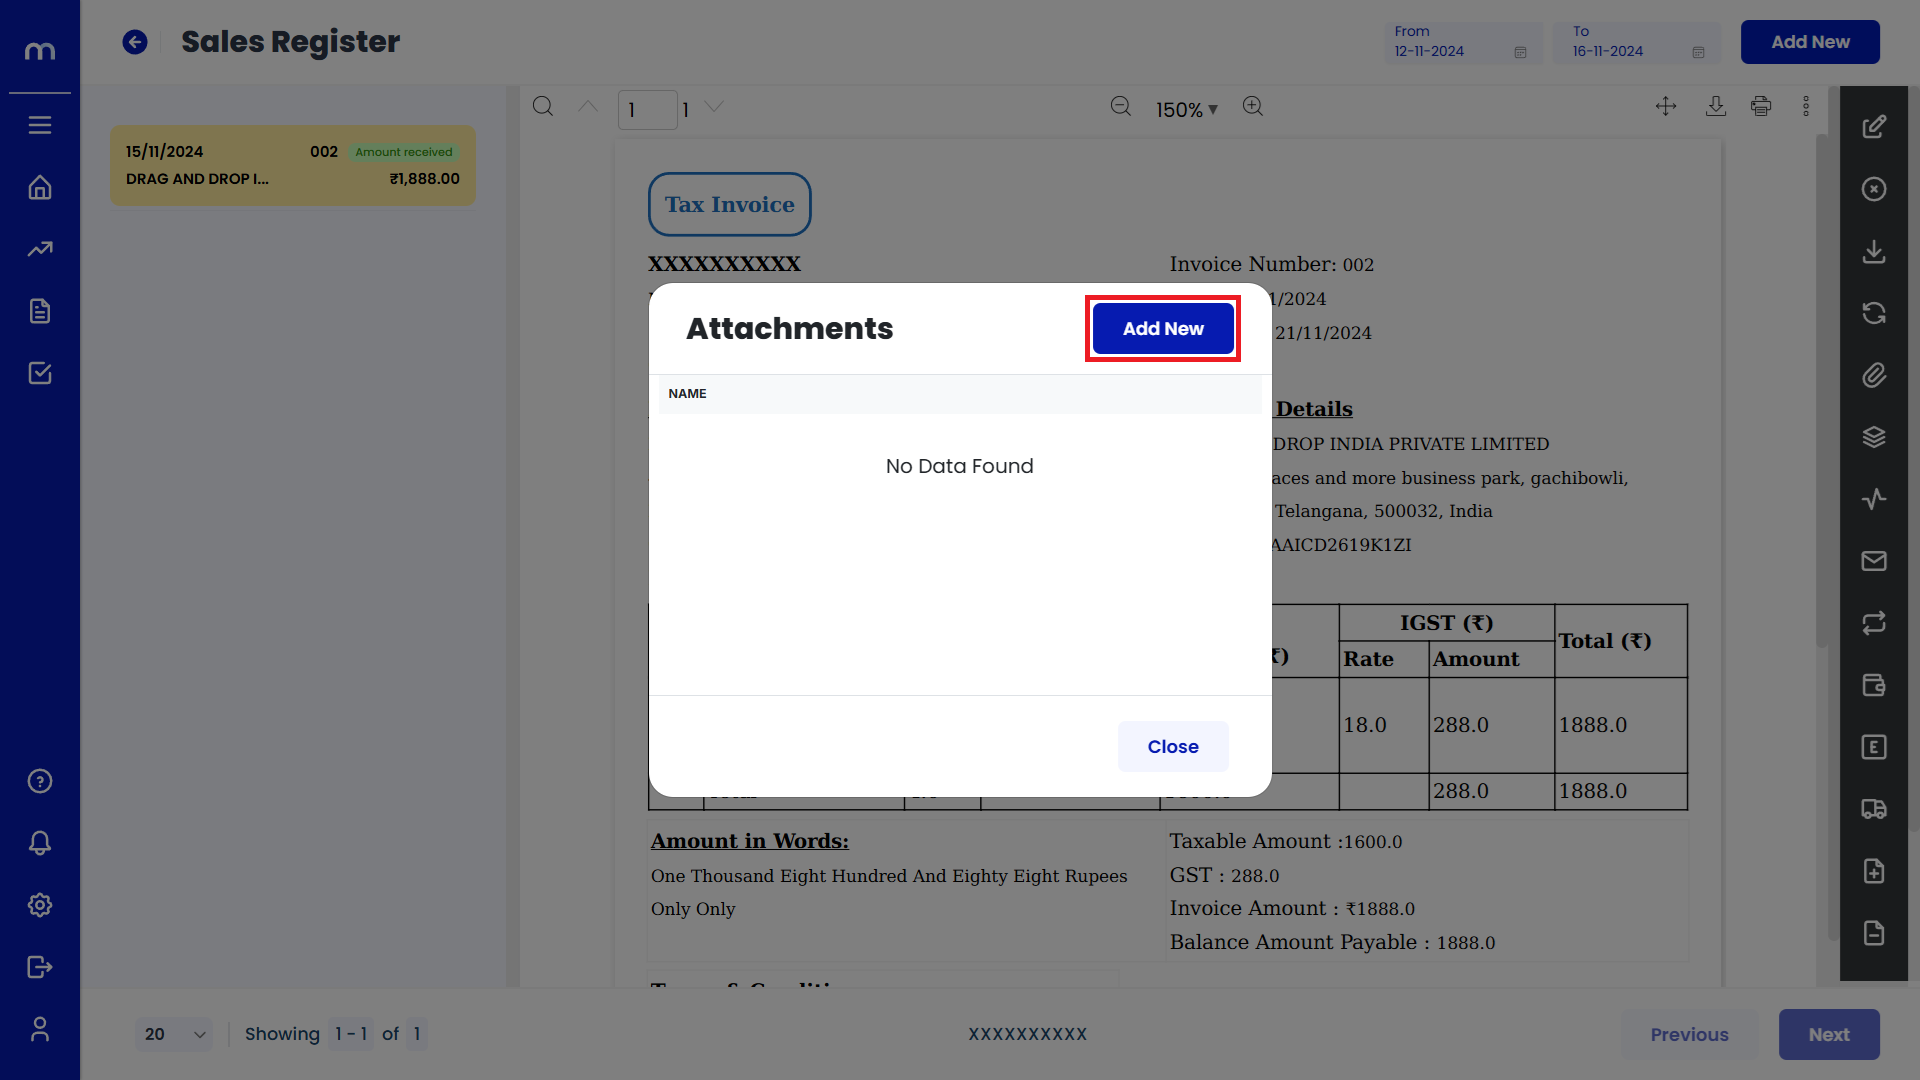
Click on Add New
Attachment page will be displayed as Follows and click Add New button.
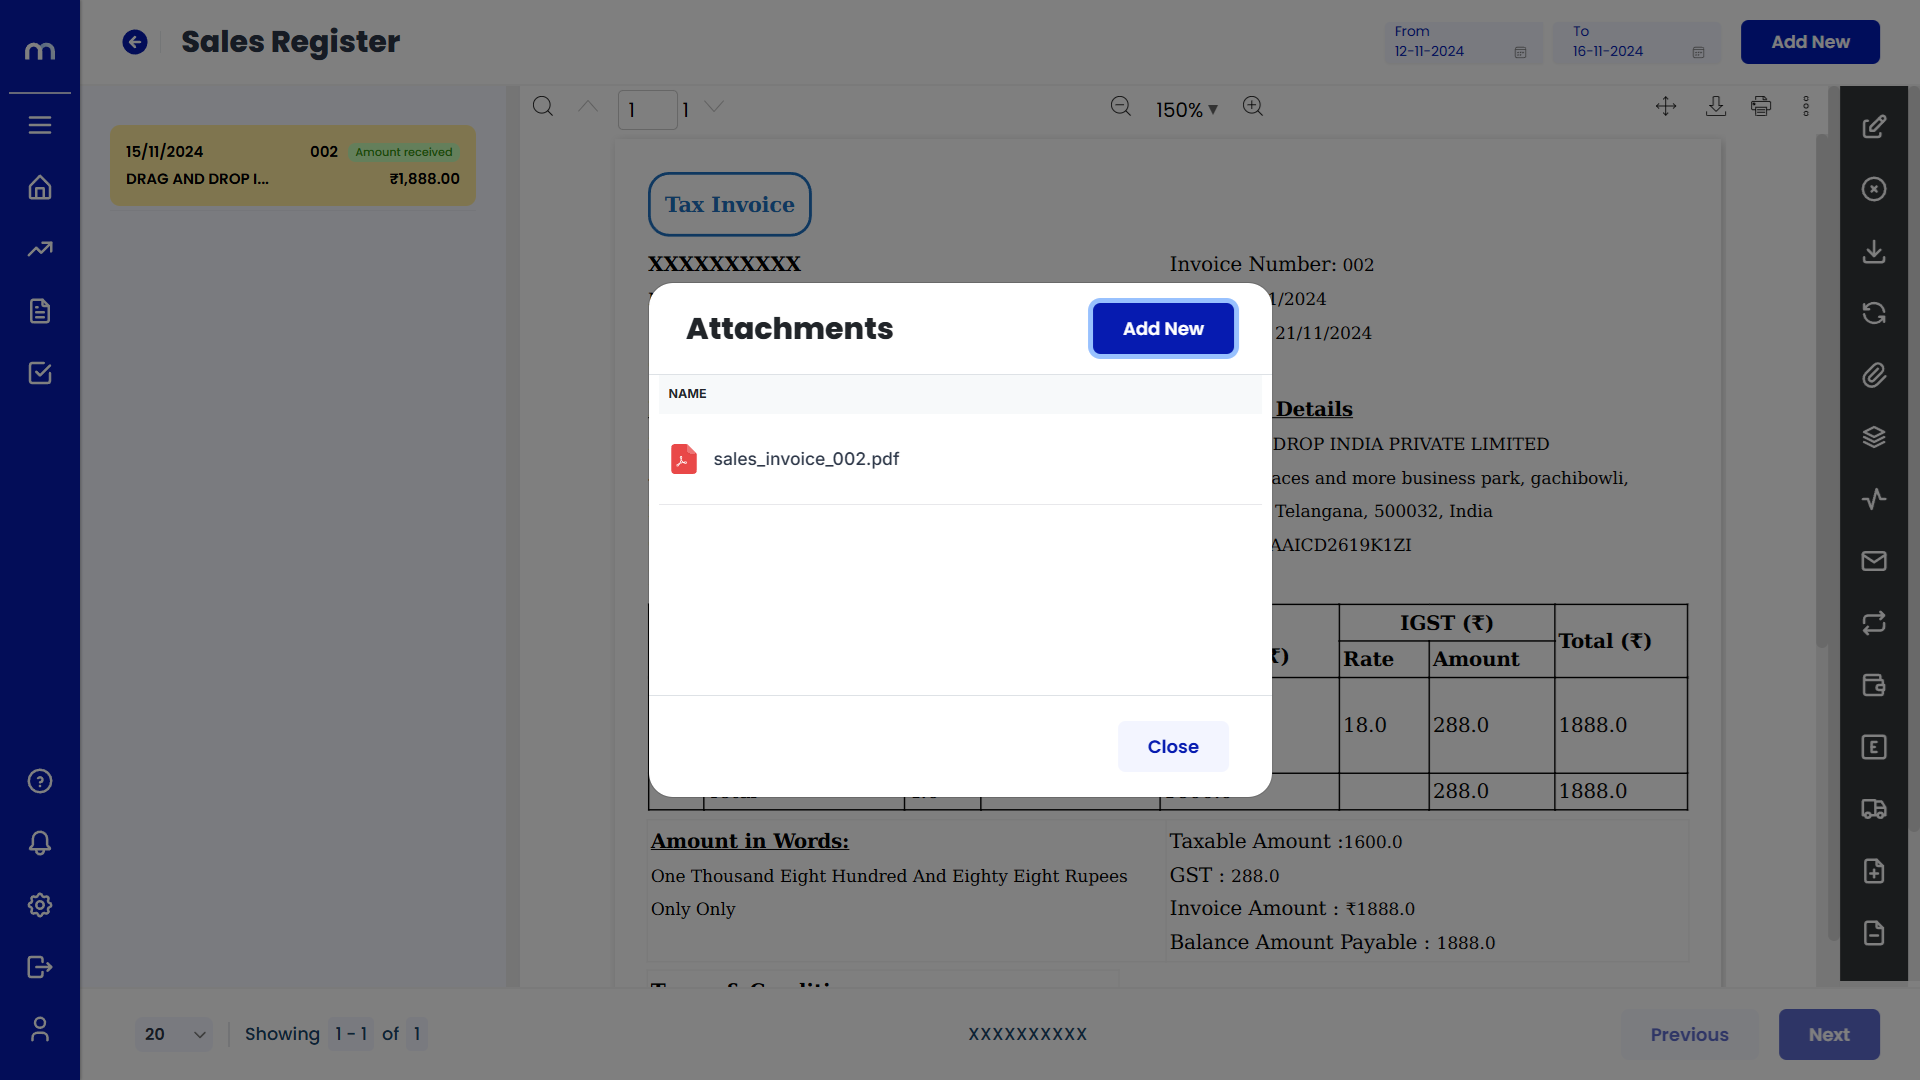
Uploaded File
PDF File was uploaded successfully.
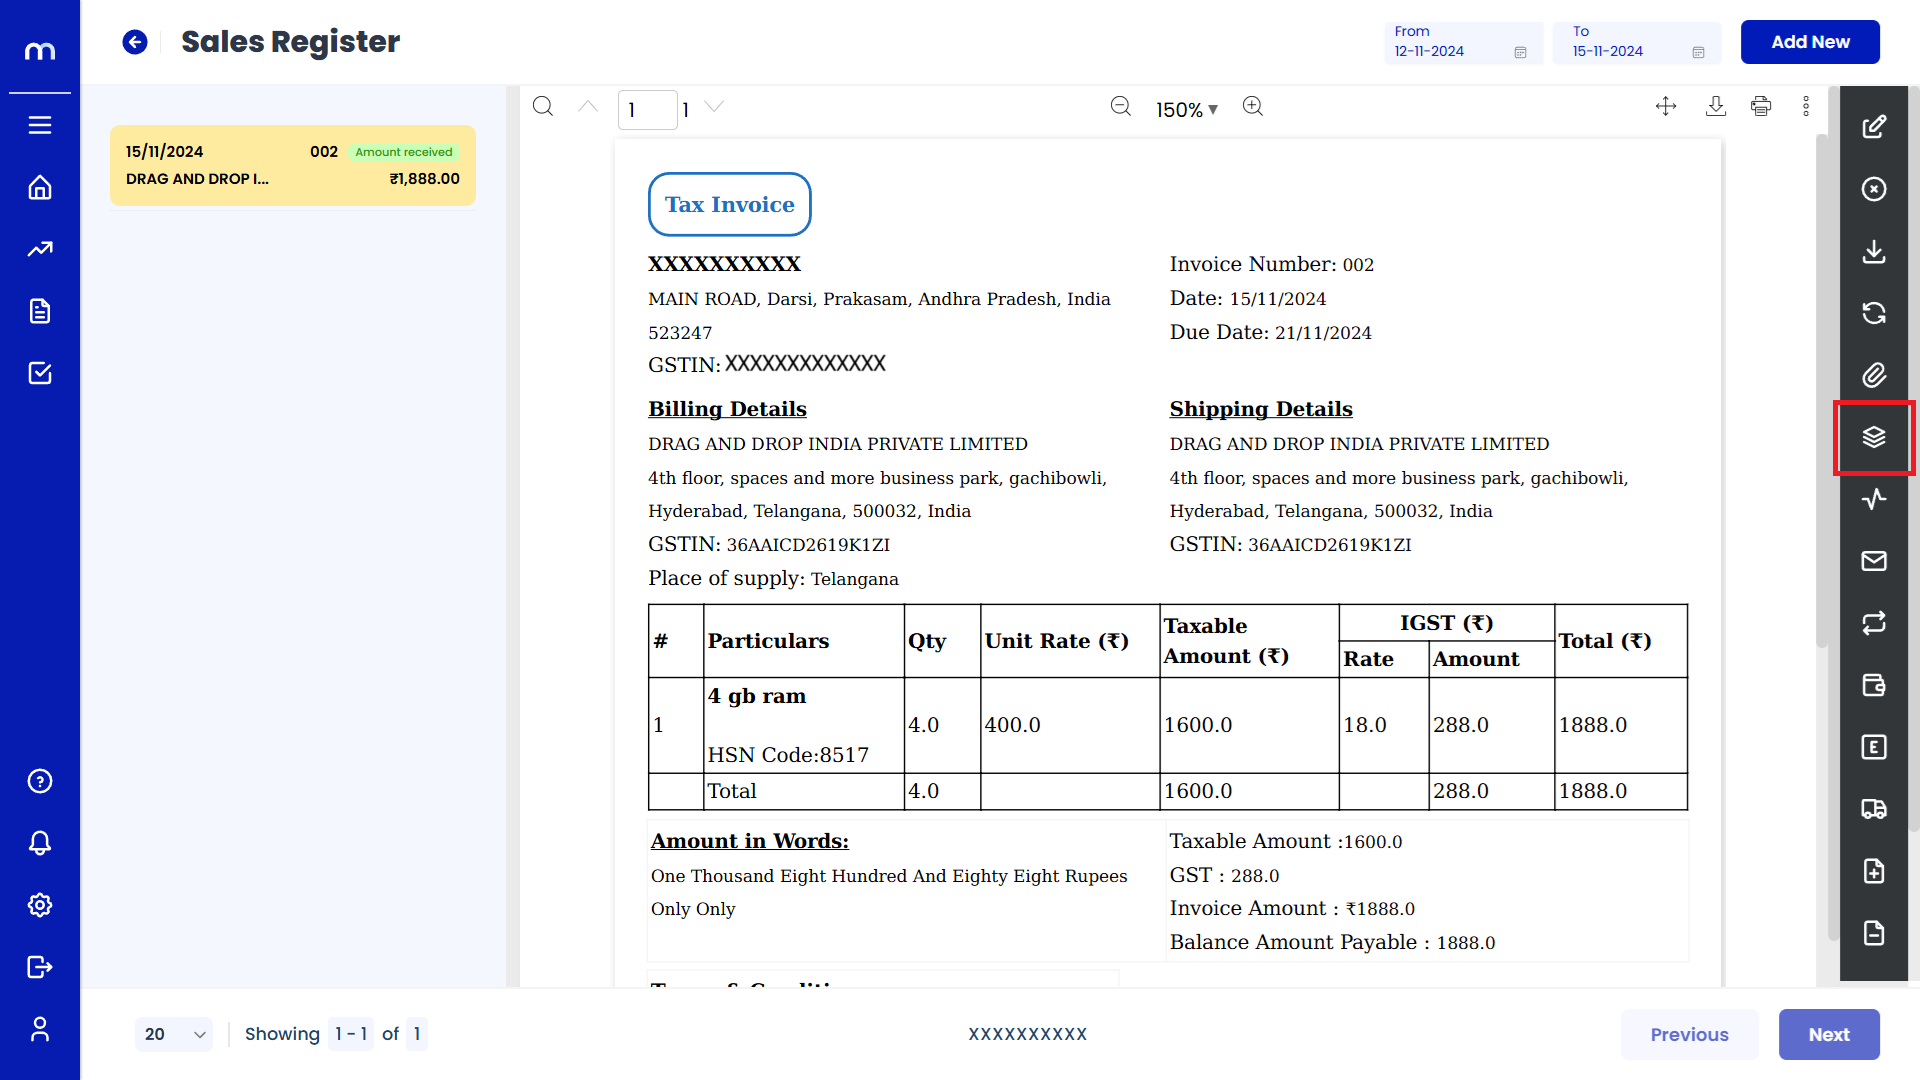
Click on View Versions
Sales Register Template page will be displayed as fallows and Click on View Versions button.
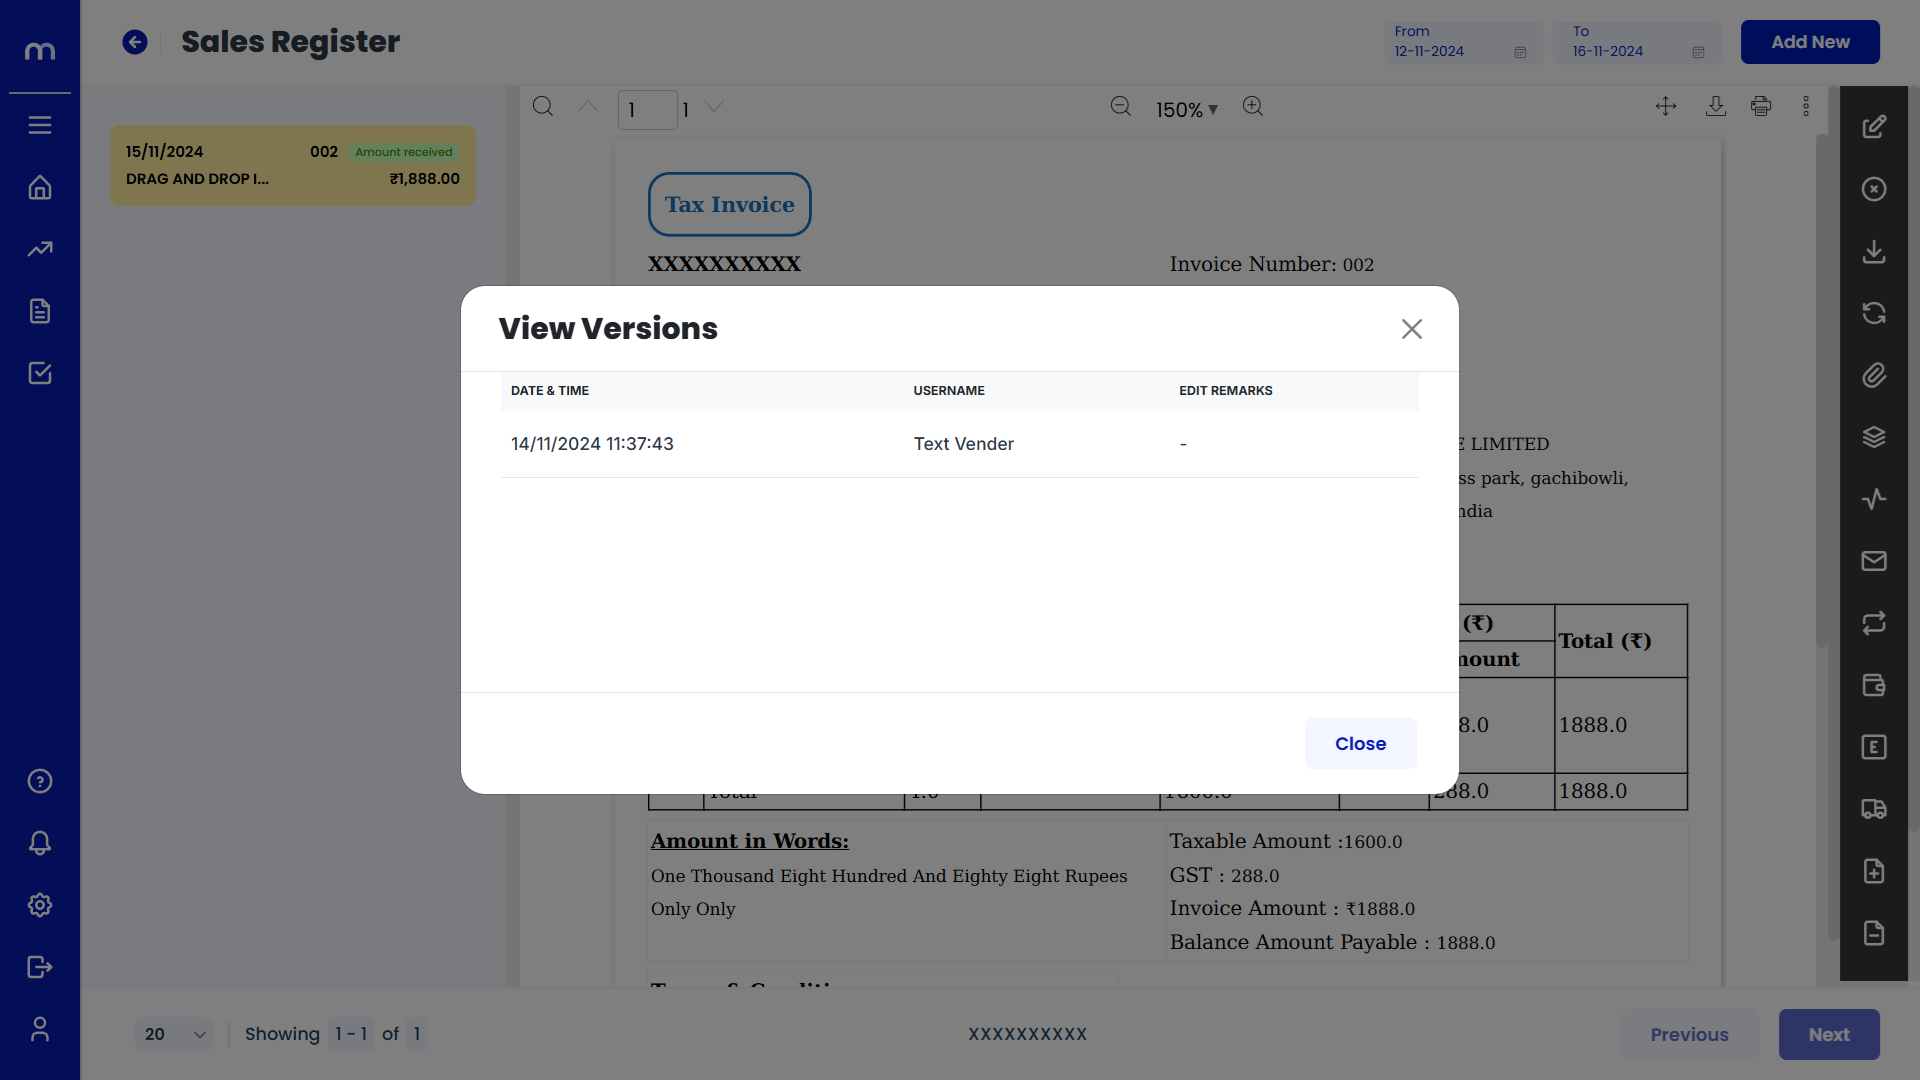
View Versions List
View Versions page will be displayed as fallows.
Click on Activity Report
Sales Register Template page will be displayed as fallows and Click on Activity Report button.

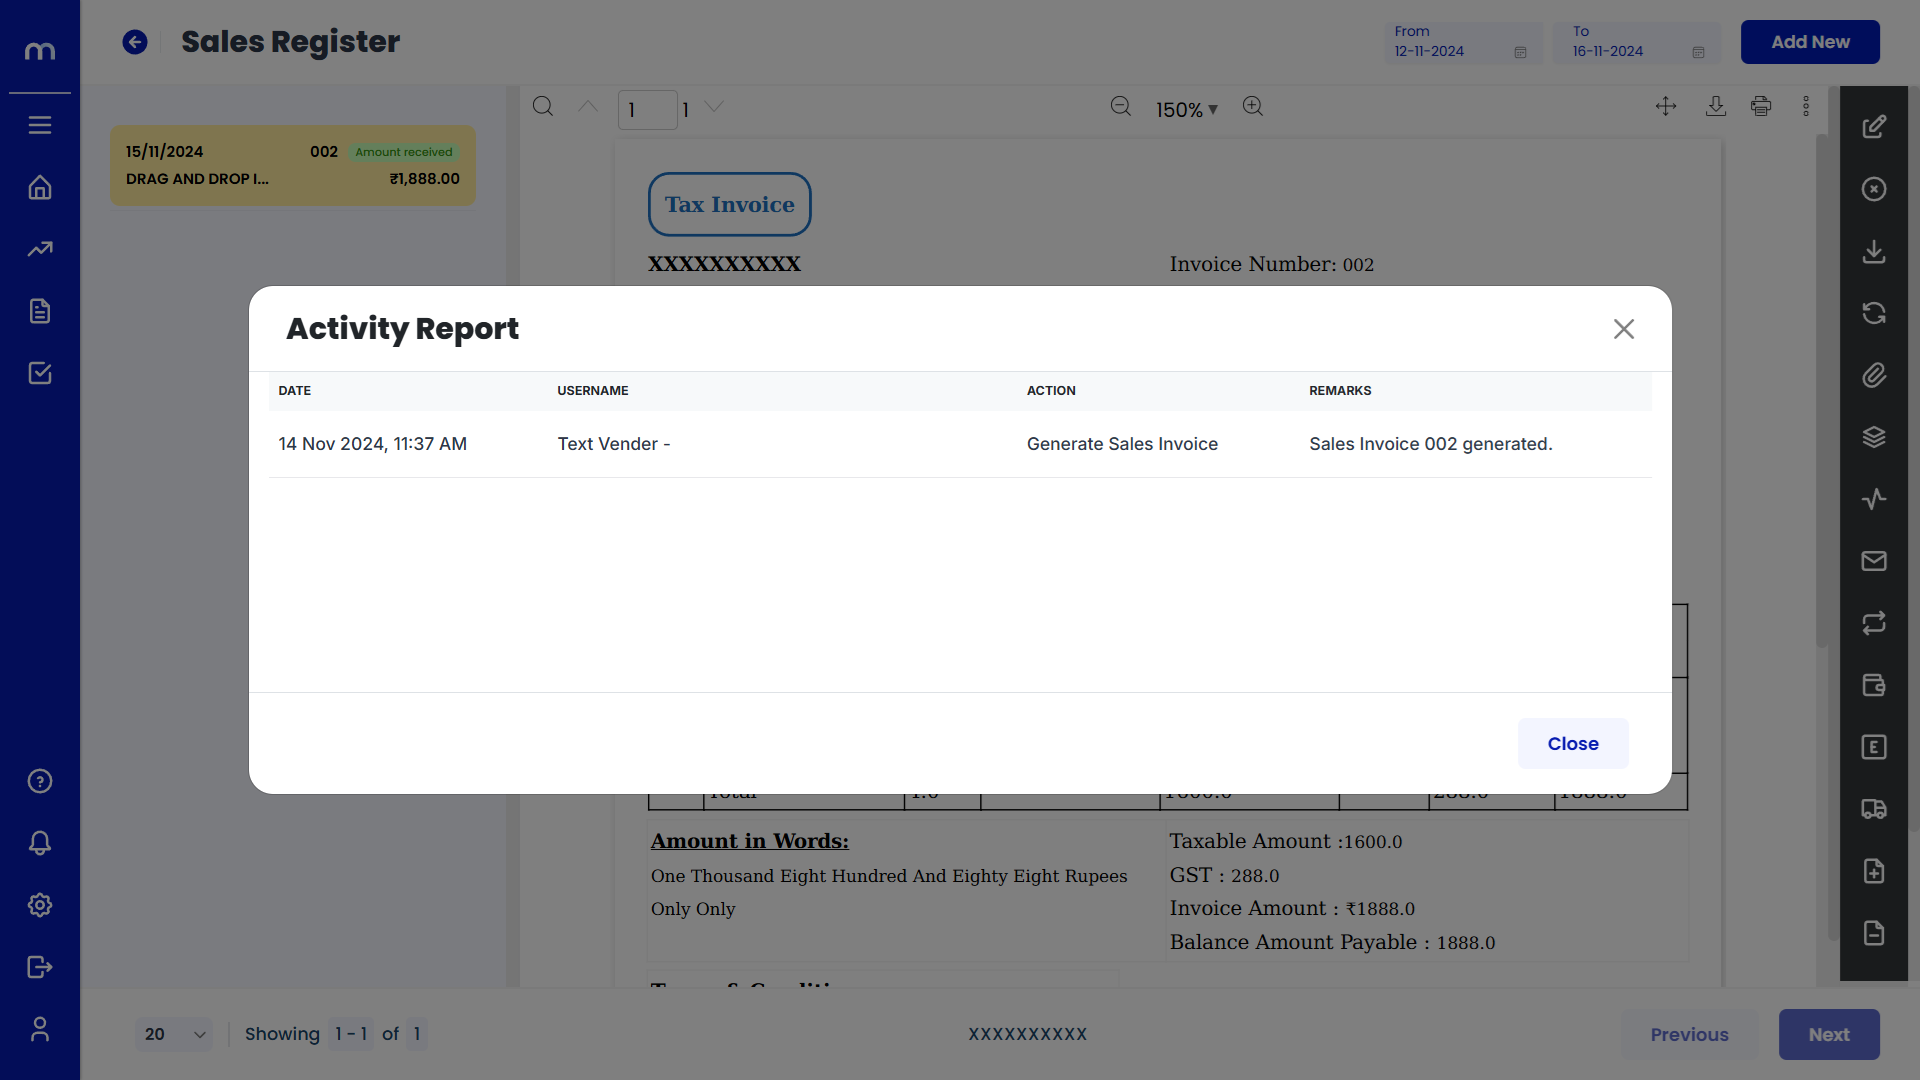
Activity Report List
Activity Report page will be displayed as fallows.
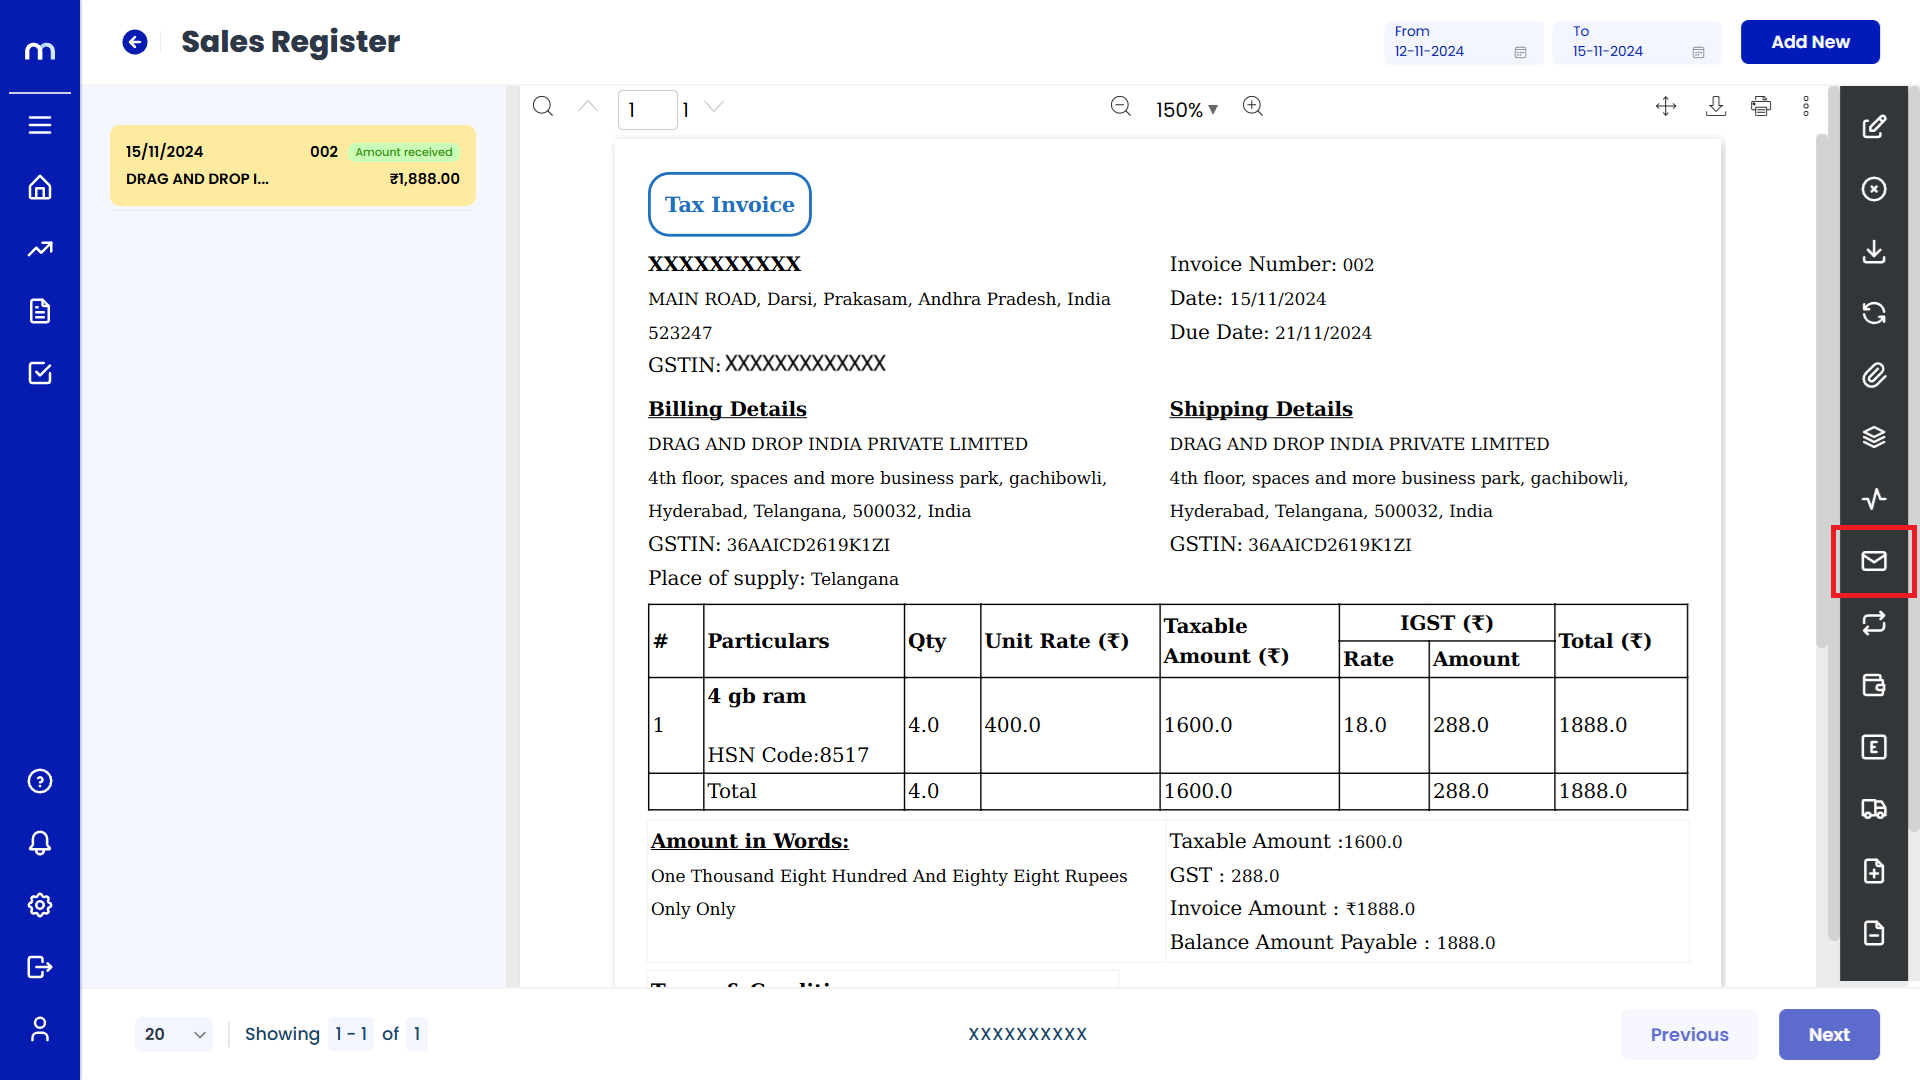
Click on Resend Mail
Sales Register Template page will be displayed as fallows and Click on Resend Mail button.
Click on Mark as Recurring
Sales Register Template page will be displayed as fallows and Click on Mark as Recurring button.

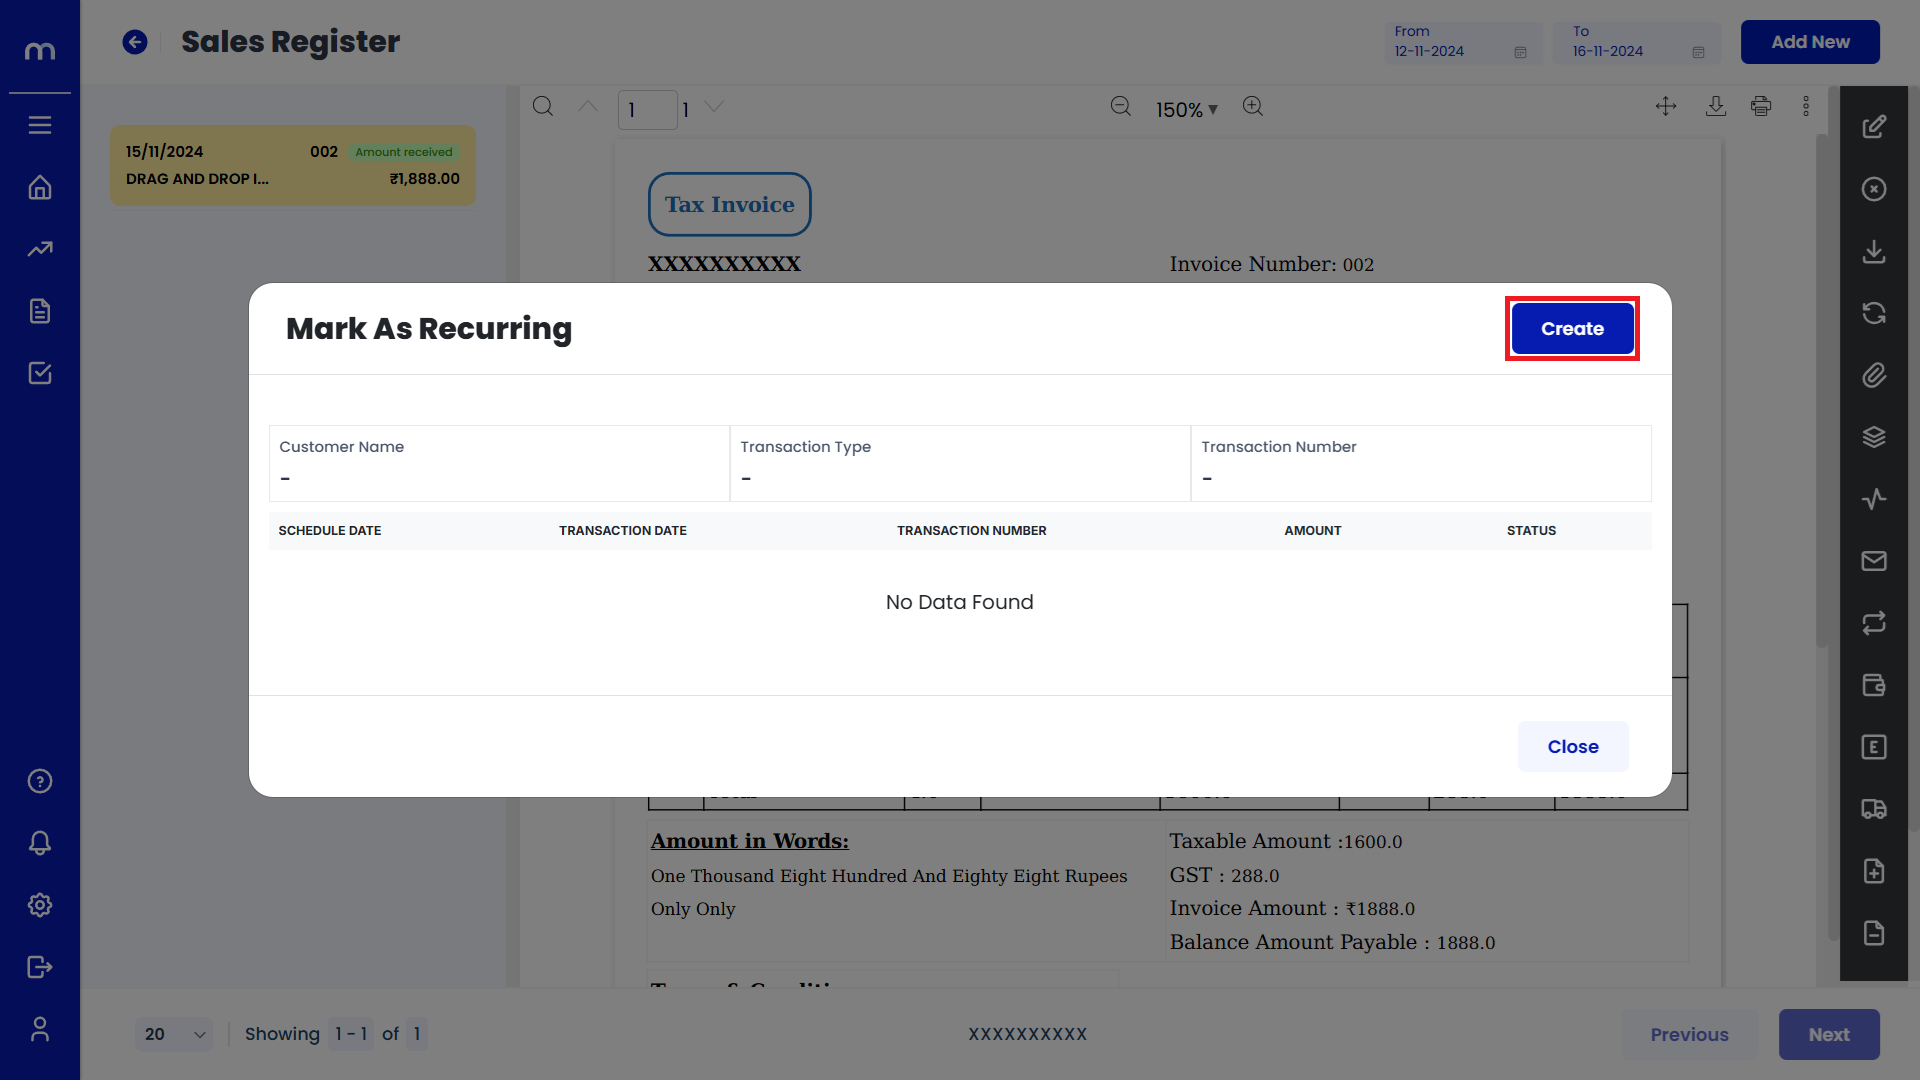
Click on Create
Mark as Recurring page will be displayed as fallows and Click on Create button.
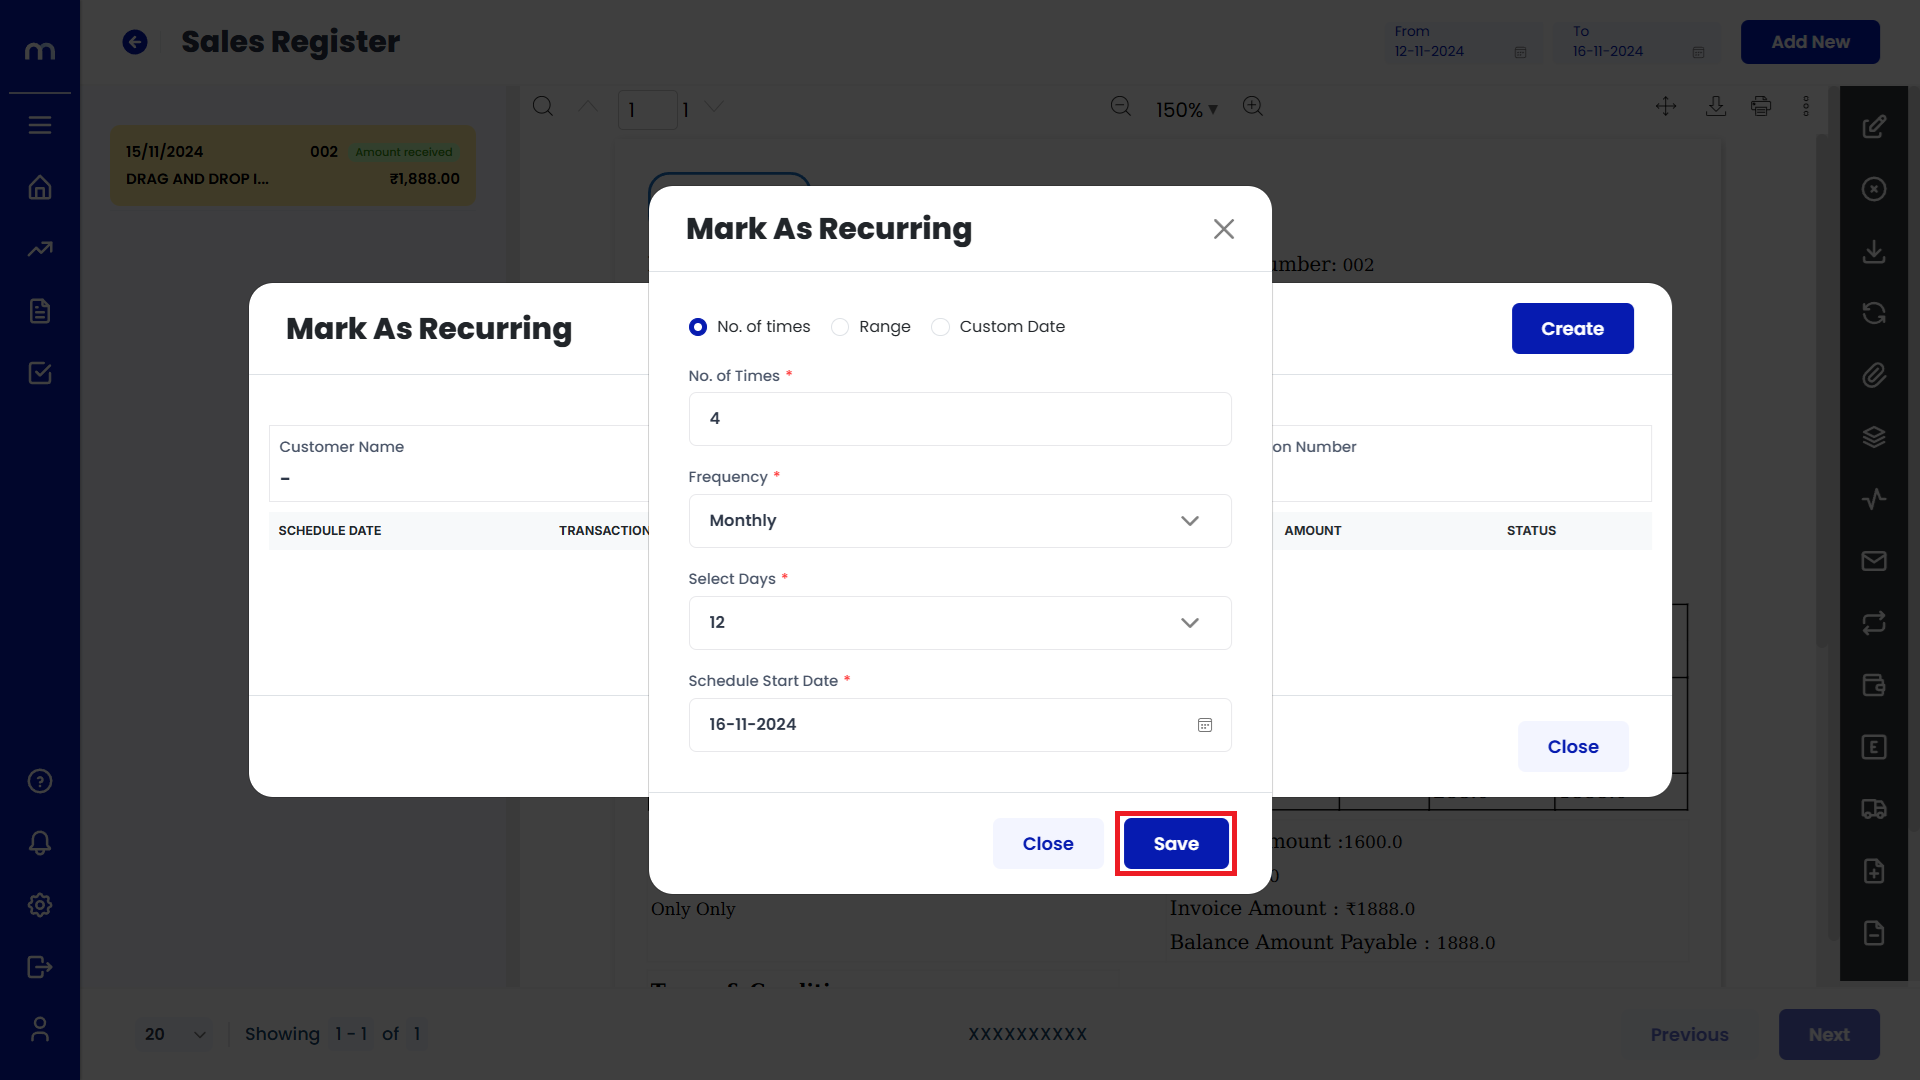
Click on Save
Mark as Recurring page will be displayed as fallows, Fill in all required details and Click on Save button.
Click on Mark as Received
Sales Register Template page will be displayed as fallows and Click on Mark as Received button.

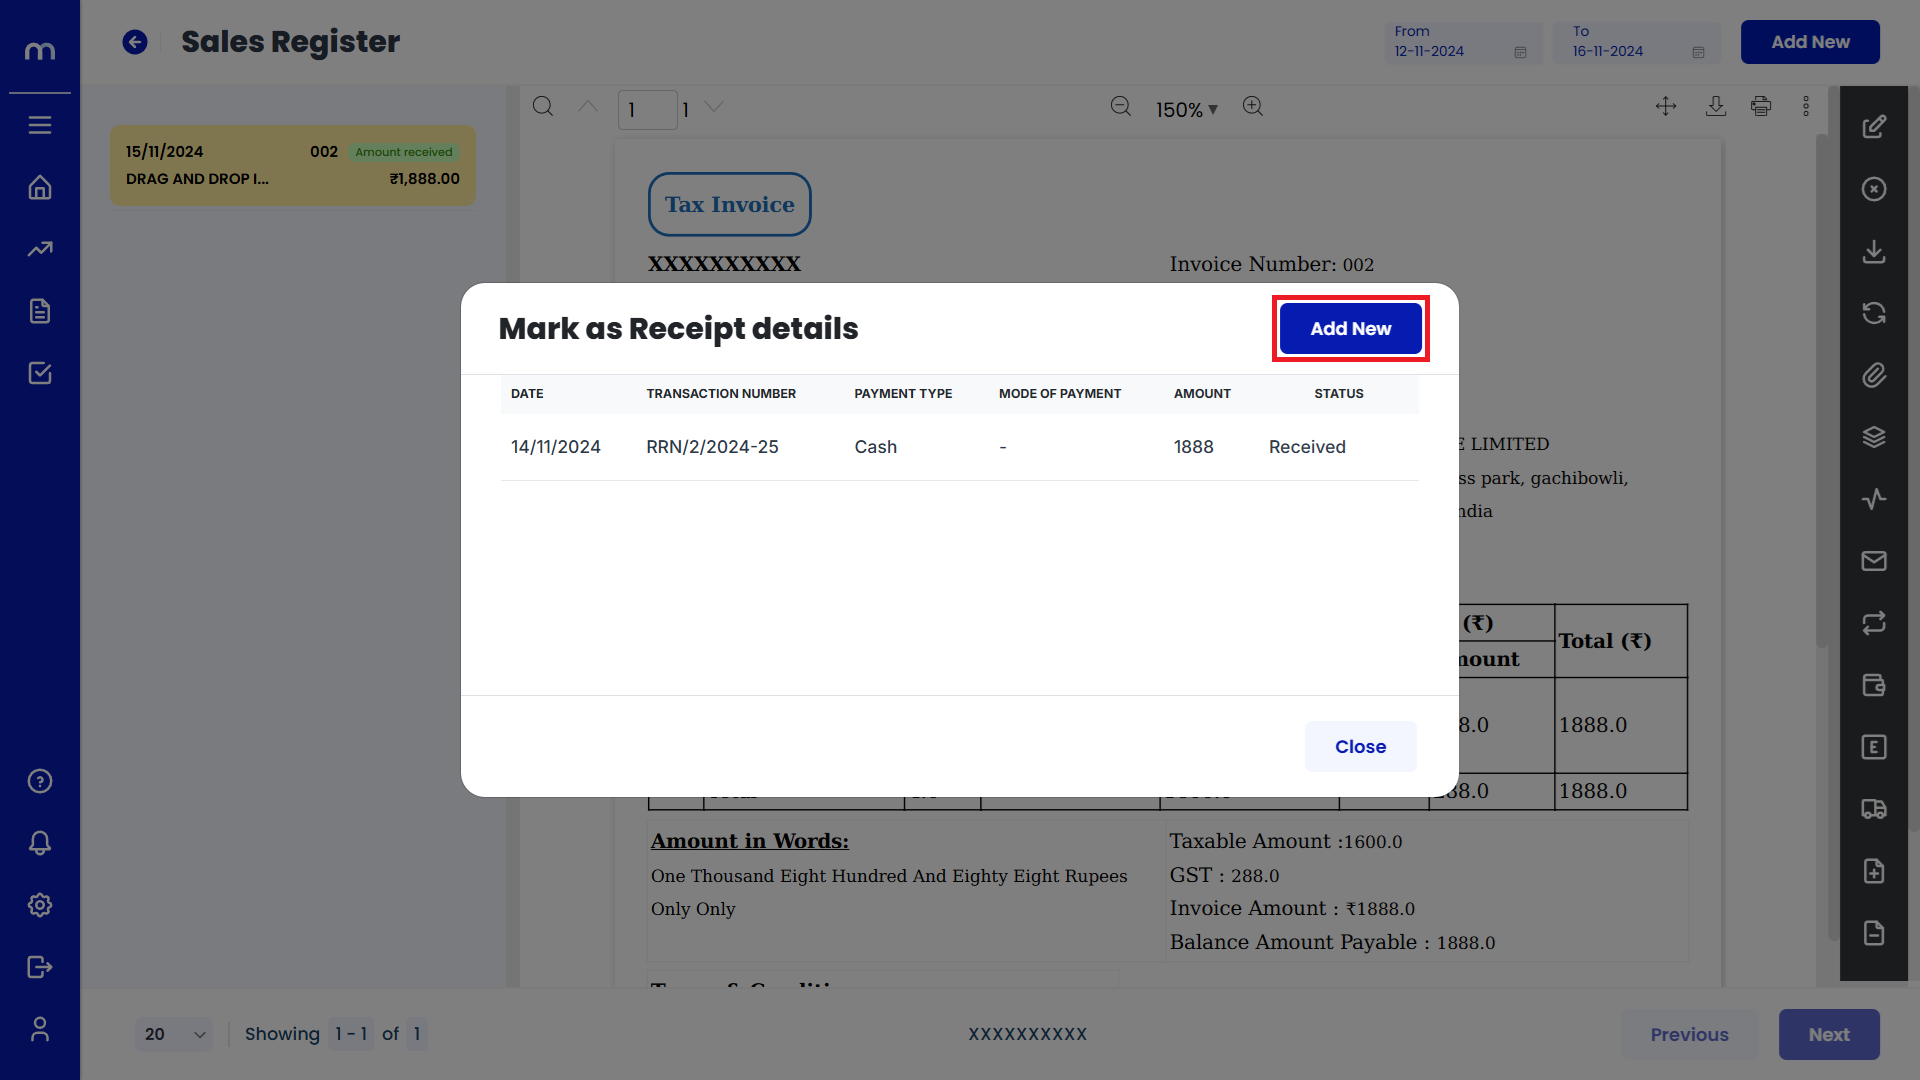
Click on Add New
Mark as Receipt Details page will be displayed as fallows and Click on Add New button.
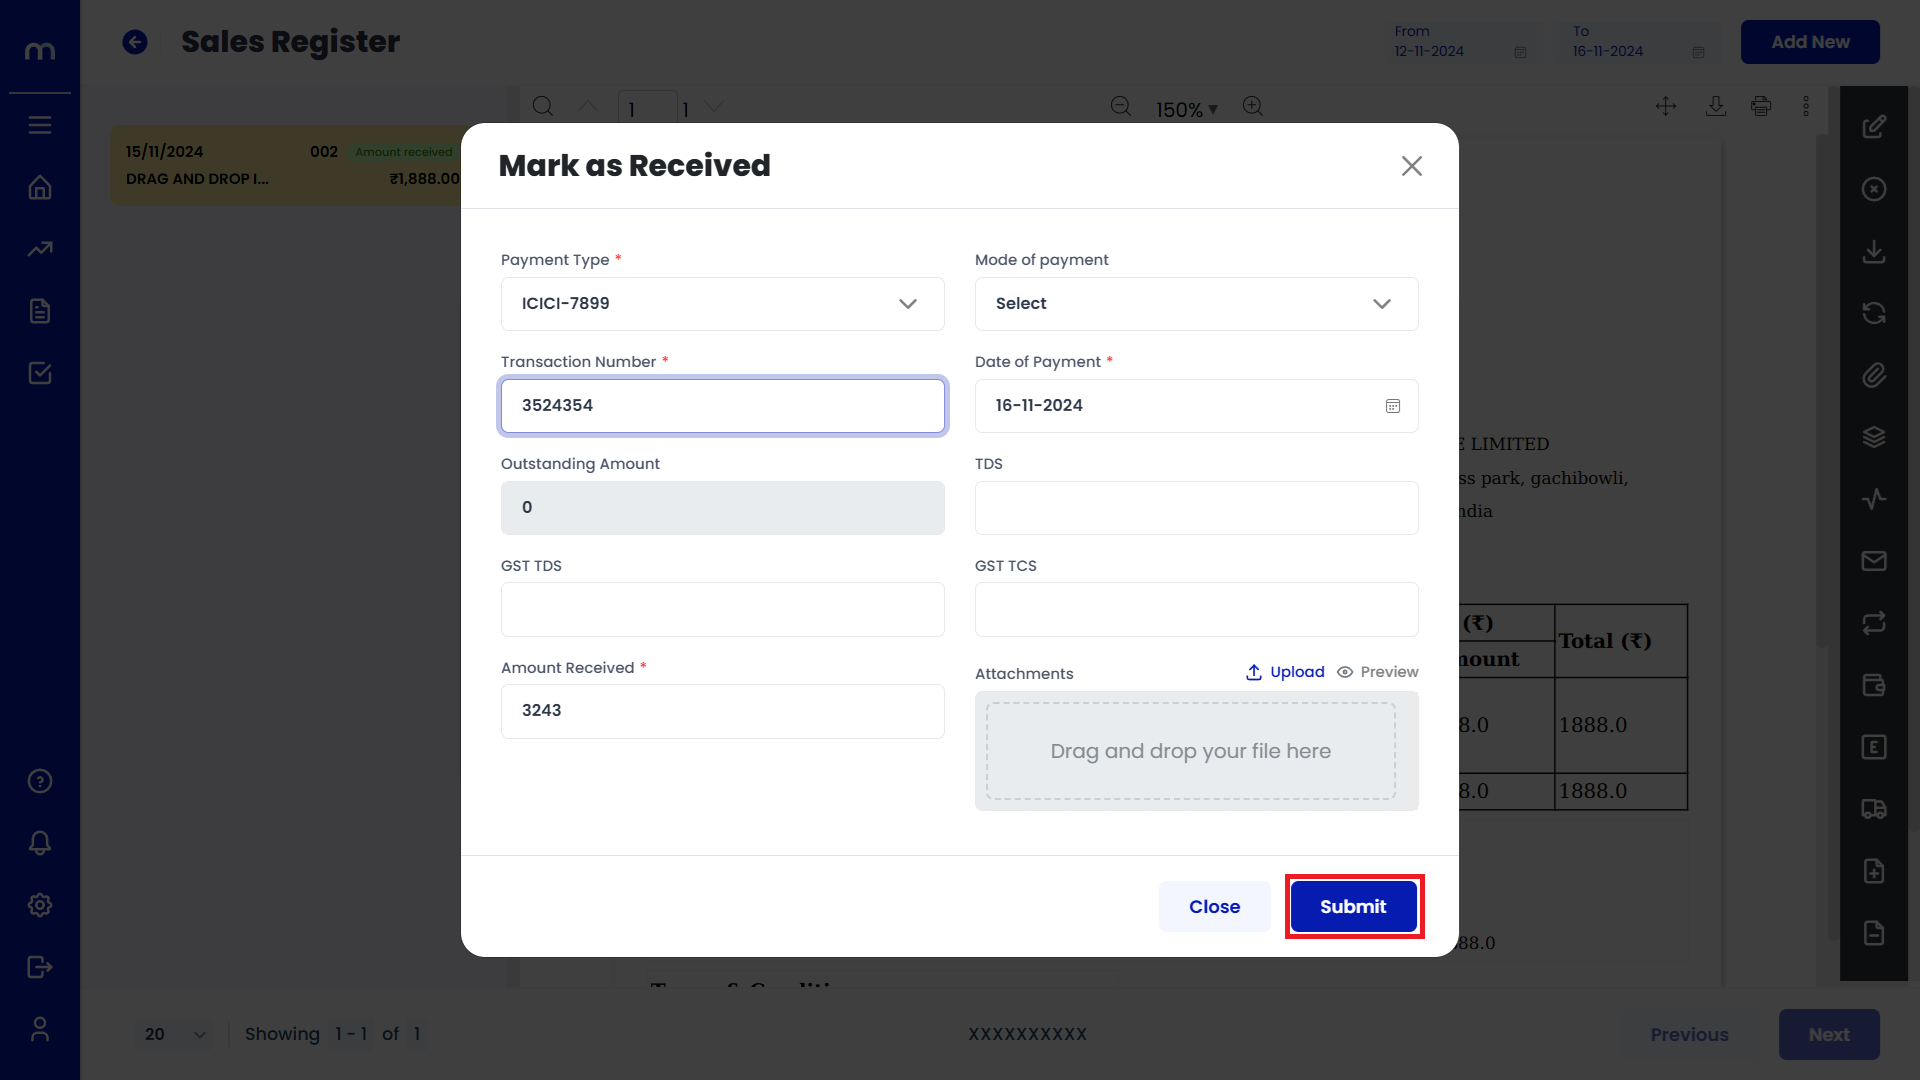
Click on Submit
Mark as Received page will be displayed as fallows, Fill in all required payment details and Click on Submit button.
Click on Generate E-Invoice
Sales Register Template page will be displayed as fallows and Click on Generate E-Invoice button.

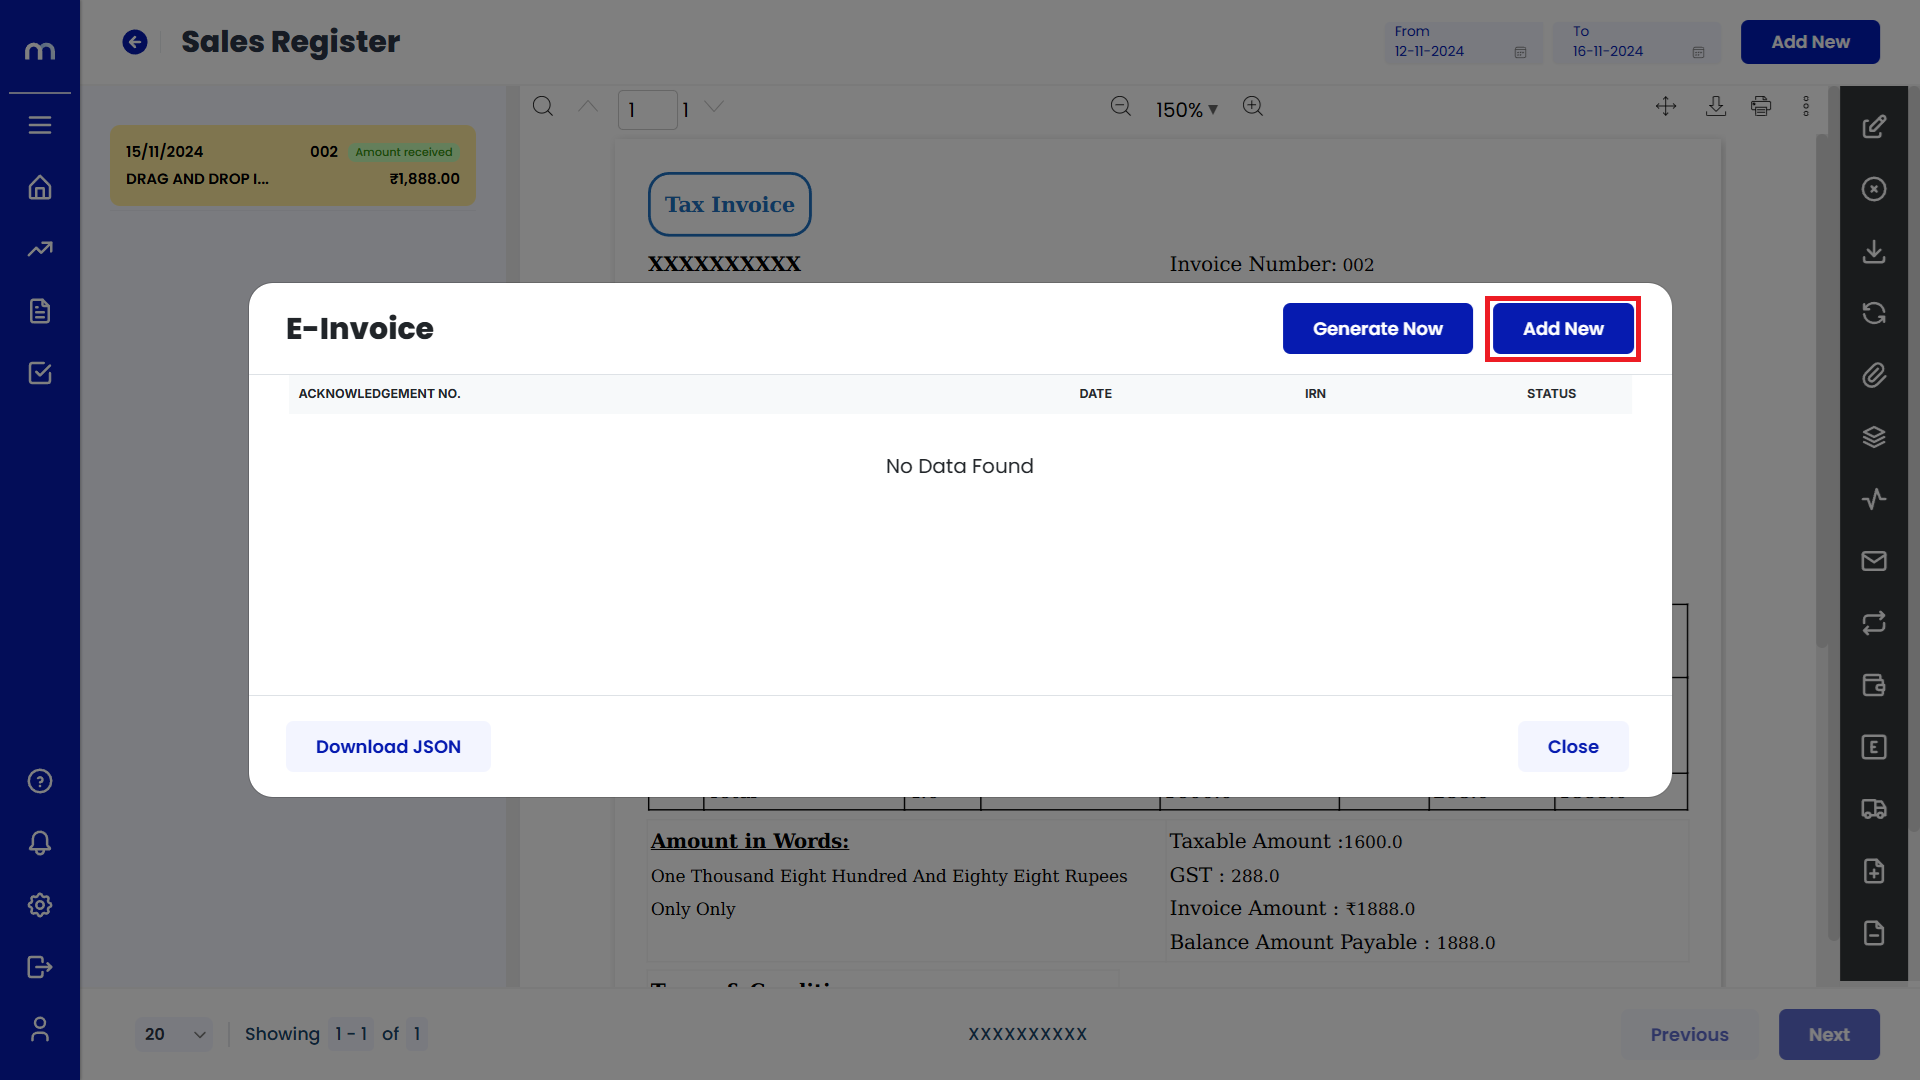
Click on Add New
E-Invoice page will be displayed as fallows and Click on Add New button.
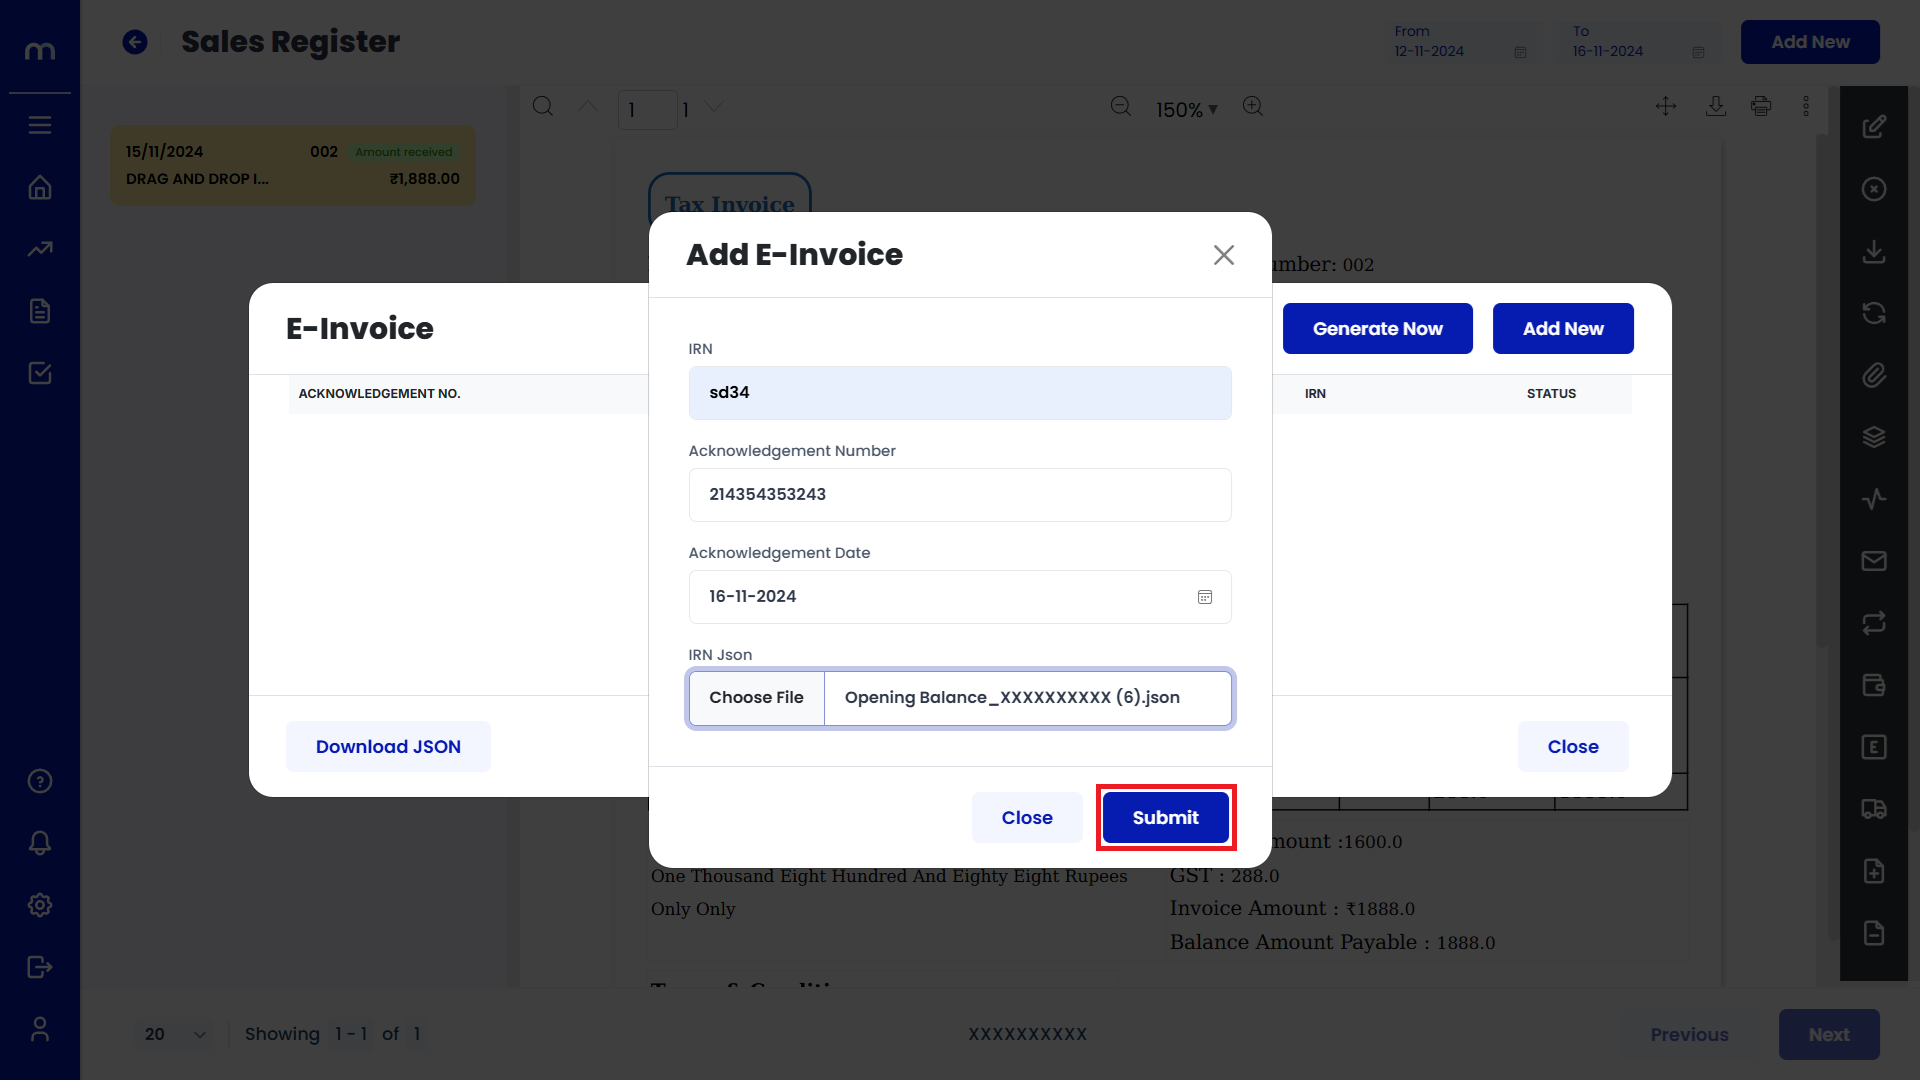
Click on Submit
Add E-Invoice page will be displayed as fallows, Fill in IRN, Acknowledgement number and Acknowledgement date. Then click on Submit button.
Click on Generate E-Way Bill
Sales Register Template page will be displayed as fallows and Click on Generate E-Way Bill button.

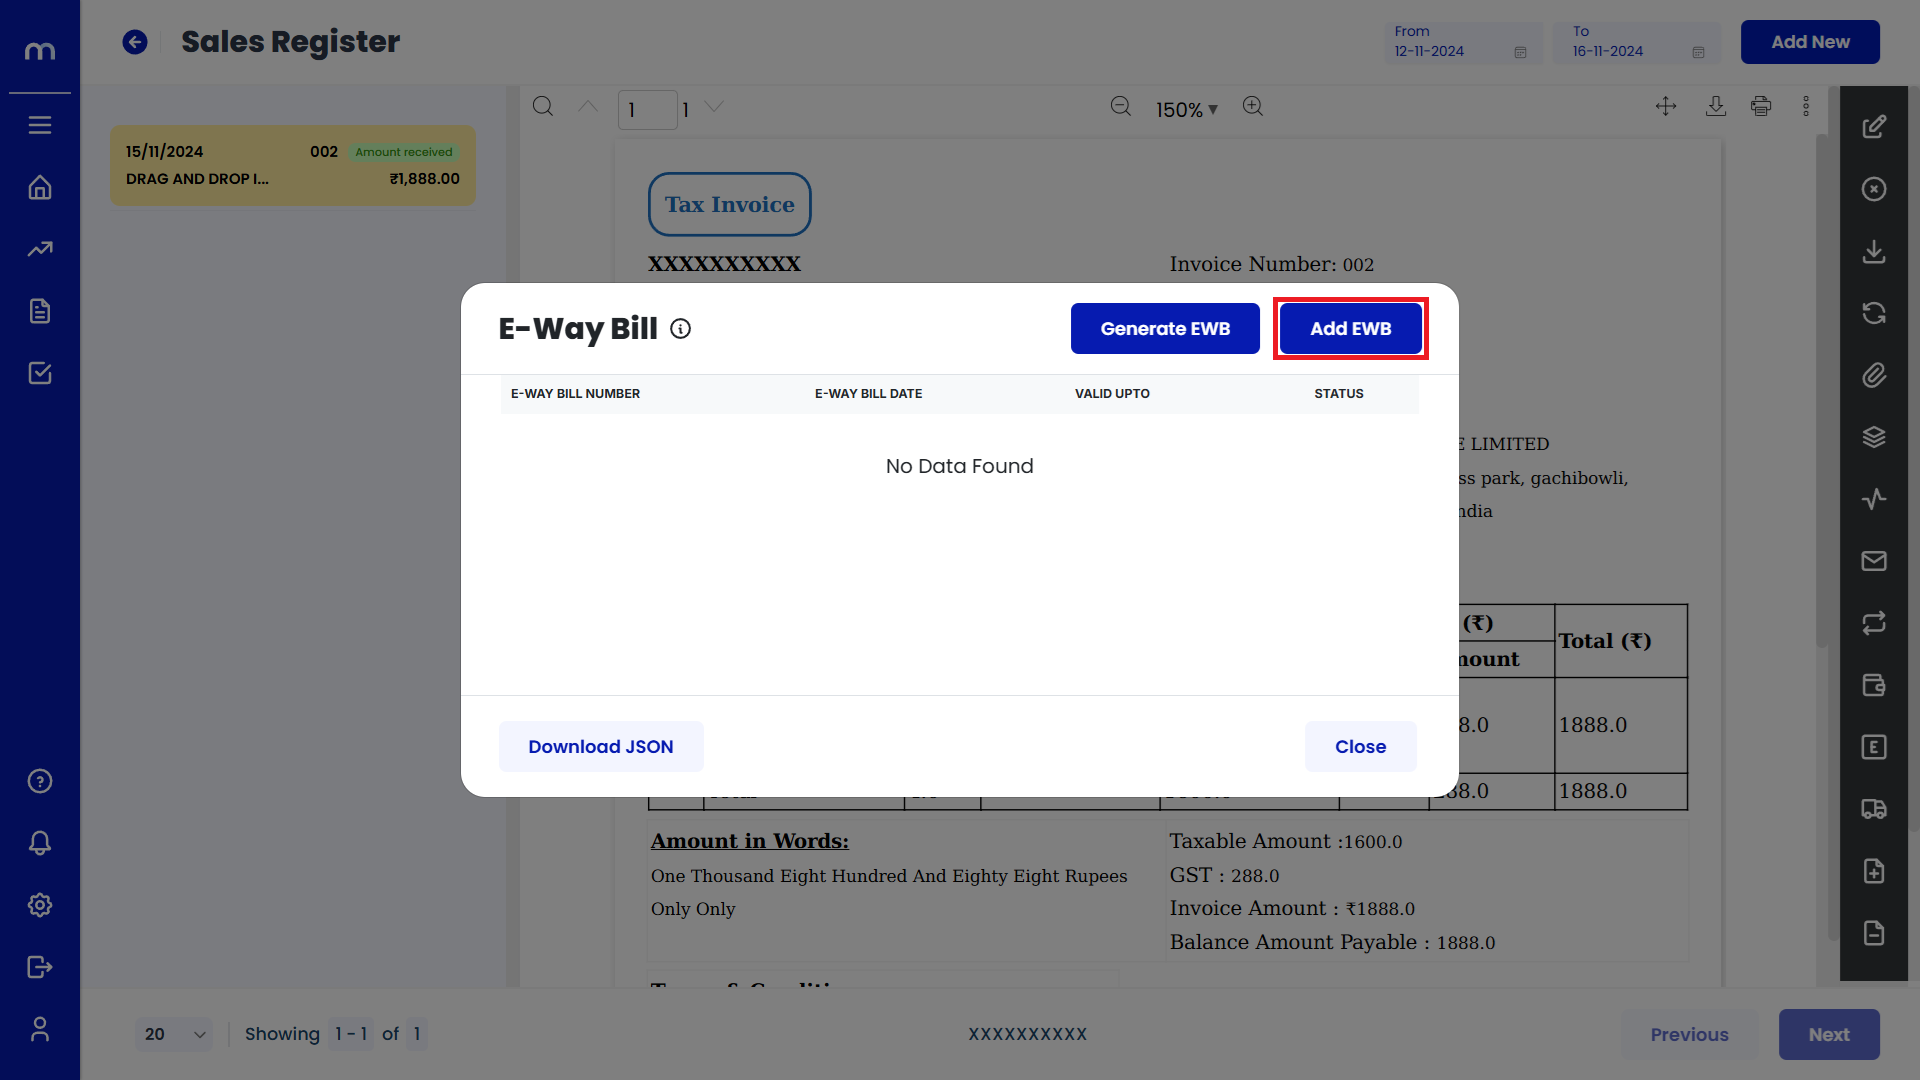
Click on Add E-Way Bill
E-Way Bill page will be displayed as fallows and Click on Add E-Way Bill button.
Created Pro-Forma Invoices
Add E-Way Bill page will be displayed as fallows. Fill in E-Way Bill Number and E-Way Bill Date. Then next click on Submit button.

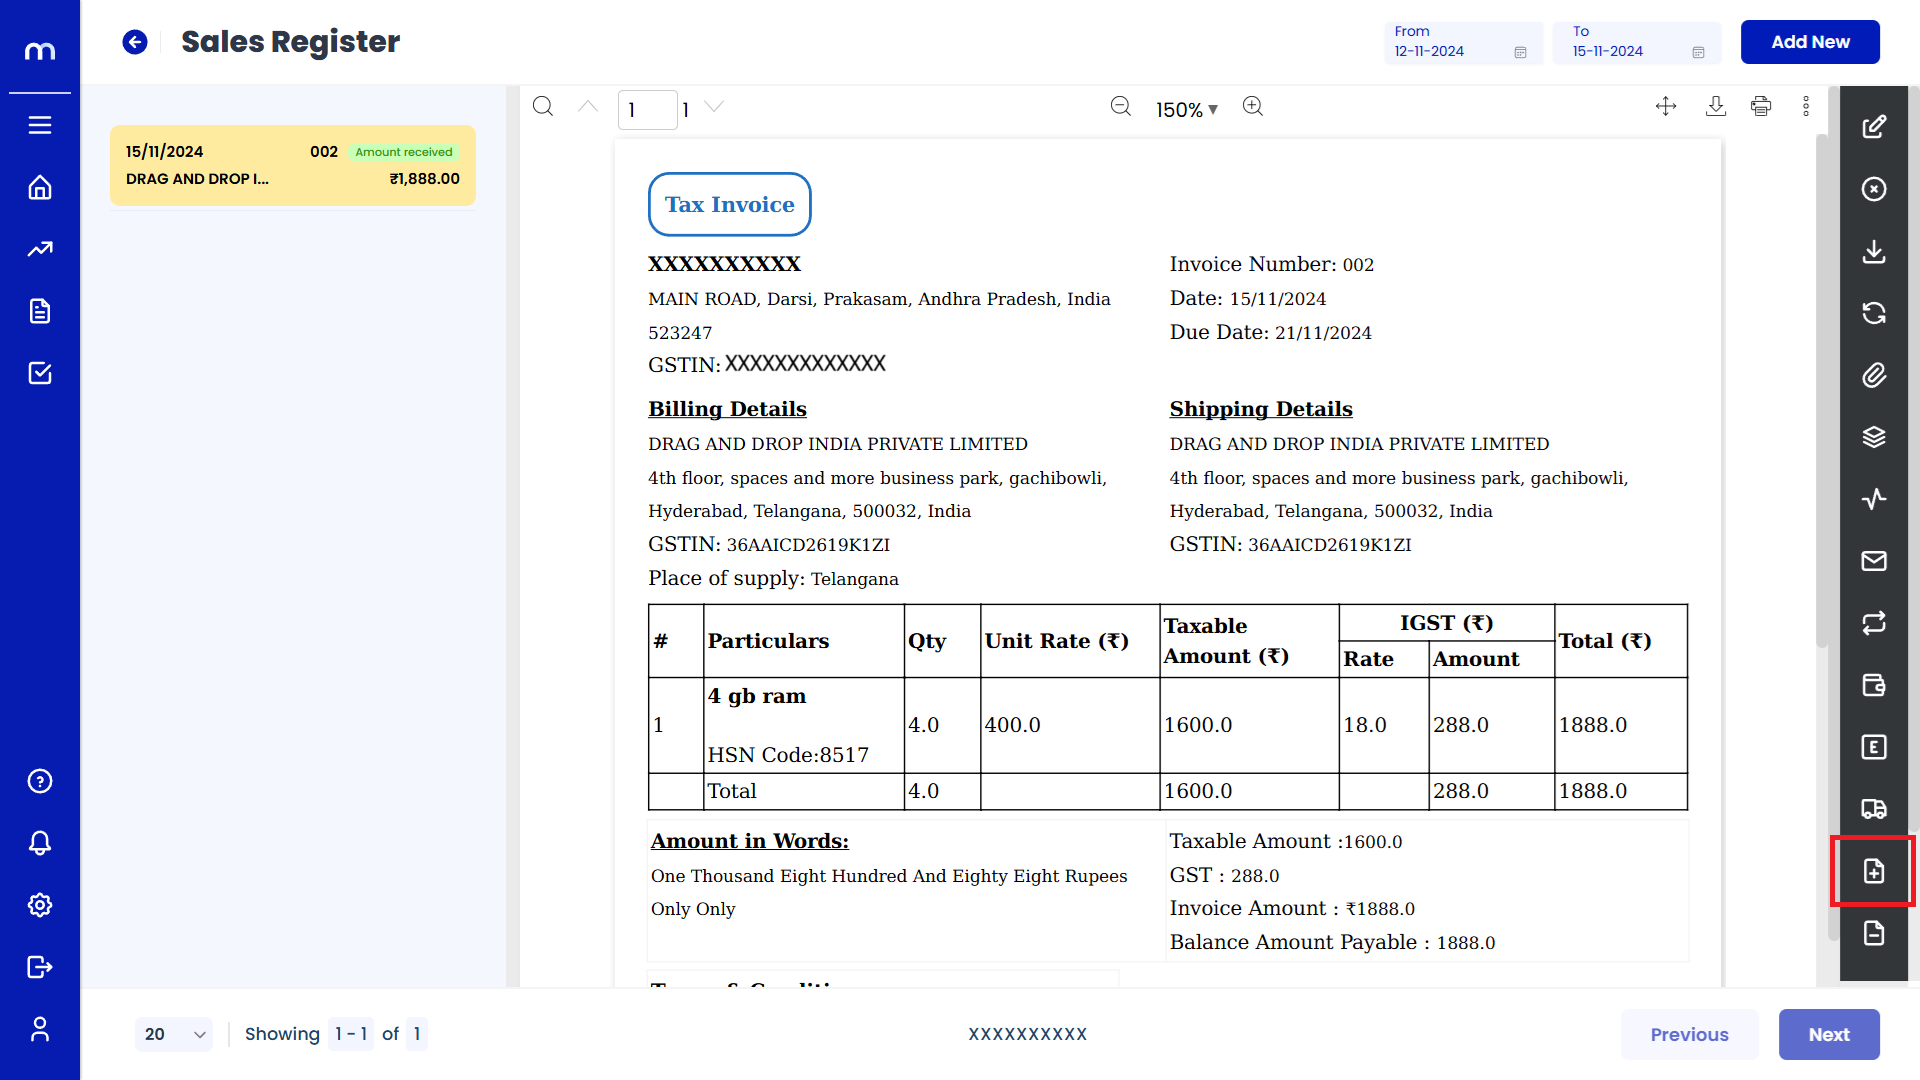
Click on Generate Debit Note
Sales Orde Template page will be displayed as fallows and Click on Generate Debit Note button.
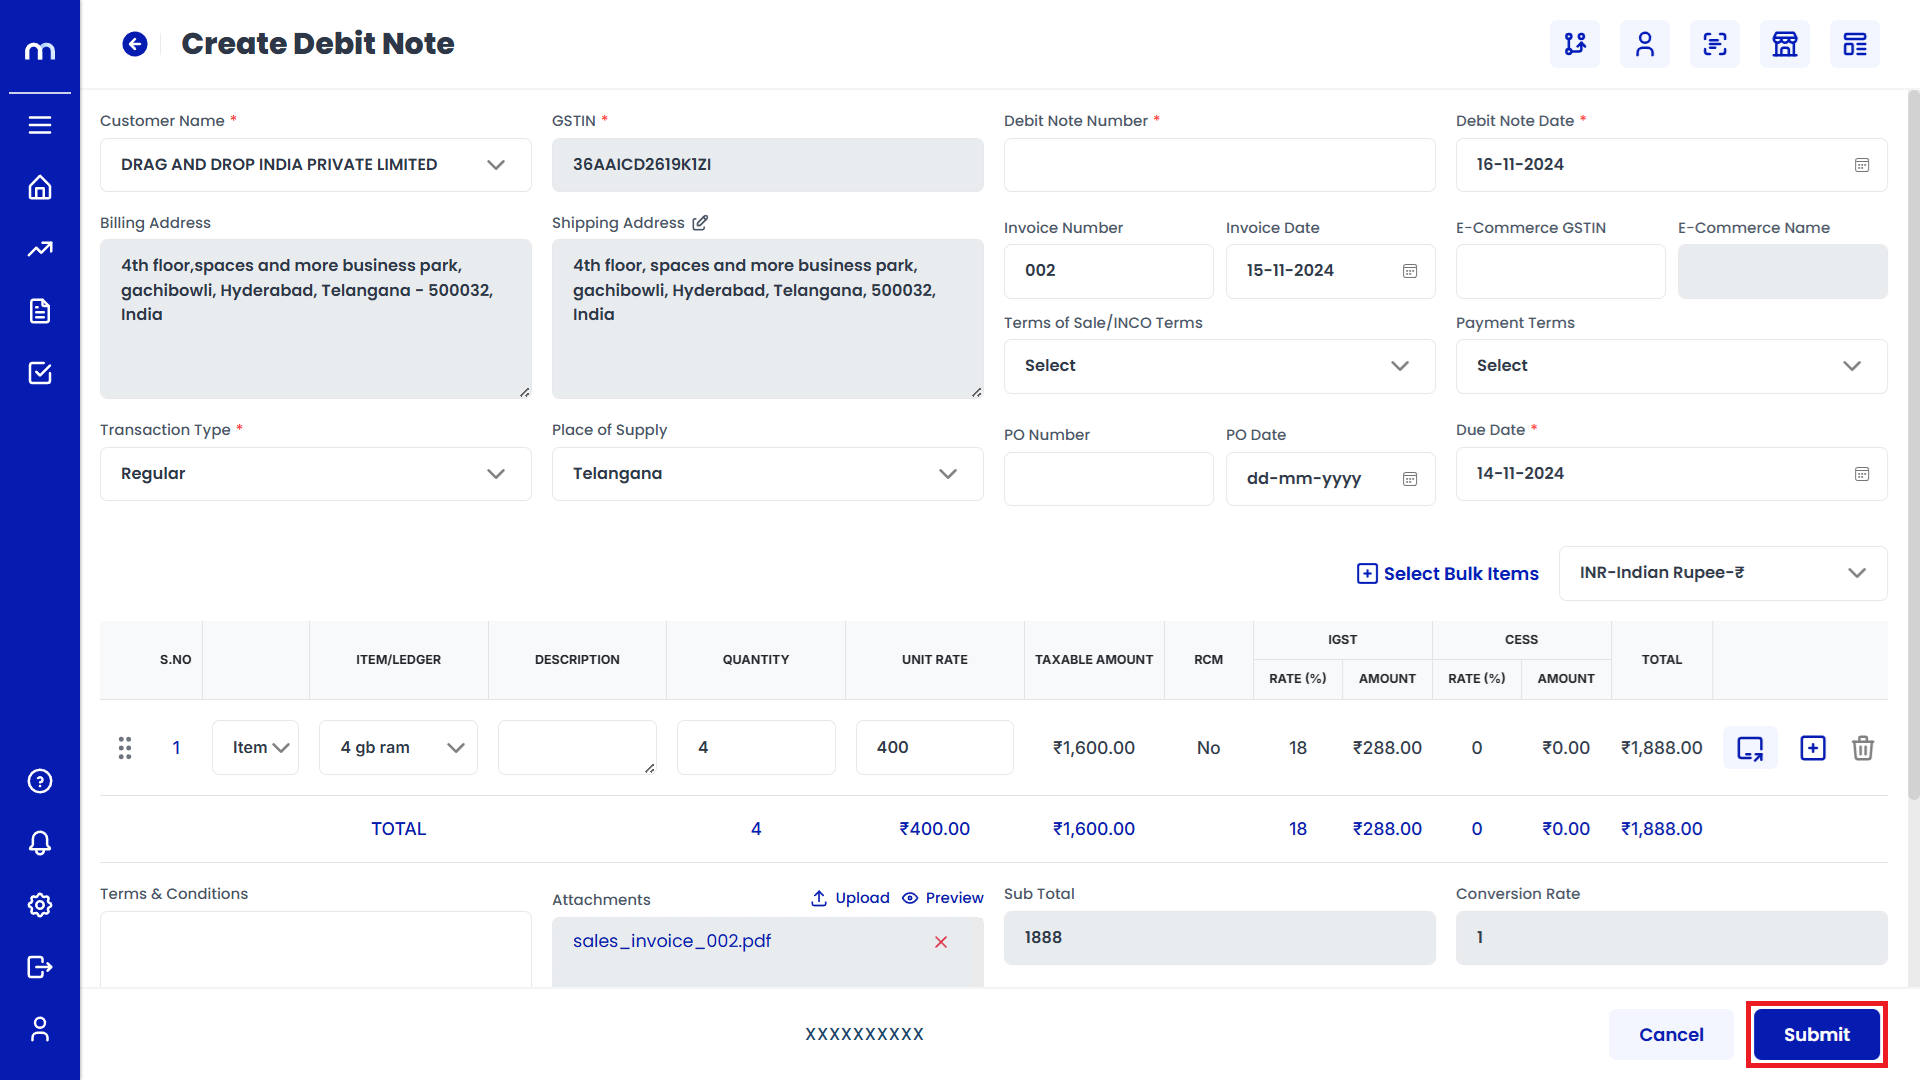
Click on Submit
Create Debit Note page will be displayed as fallows, Fill in the all required details and Click on Submit button.
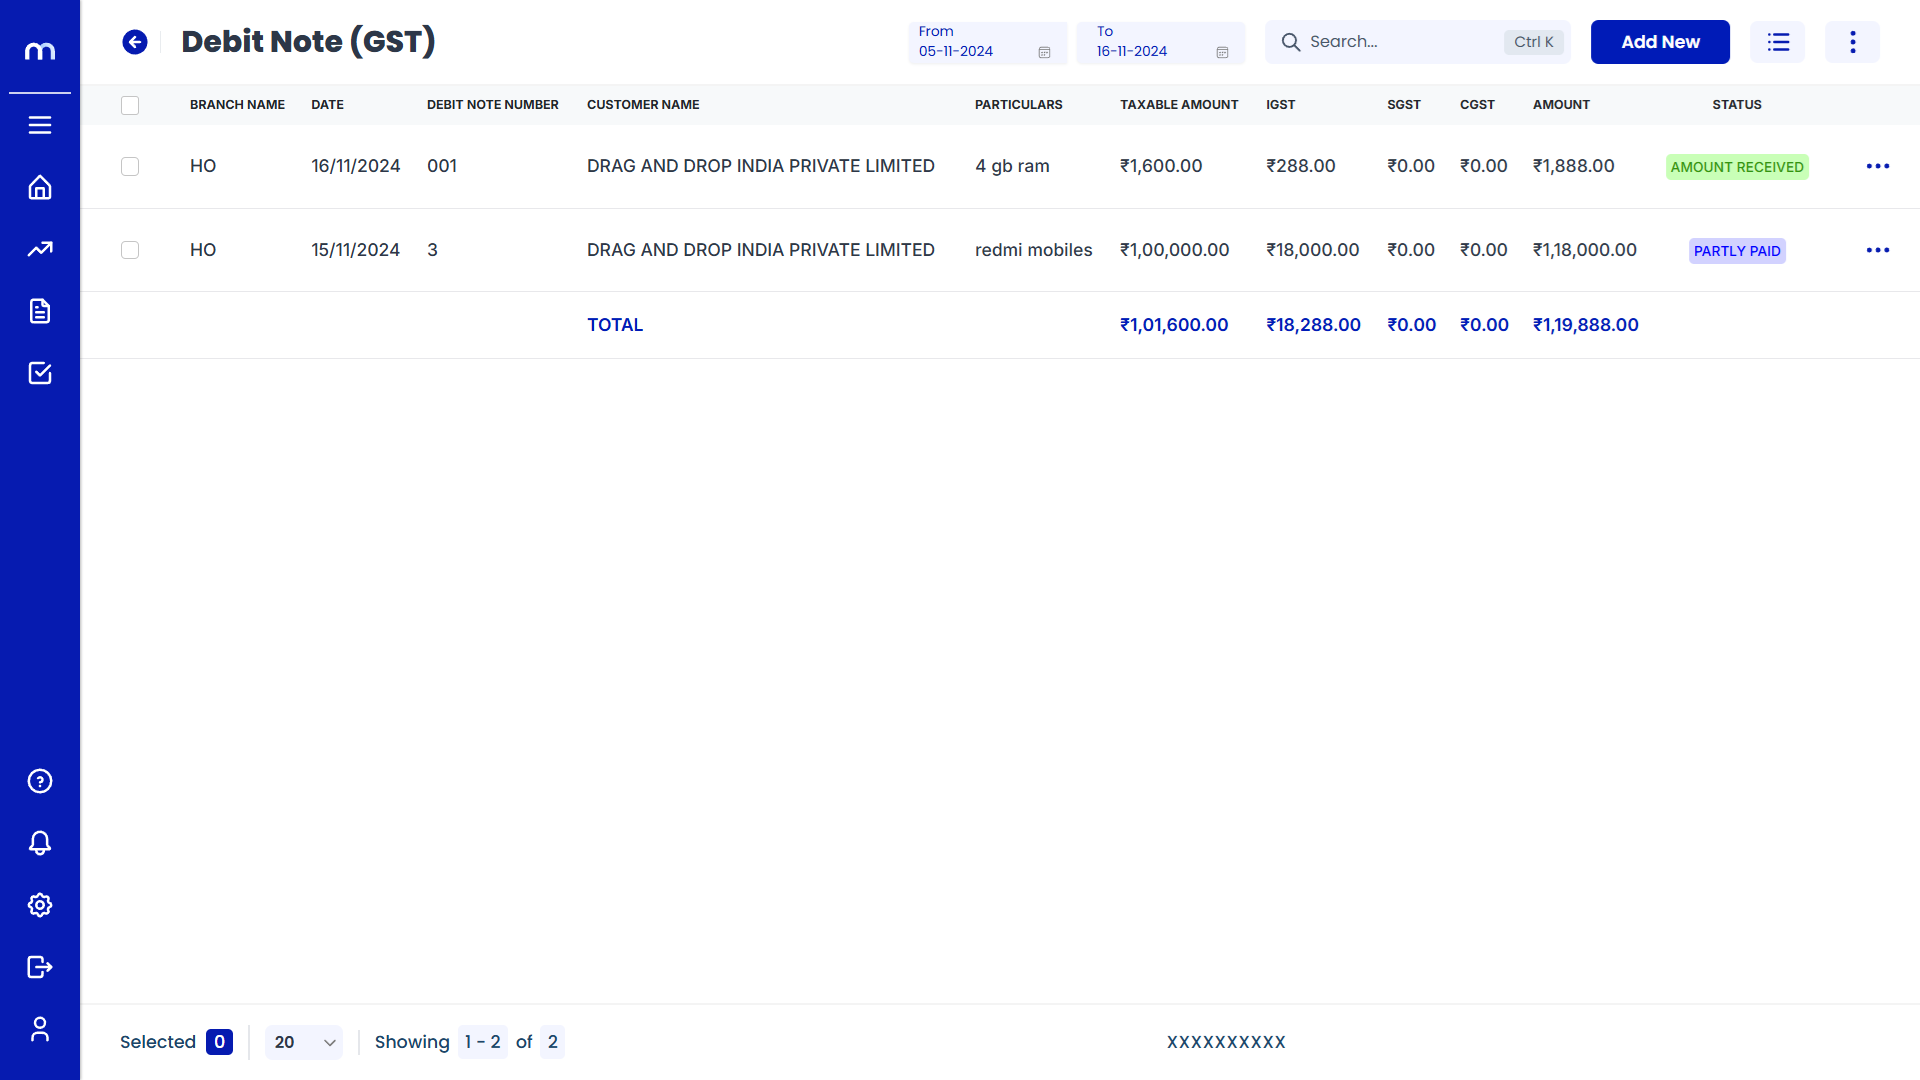
Created Debit Note
Debit Note page will be created successfully.
Click on Generate Credit Note
Sales Orde Template page will be displayed as fallows and Click on Generate Credit Note button.
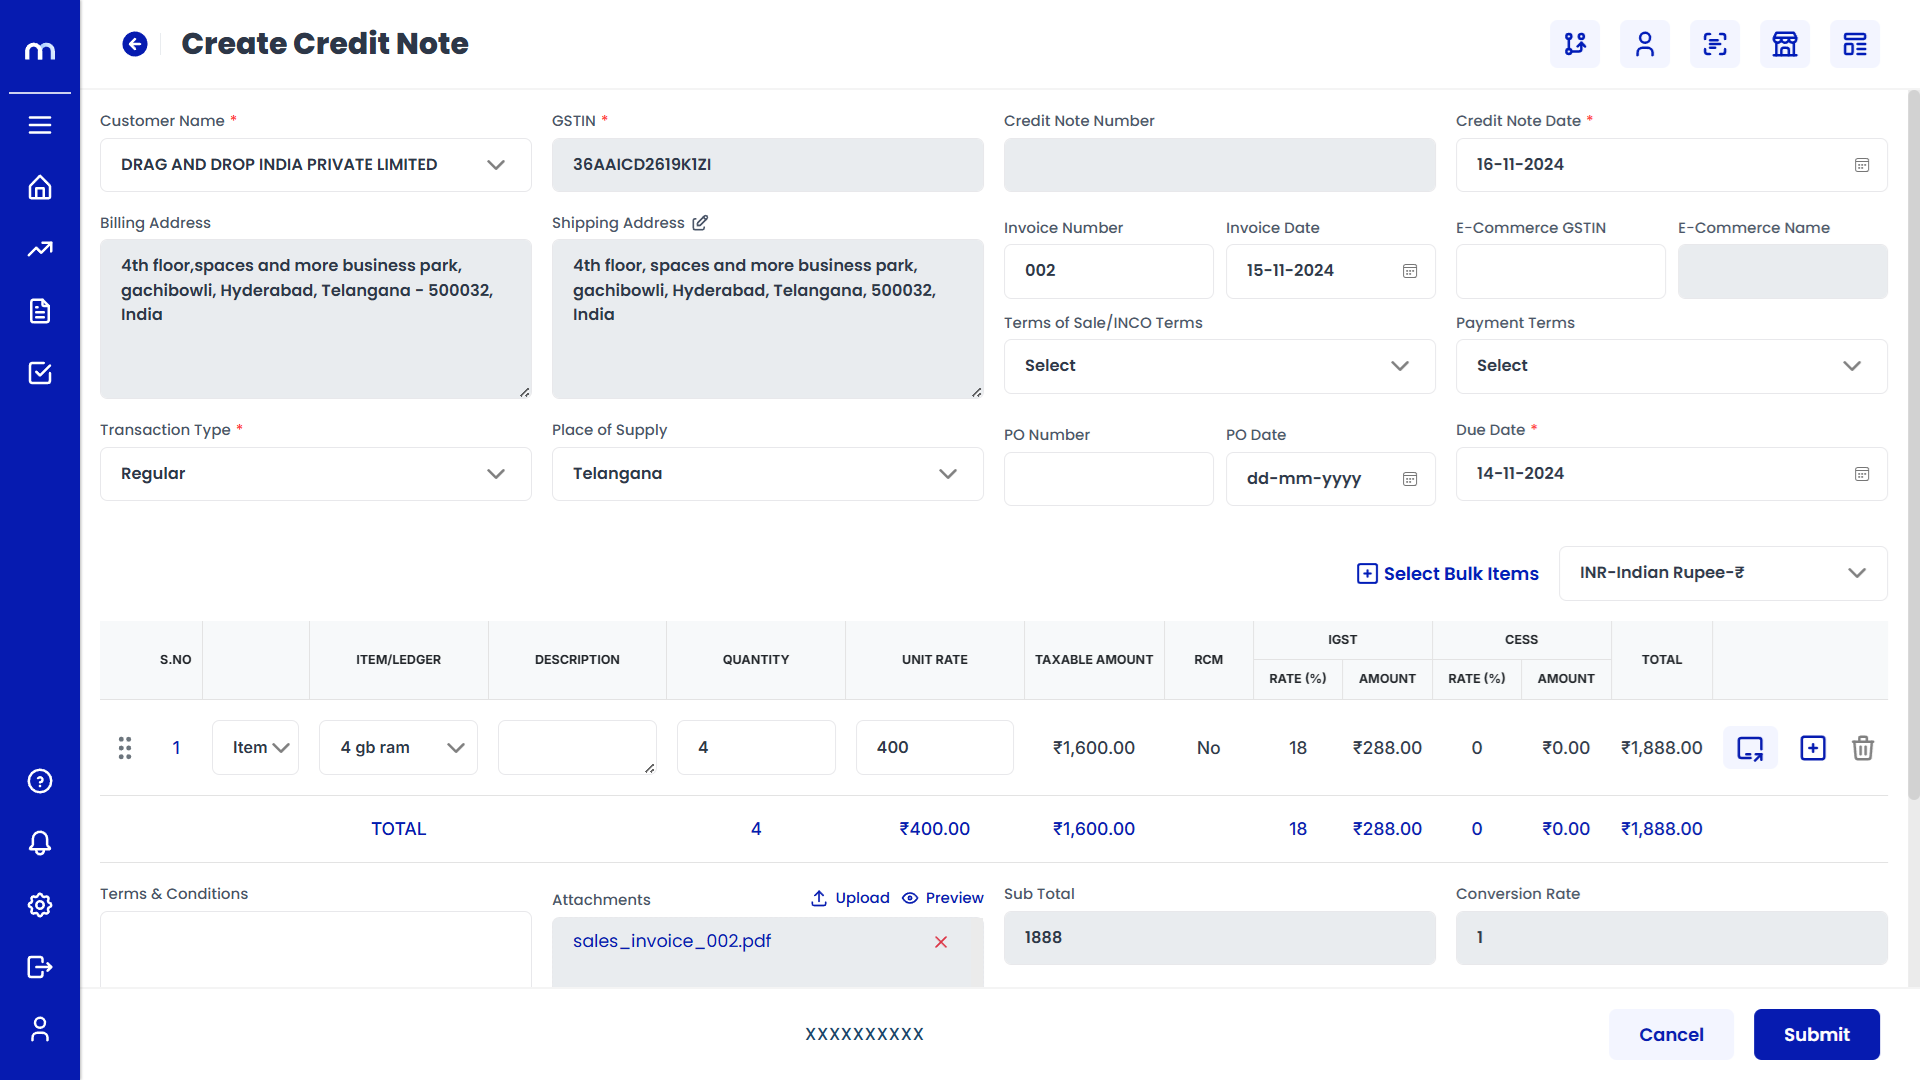
Click on Submit
Create Credit Note page will be displayed as fallows, Fill in the all required details and Click on Submit button.
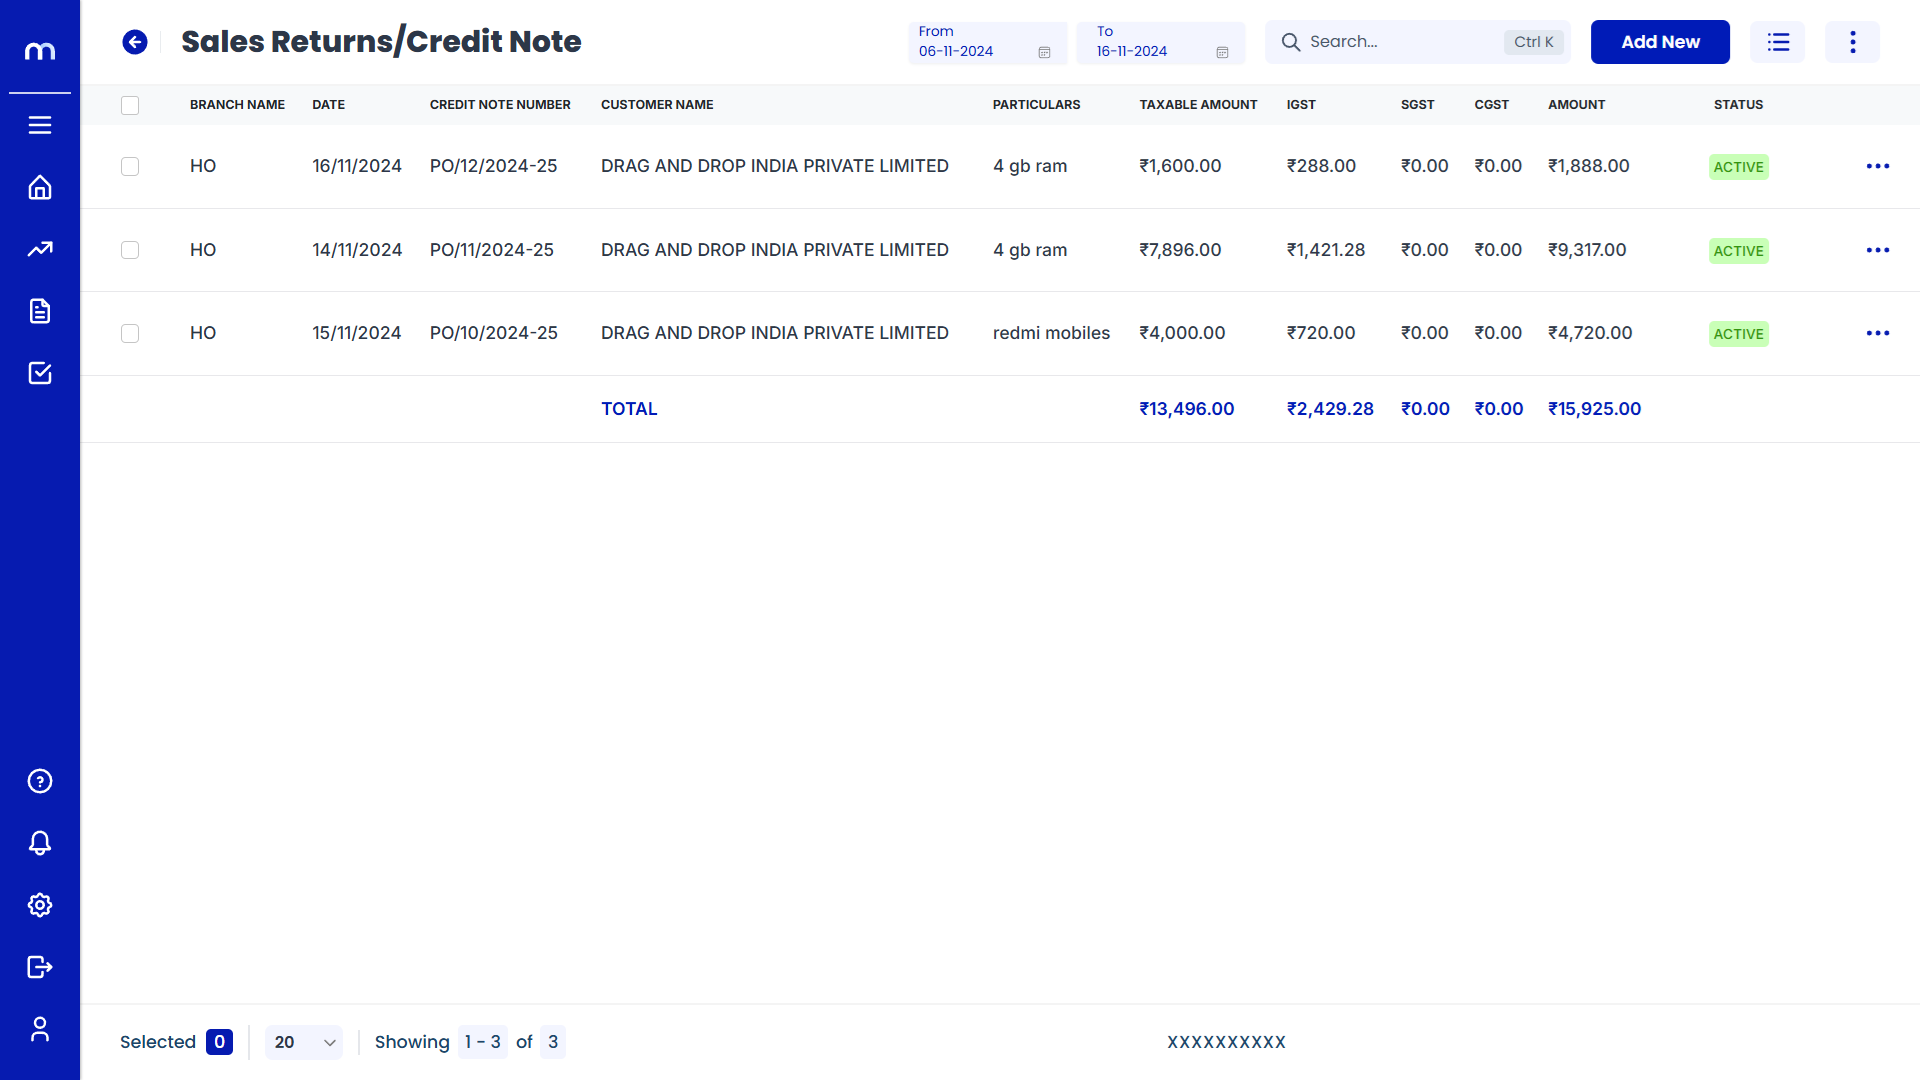
Created Credit Note
Credit Note page will be created successfully.
Click on Send Reminder
Sales Orde Template page will be displayed as fallows and Click on Send Reminder button. Then automatically mail sent successfully.
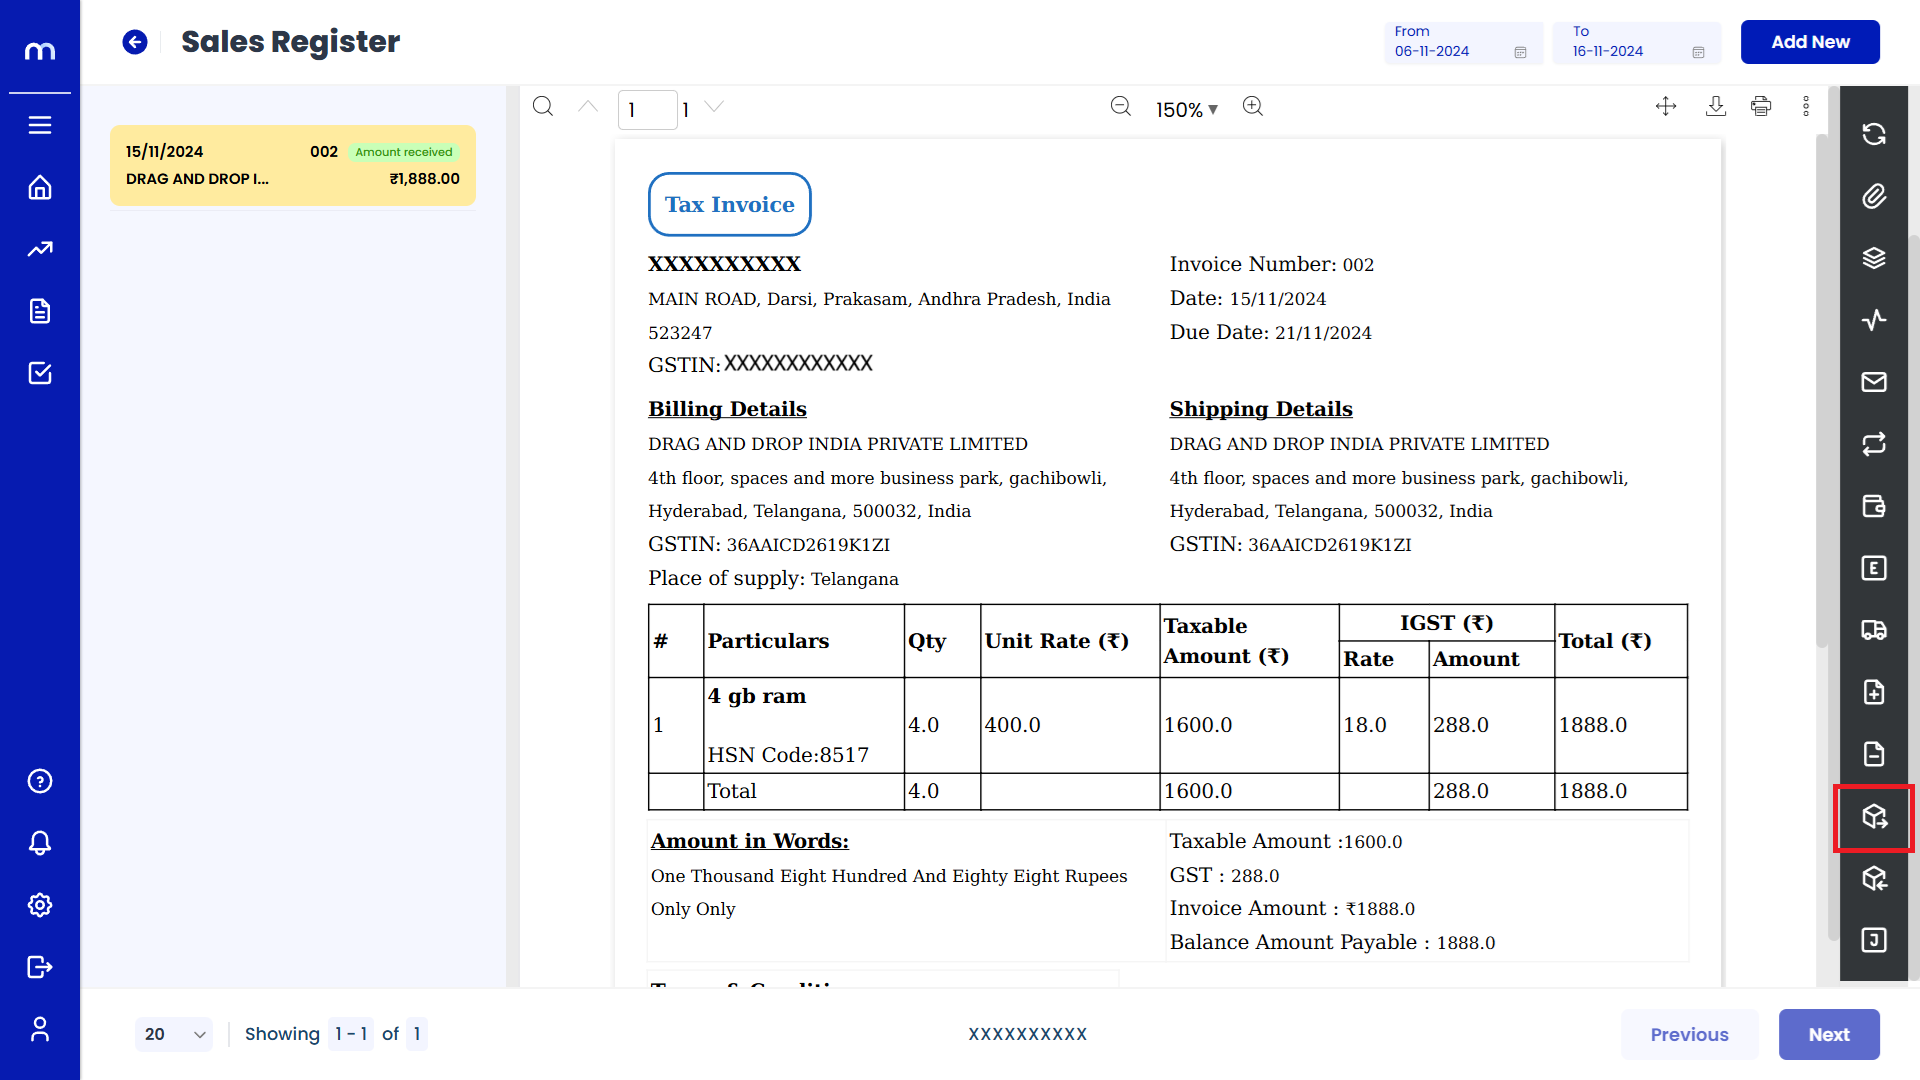
Click on Shipping Bill
Sales Orde Template page will be displayed as fallows and Click on Shipping Bill button.
Click on Add New
Shipping Bill page will be displayed as fallows and Click on Add New button.

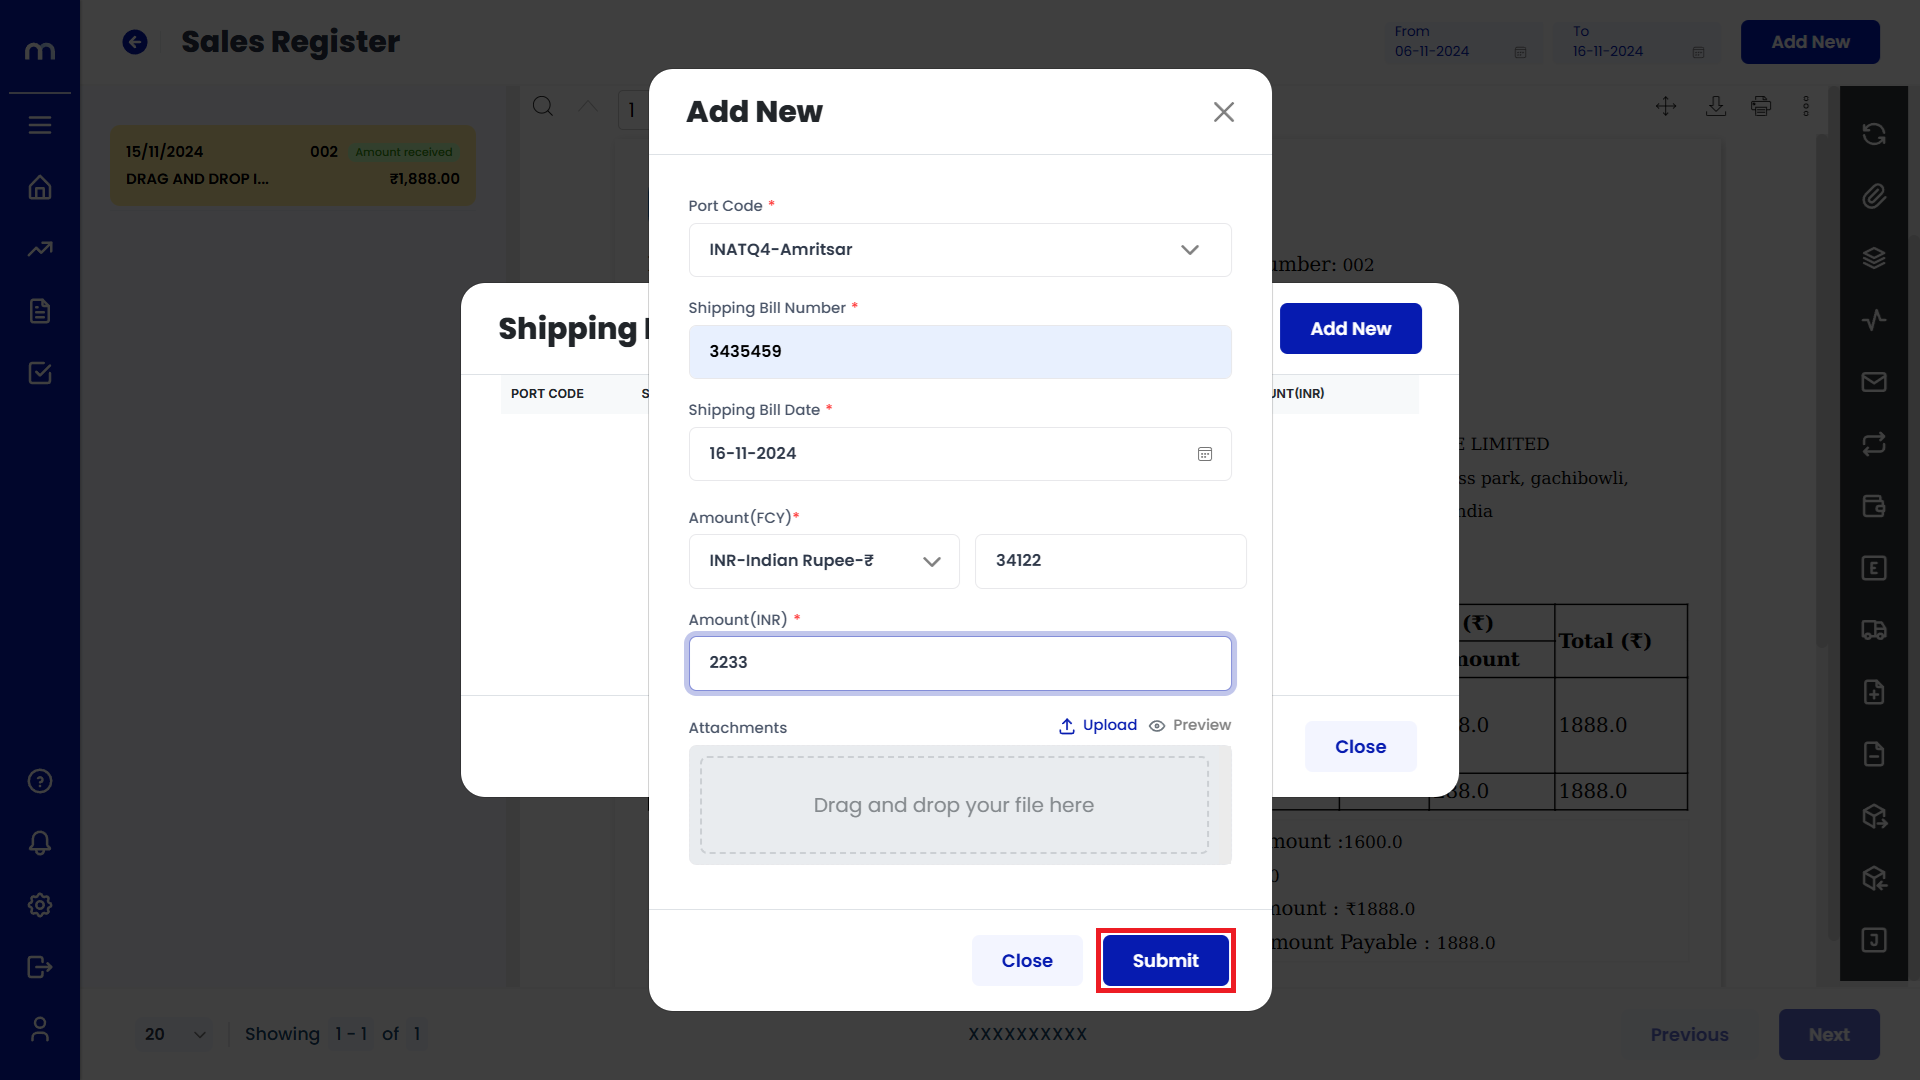
Click on Submit
Add New page will be displayed as fallows, Fill in all required details and Click on Submit button.
Click on Bill of Entry
Sales Orde Template page will be displayed as fallows and Click on Bill of Entry button.

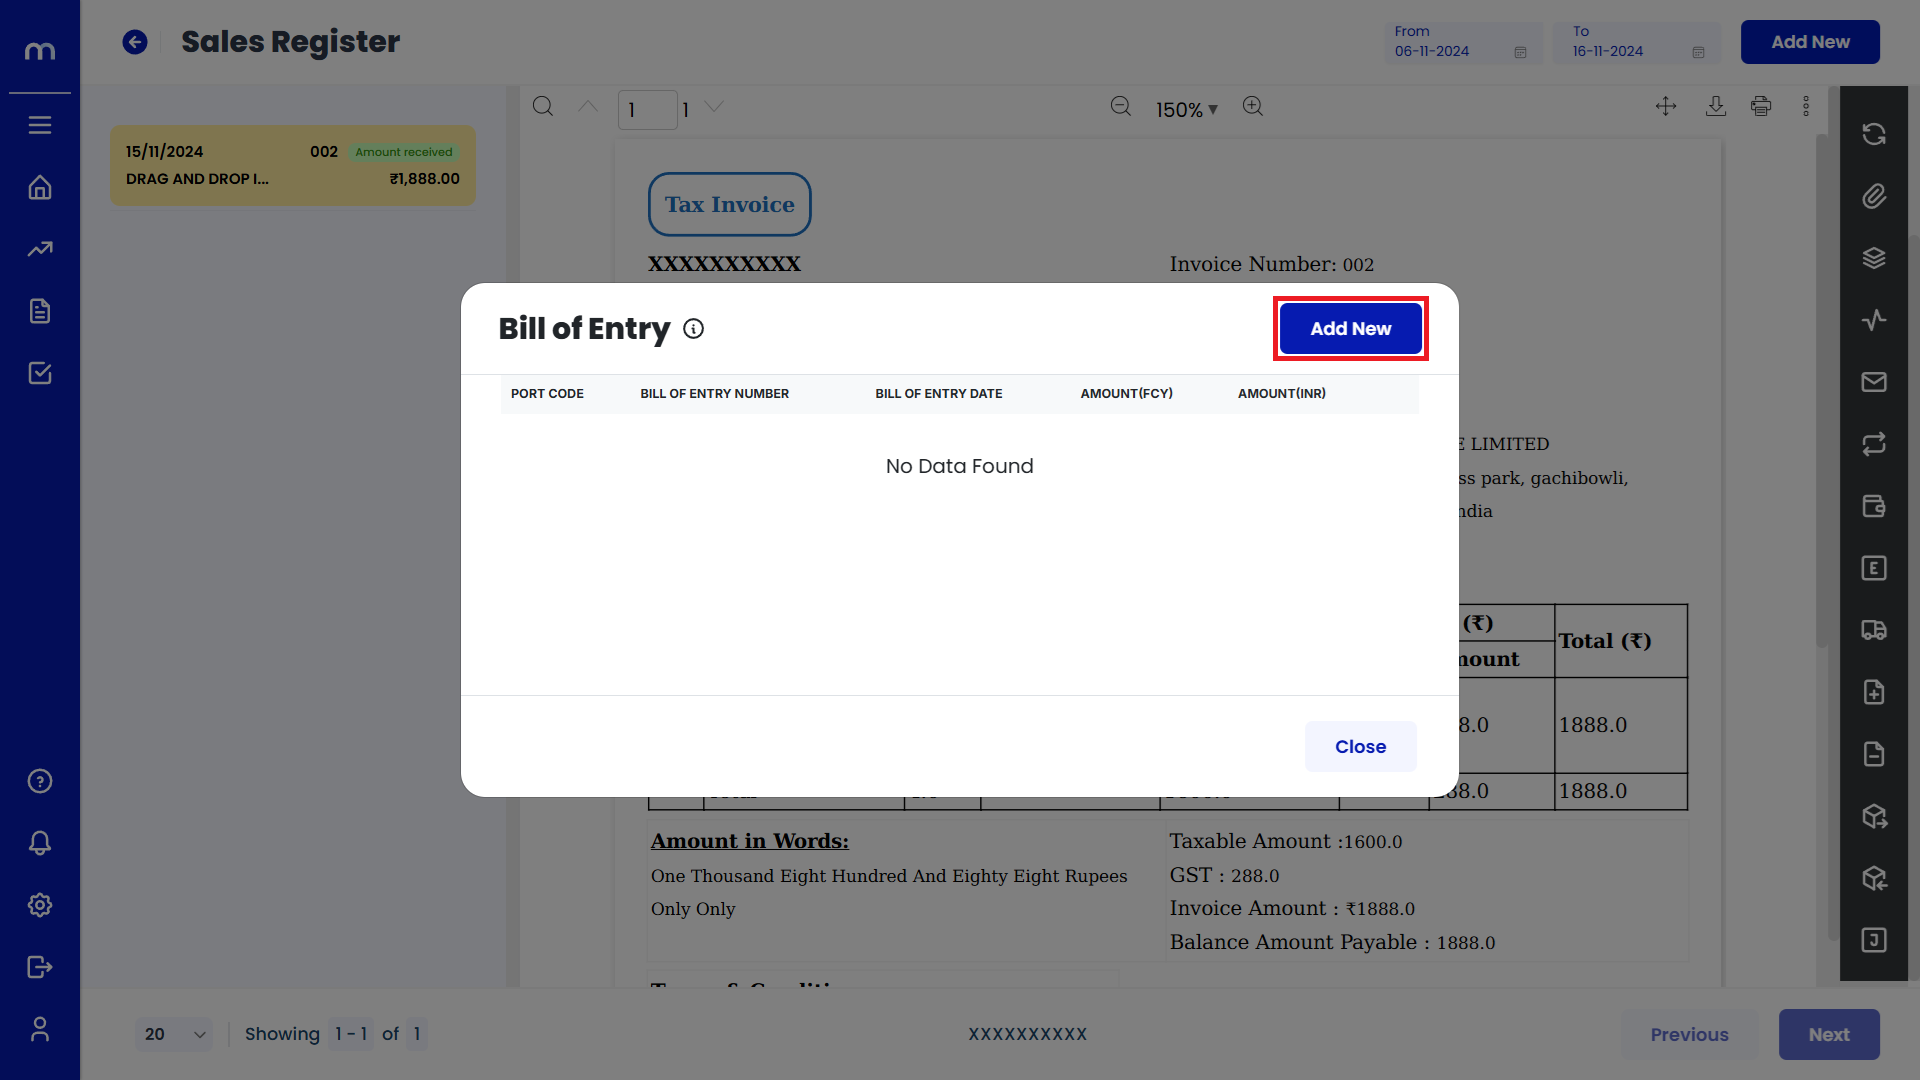
Click on Add New
Bill of Entry page will be displayed as fallows and Click on Add New button.
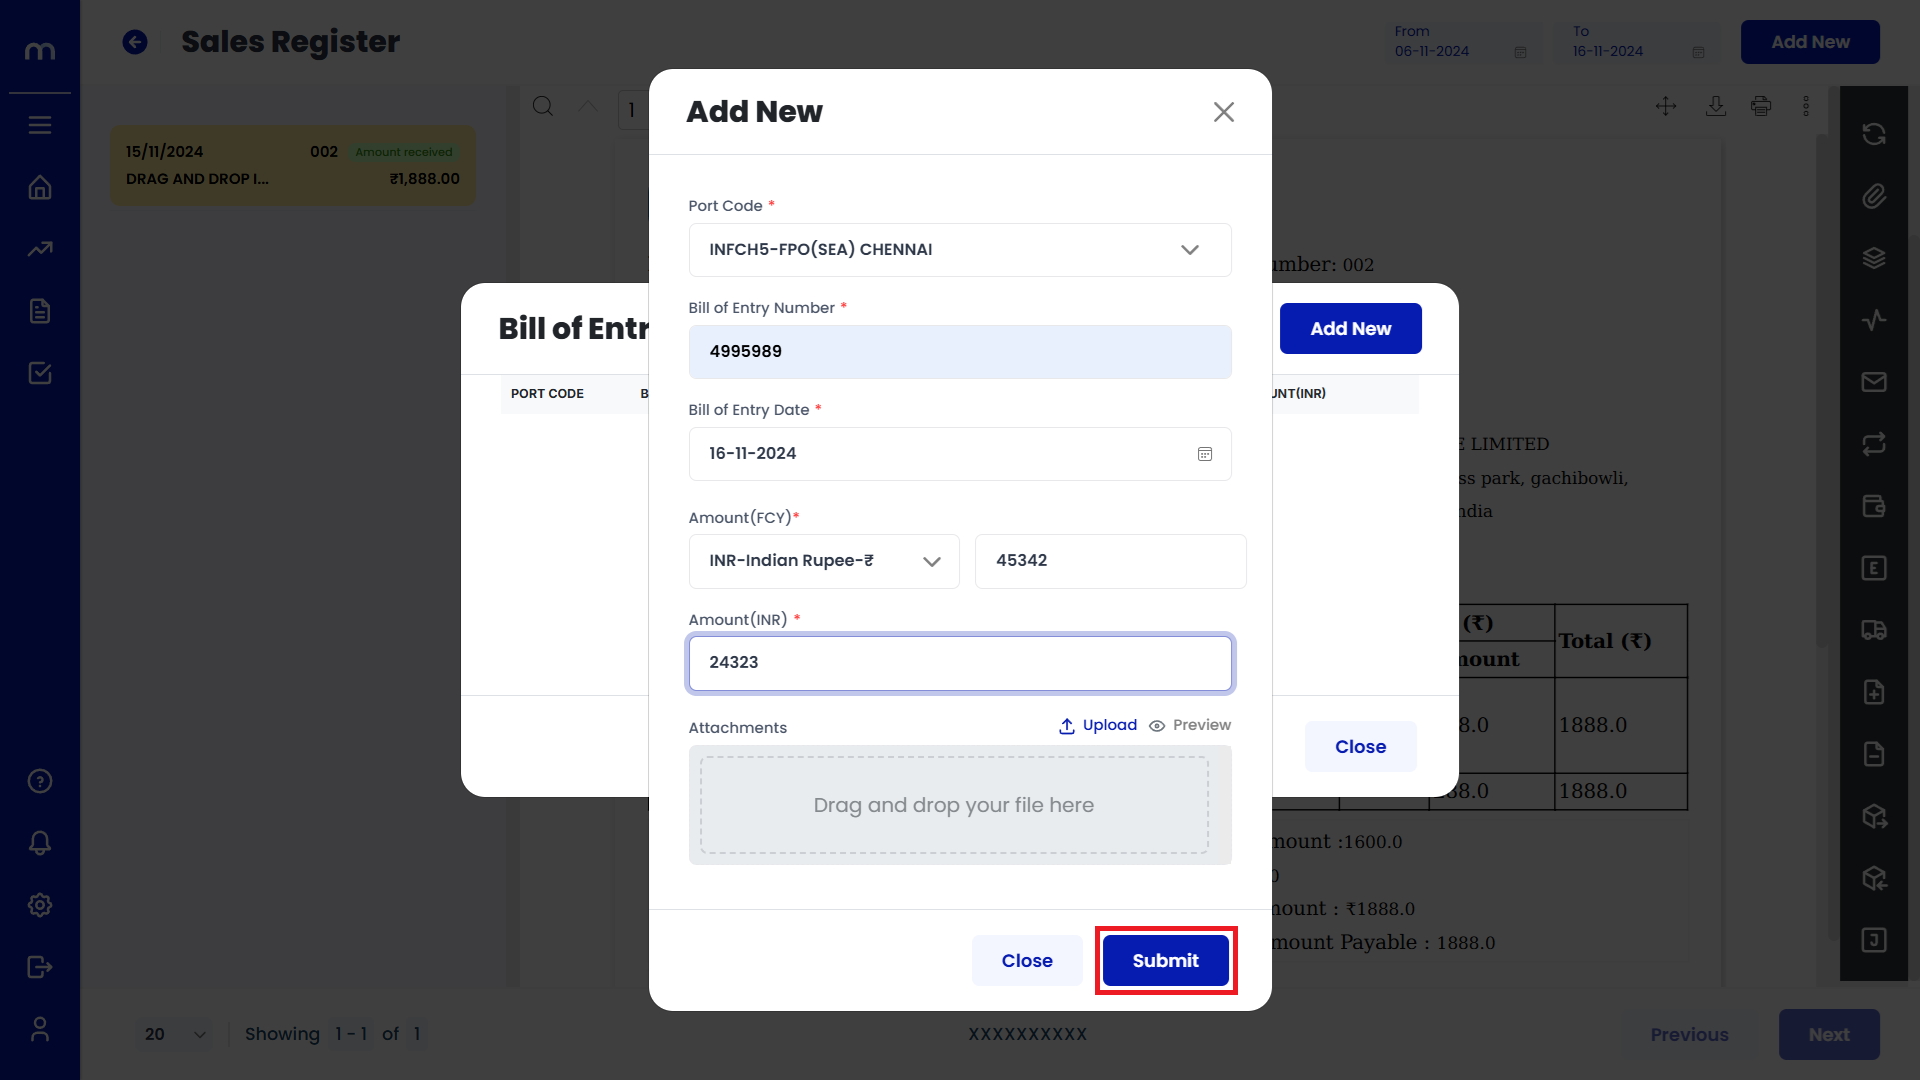
Click on Submit
Add New page will be displayed as fallows, Fill in all required details and Click on Submit button.
Click on View Journal
Sales Orde Template page will be displayed as fallows and Click on View Journal button. Then Journal List was displayed.